Deploying the SCCM Client with Group Policy
In this lecture, you are going to learn how you can deploy the SCCM client with Group Policy.
This method should be only used when you do not plan to use the Client Push installation method.
If you already installed the Configuration Manager client on your Domain workstations then you can regard this lesson to be strictly informational.
If the Client Push method does not work for you, but you have success installing the SCCM client manually this may be the method you want to use.
Here are the basic steps you have to complete in this lesson. First, we are going to create a File Share that is accessible from our target workstations. Second, we are going to copy the SCCM client installation media into that share. Finally, we are going to create a GPO, link it to the appropriate OU, and configure it to run the SCCM client installation.
Now, if you are working in a lab environment it is important to understand that we have to have our DC, our SCCM, and our Workstation VMs all powered on simultaneously.
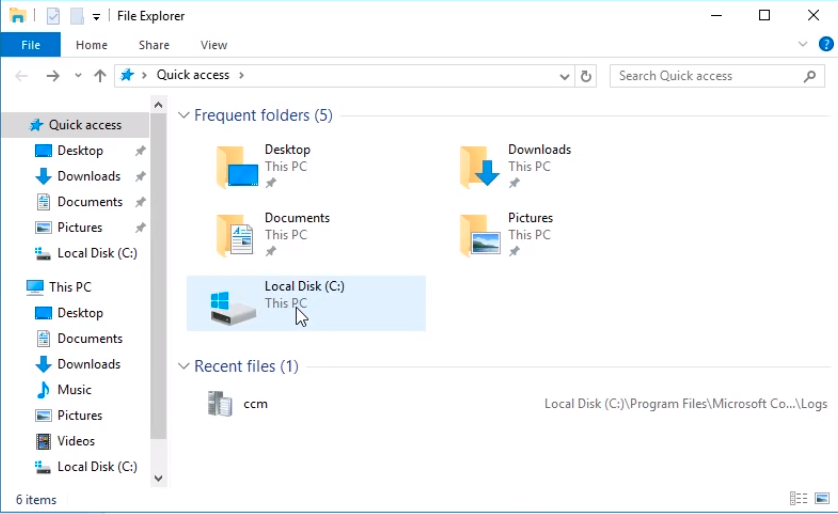
We are going to start this lecture by logging into our SCCM server and creating the file share for the client installation file.
Once you are logged into the SCCM server we are going to open File Explorer, and we are going to open the C:\ drive.
Now, what we are going to do is create a new folder, we are going to right-click, choose New > Folder.
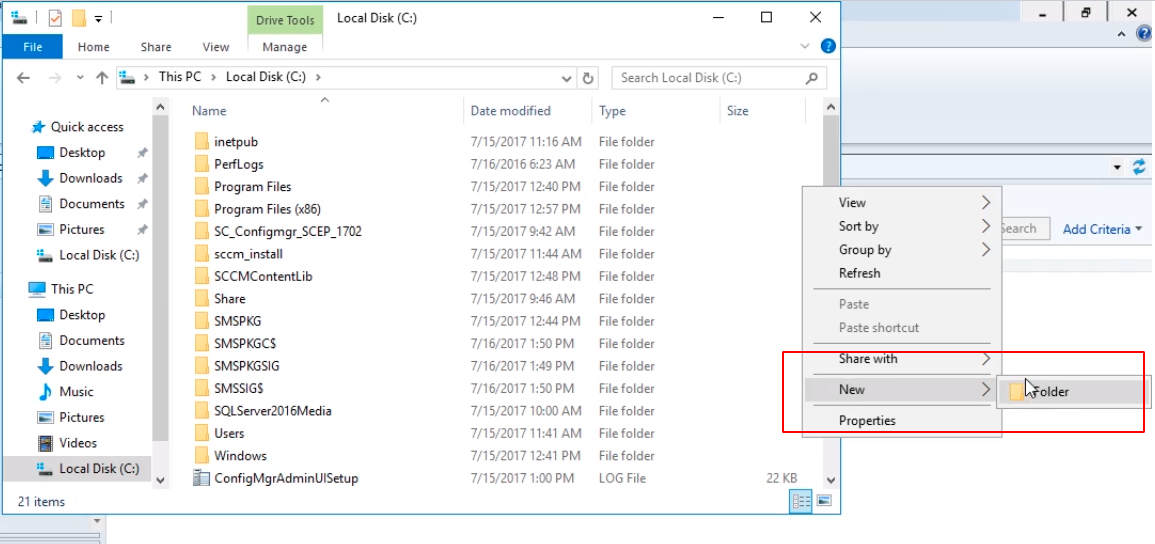
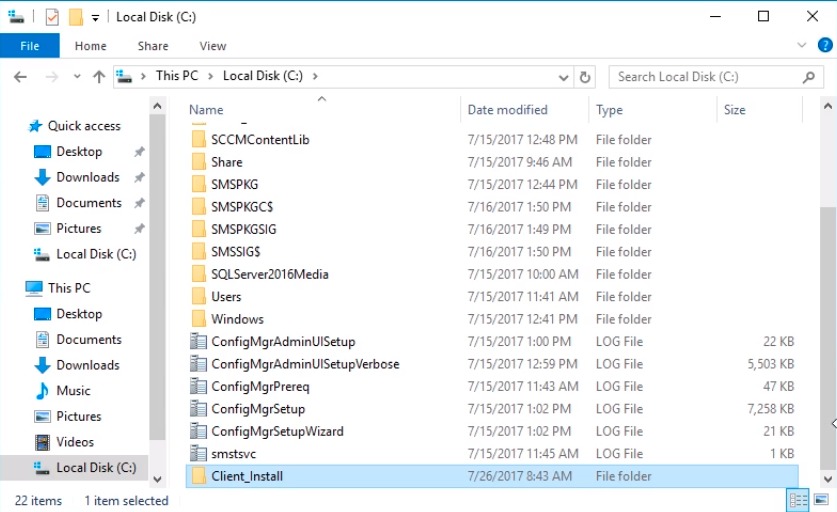
I am going to call this new folder Client_Install.
Next, we are going to make this a share, so I am going to right-click and choose Properties.
No comments yet. Add the first comment to start the discussion.