Creating Your NAT Network and VMs
In this lecture, we are going to create the three Virtual Machines that we will be using for this Lab. We are also going to create the NAT Network that our VMs are going to use.
First, open VirtualBox by double-clicking on the shortcut icon on the Desktop that gets created when you install VirtualBox.
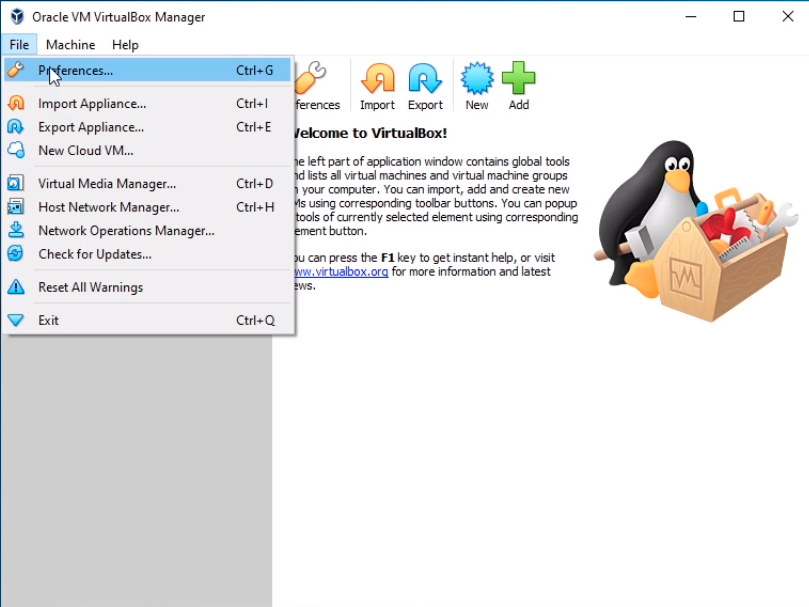
Click on File > Preferences and we will create this NAT Network first.
Click on Network from the left options and then to the right there’s a green plus icon. Click on it.
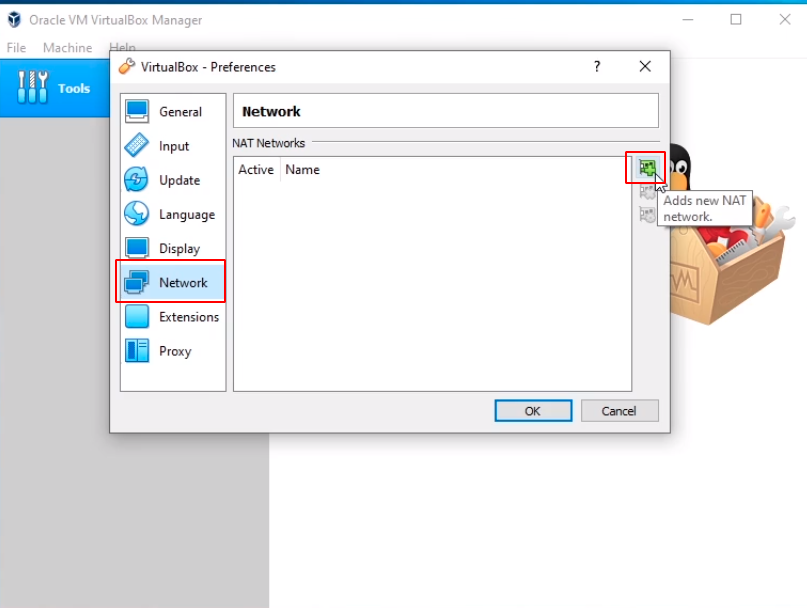
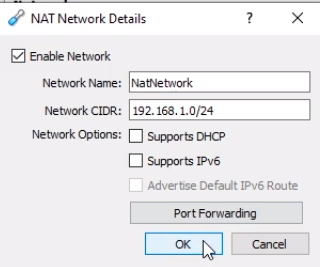
Now, that’s going to create a new NatNetwork. Double click on the NatNetwork.
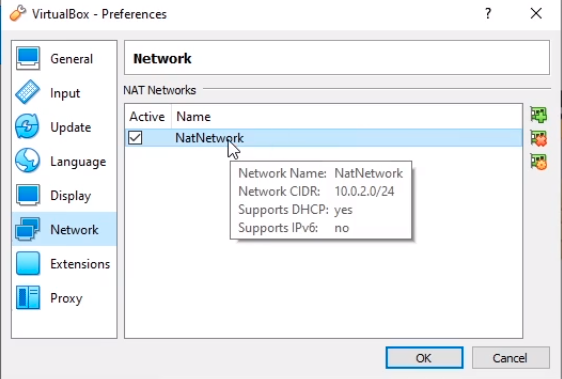
Here we can do things like changing the NatNetwork Name, we can change the Network CIDR or the subnet that will work on. I am going to change the CIDR to 192.168.1.0/24 to use the entire subnet as the network and the last octet to act as the host space.
I am going to turn off DHCP by unchecking the checkbox. We can do other things like enabling IPv6, we can do Port Forwarding, this is unnecessary for our lab environment.
So I am going to click the OK button.
And click OK again.
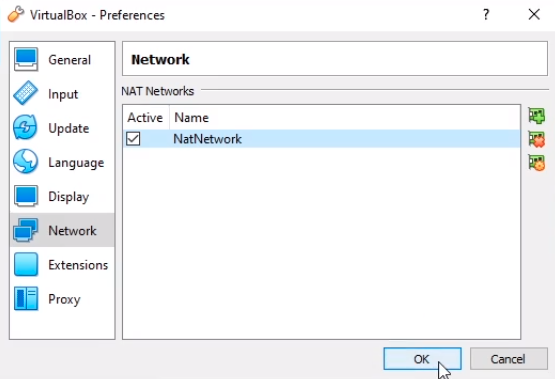
And now we have created our network.
Next, we need to create the three Virtual Machines that we will be using for this IT Lab. That is SADC01 for the Domain Controller, SASCCM01 for our SCCM server, and SAWS01 for our workstation.
So what I am going to do is click the New butt…
No comments yet. Add the first comment to start the discussion.