
Preparing for Client Installations with Group Policy
Instructions
Q&A (0)
Notes (0)
Resources (0)
Saving Progress...
Resources
There are no resources for this lesson.
Notes can be saved and accessed anywhere in the course. They also double as bookmarks so you can quickly review important lesson material.
In this lesson, we are going to configure Group Policy settings for our domain workstations so they would be able to successfully install the SCCM client.
We are going to be completing this lecture from our Domain Controller which is ITFDC01.
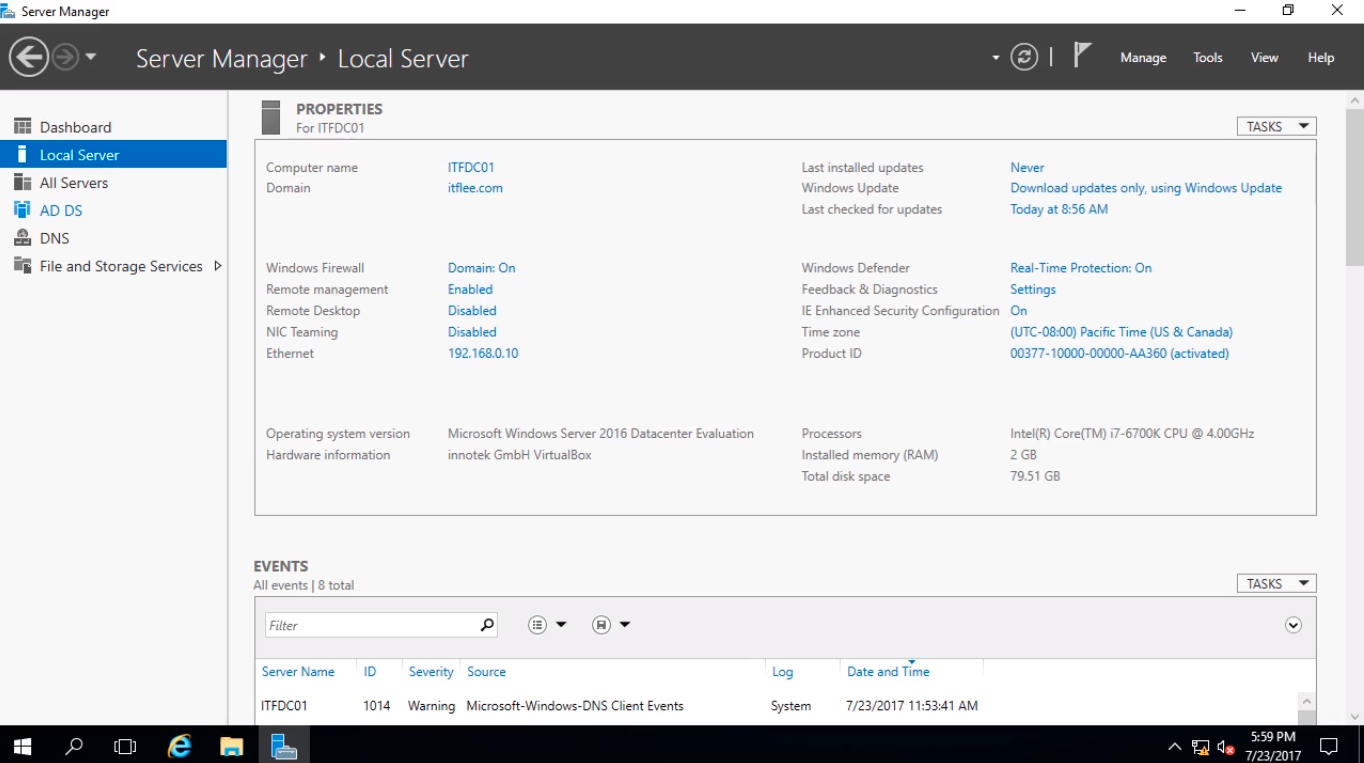
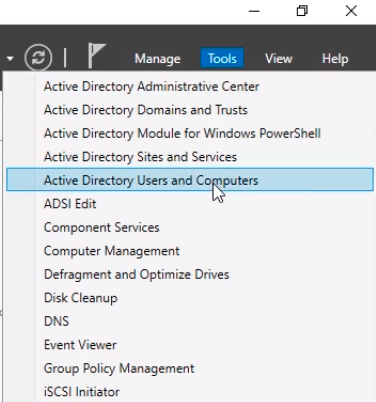
Once logged in we are going to open Active Directory Users and Computers by selecting Tools > Active Directory Users and Computers.
The reason why we are going to do this is we are going to create a couple of Organizational Units before we get to Group Policy.
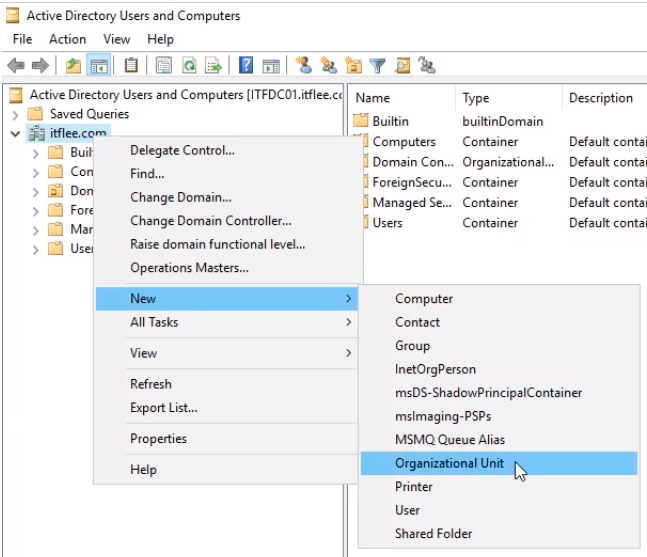
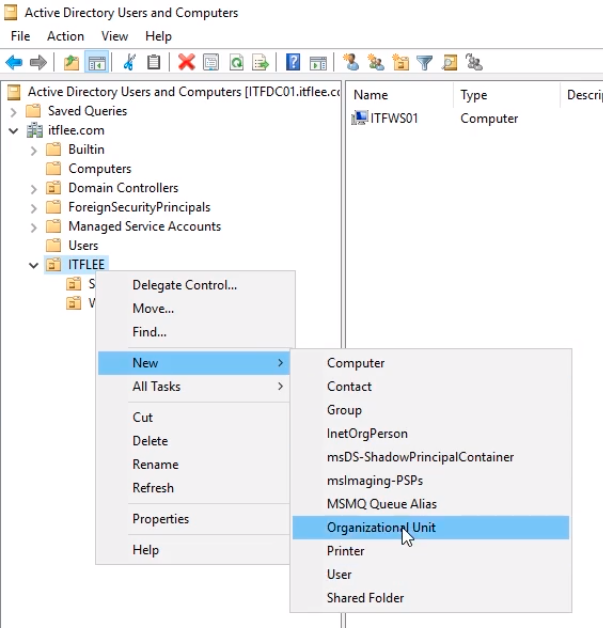
I am going to right-click on the root of my domain which is itflee.com. Select New > Organizational Unit.
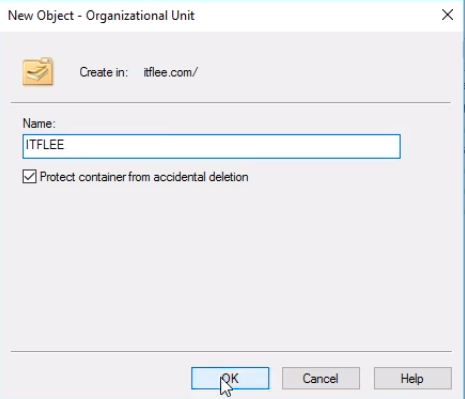
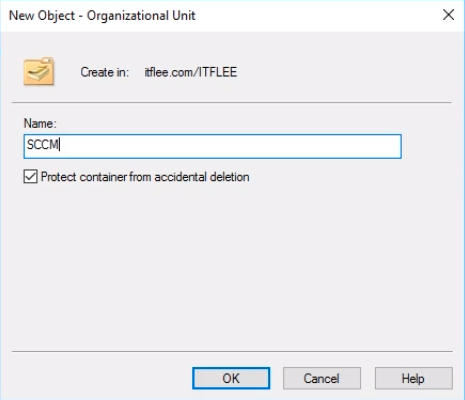
We are going to call it ITFLEE and click OK.
Now, within this Organizational Unit I am going to create another Organizational Unit. Right-click ITFLEE and select New > Organizational Unit.
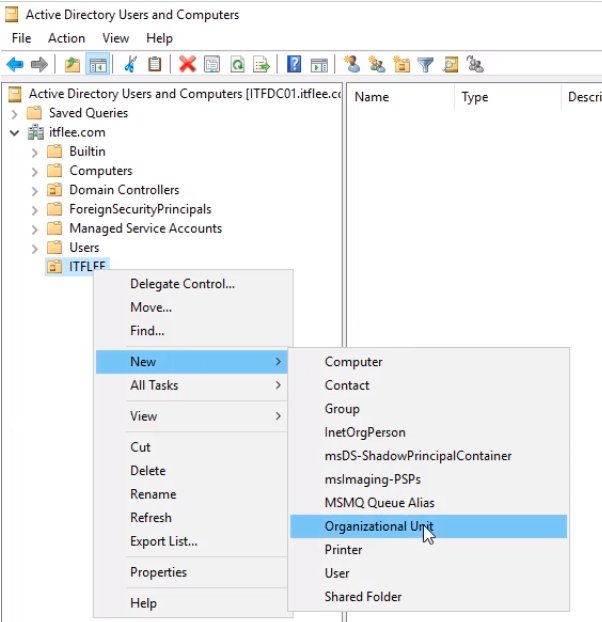
We are going to call this SCCM and click OK.
Create another Organizational Unit under ITFLEE and this time call it Workstations, repeating the same steps as before.
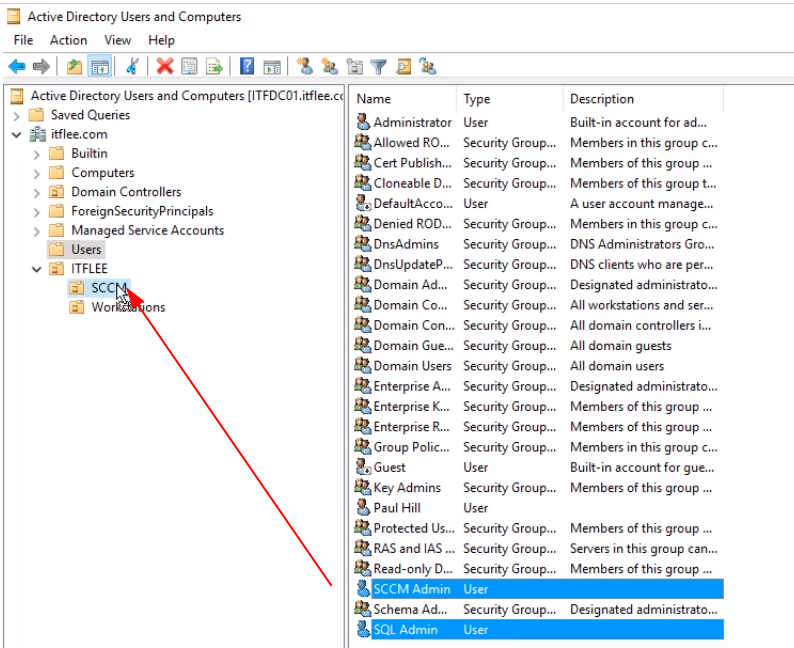
Now, if you remember we created a couple of users before, one was called SCCM Admin, and SQL Admin. We are going to drag and drop those on the SCCM OU.
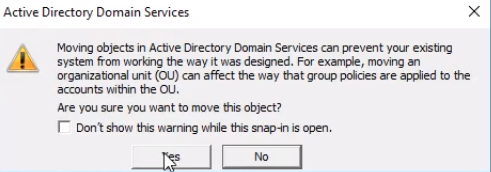
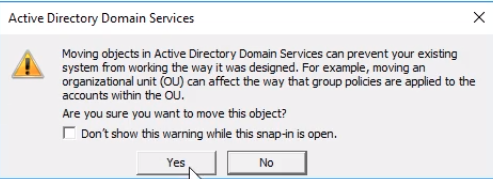
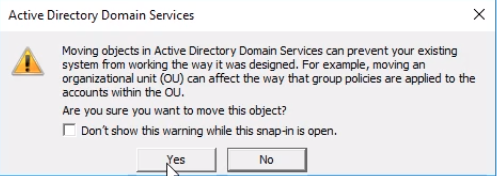
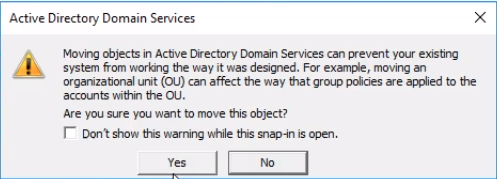
Click Yes on the warning message.
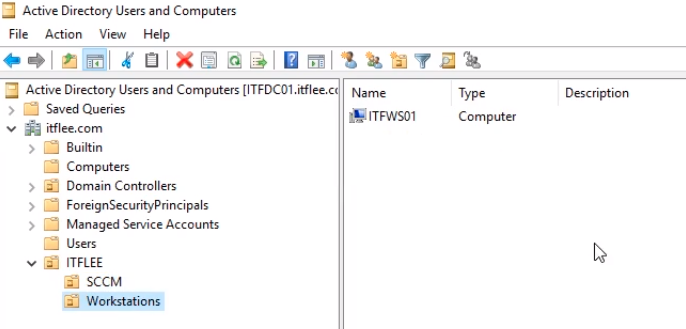
And, now we are going to switch over to our Computers container, and we are going to select this ITFWS01 and we are going to drag and drop it on the Workstations OU.
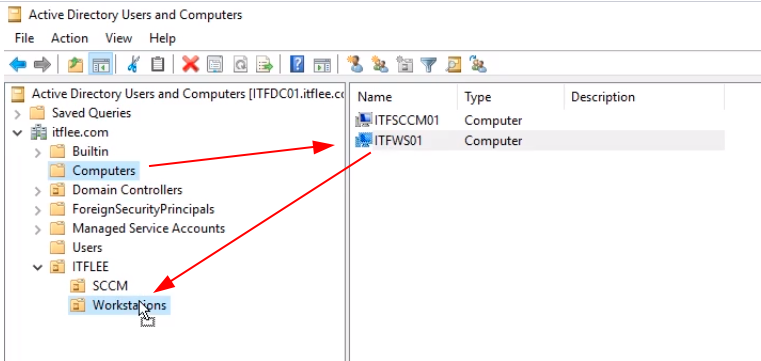
Click Yes on the warning message.
We are also going to drag and drop the ITFSCCM01 computer on the SCCM OU.
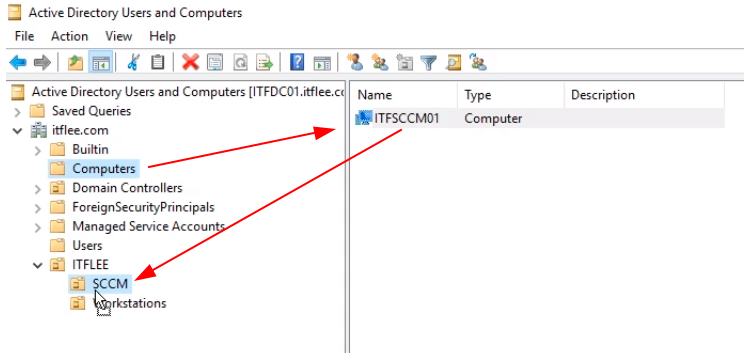
Click Yes to the warning message.
Now, if we go to the ITFLEE OU we can see we have two Sub-OUs and the SCCM OU contains the Server ITFSCCM01 and the SQL Admin and the SCCM Admin.
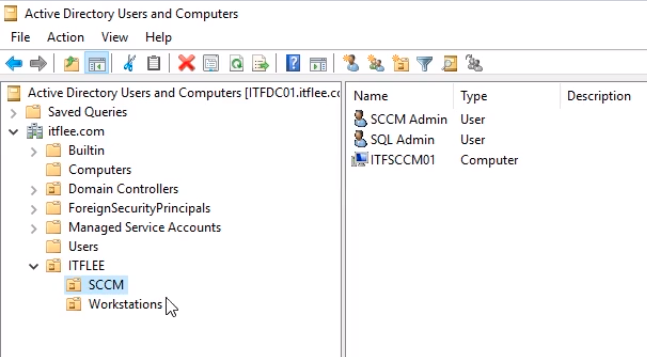
And the Workstation contains ITFWS01.
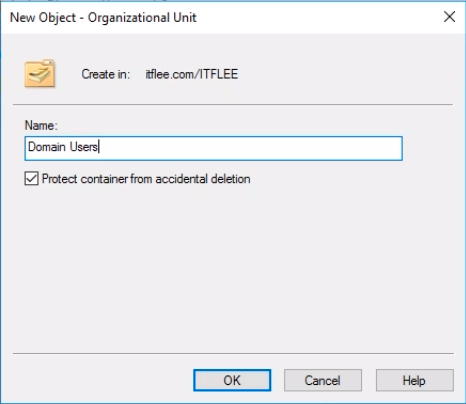
Now, just for my personal preference I am going to right-click on ITFLEE and select New > Organizational User.
And, I am going to call this Domain Users and click OK.
I am just doing this because I created a User Account called Paul Hill. So I am going to select the Users container and I am going to select Paul Hill and drag and drop it on Domain Users OU.
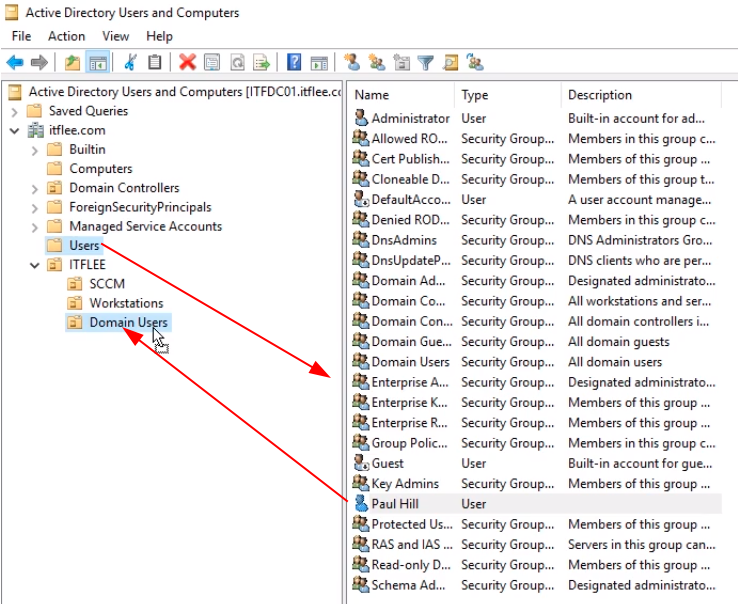
Click Yes on the warning message.
So, now we are done in Active Directory. We need to switch over to Group Policy at this point. Close Active Directory Users and Computers.
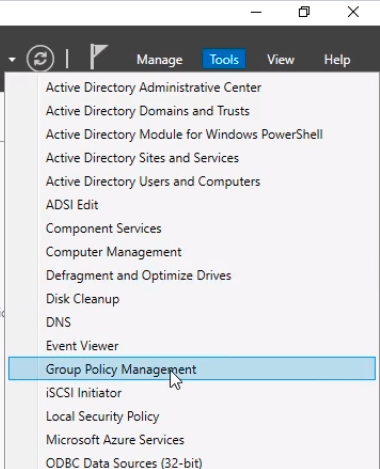
From Server Manager select Tools > Group Policy Management.
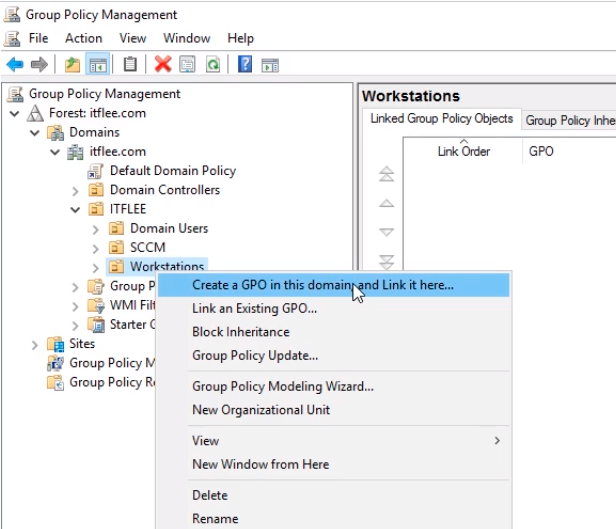
Expand the Forest > Domains > itflee.com > ITFLEE
What we need to do is create a GPO inside our Workstations OU. This GPO is going to prepare our workstations for the SCCM Client install. It’s going to do some things with User Accounts and it’s going to open some ports on the firewall so the client can install successfully.
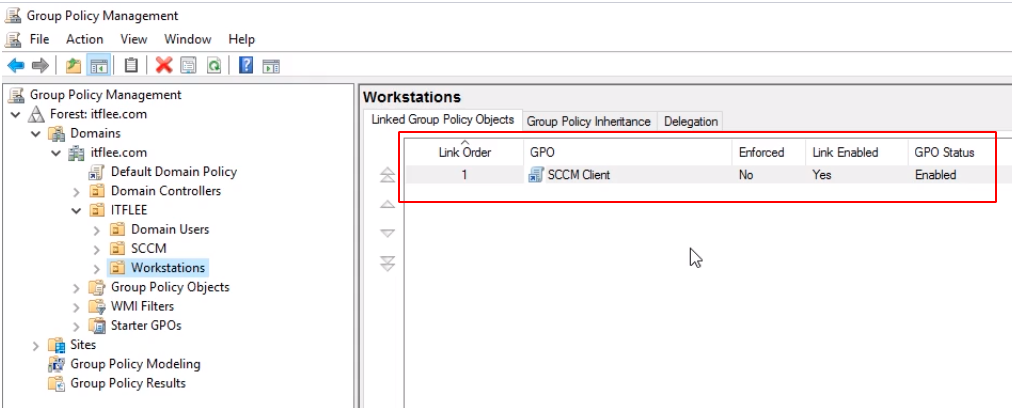
Right-click on the Workstations OU and right-click and choose Create a GPO in this domain, and link it here…
We are going to call this SCCM Client and click OK.
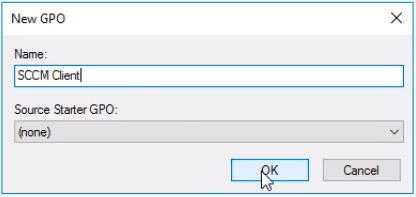
And you can name that whatever you want, the basic point is we are configuring these workstations to be able to install the SCCM client. So you can call it SCCM Client Installation, you can call it Configuration Management Client if you would like, whatever makes you happy just go ahead and name it.
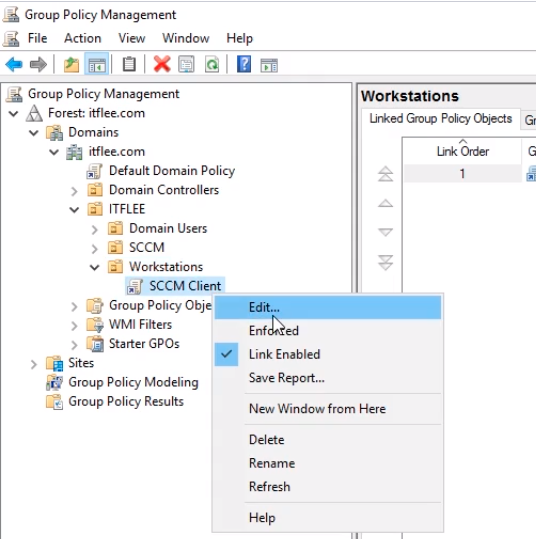
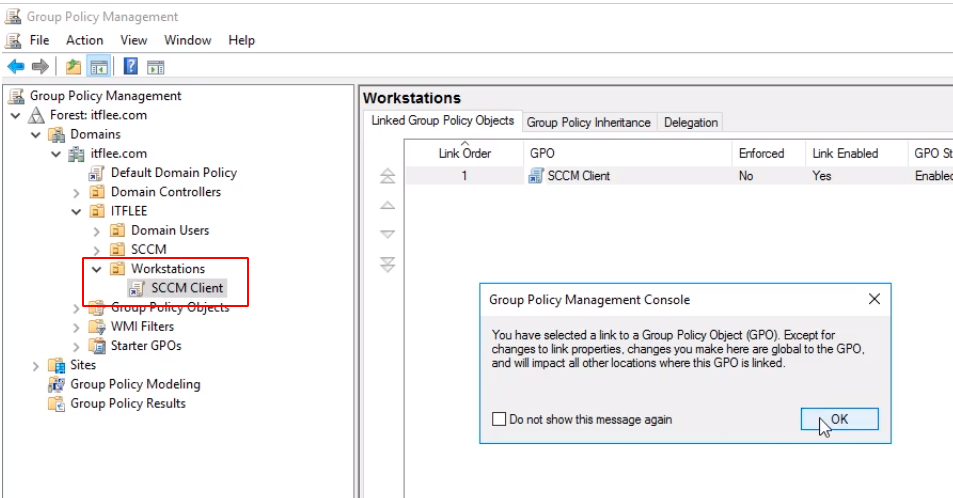
Expand Workstations and right-click the SCCM Client and choose Edit to edit the GPO.
One of the requirements for the SCCM client to install is that your Configuration Manager server has to be a member of the local Administrators group on the computer where you are trying to install the client.
So, you can either go around and add this manually login into the computer, searching for edit local user accounts and we can add this computer account to the Administrator group one by one.
Now, if you have two-thousand or five-thousand or even hundreds of computers this is going to take way too long. So, thankfully there’s a way to do this in Group Policy.
Under Computer Configuration > Preferences > Control Panel Settings > Local Users and Groups. Right-click on the right pane and select New > Local Group.
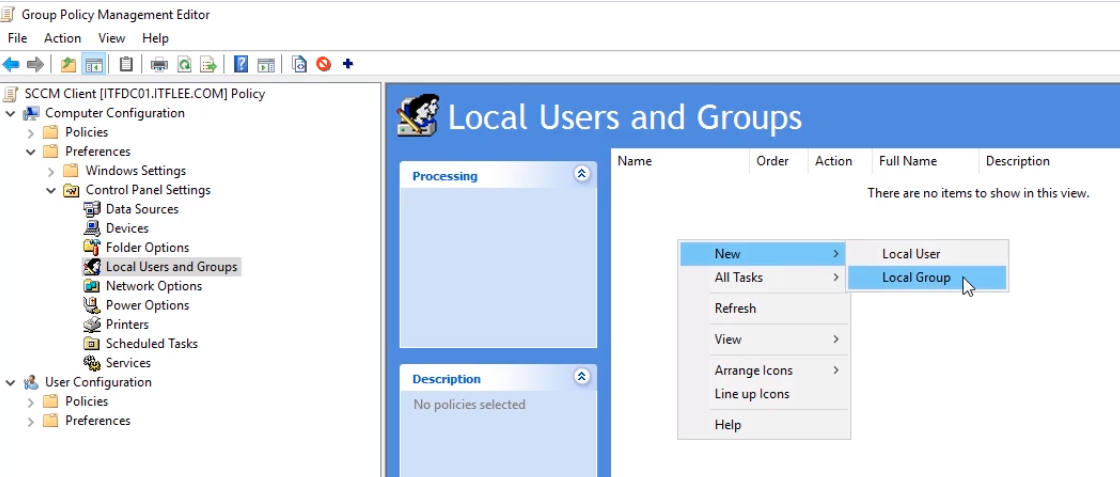
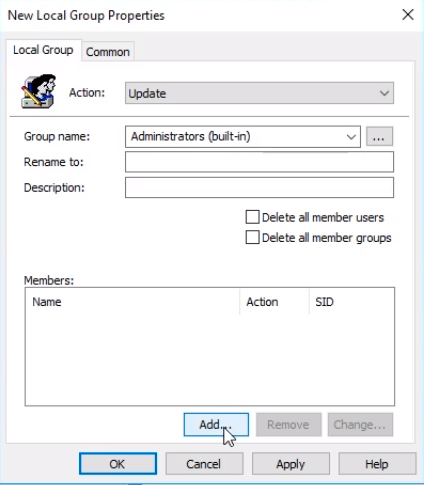
Now, we are actually not creating a group, what we actually are going to update a group. What we are going to do is add the ITFSCCM01 server account to the Local Administrators Group of our workstations.
So, the way we will do that is under Group name we are going to select Administrators (built-in), and we are not going to rename it, we are not going to change the Description, we definitely we are not going to delete users and groups, we are just going to click the Add button.
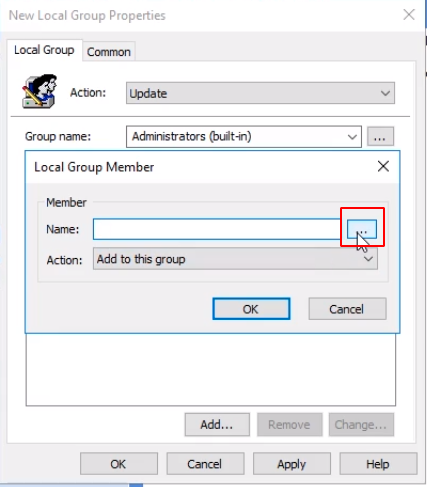
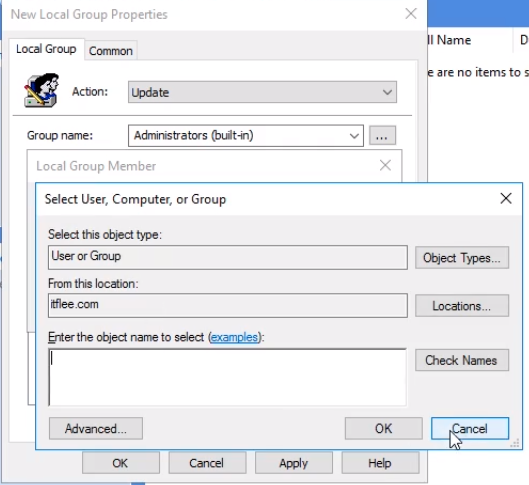
What we are going to do now is add a local group member. Click this browse button.
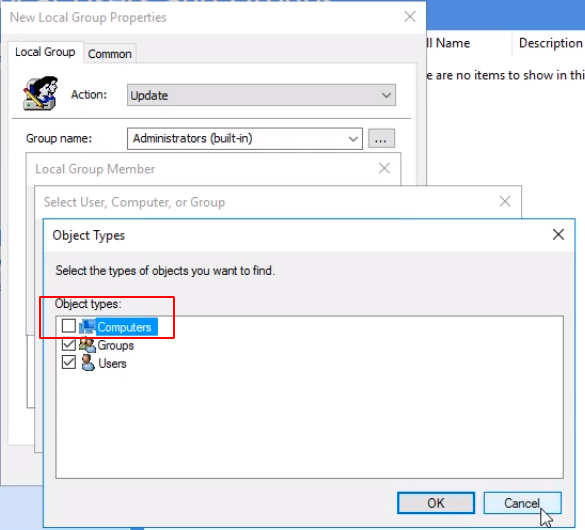
Just to show you guys something, if you click on the Object Types we can see we are just searching for Users or Groups.
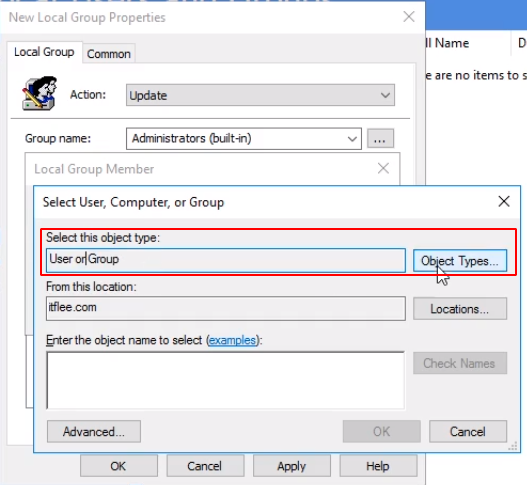
You can see here we can select Computers and click OK.

And, now, if we type ITFSCCM01 and click Check Names to resolve the computer account, but if we click OK.
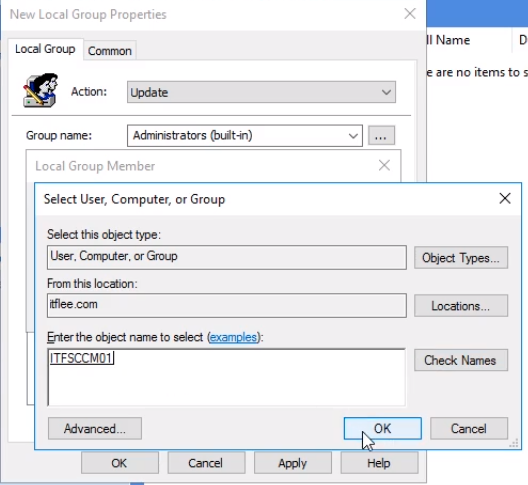
It is going to present us with this error saying the following message:
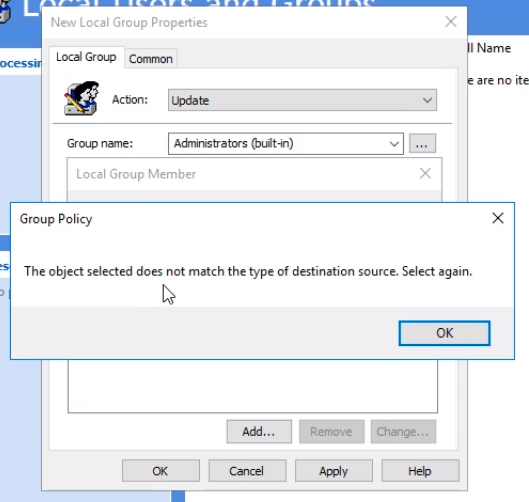
So, it is like it wants us to add a computer account because we can resolve the computer account name but it is the wrong object type.
I am not really sure what Microsoft was thinking when they allowed you to check this checkbox.
But they don’t allow you to add it to the group.
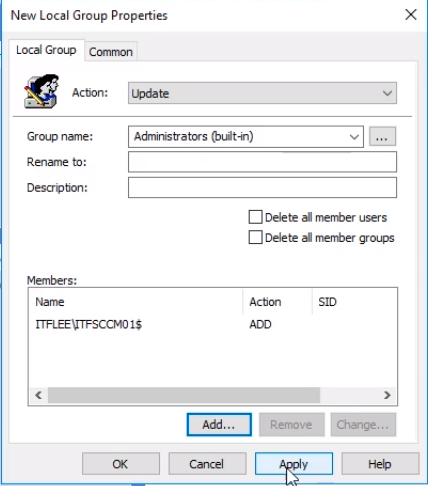
But thankfully there’s a way around this. All we have to do is type in the domain name of the computer followed by a dollar sign. Type ITFLEE\ITSCCM01$. Click OK.

Now, we can see we are going to update the Administrator (built-in) group, and we are going to add the ITFSCCM01 computer account.
Now, if you do not add the $ at the end it will be unsuccessful when it tries to add the account. Also, you need to make sure every letter is typed in correctly since we are not actually resolving it, we are just typing in the name and then clicking Add.
Click the Apply button and click OK.
We have our policy updated.

Now that we have done that, we are going to open some ports in the firewall.
Navigate to Computer Configuration > Policies > Administrative Templates > Network > Network Connections > Windows Firewall > Domain Profile.
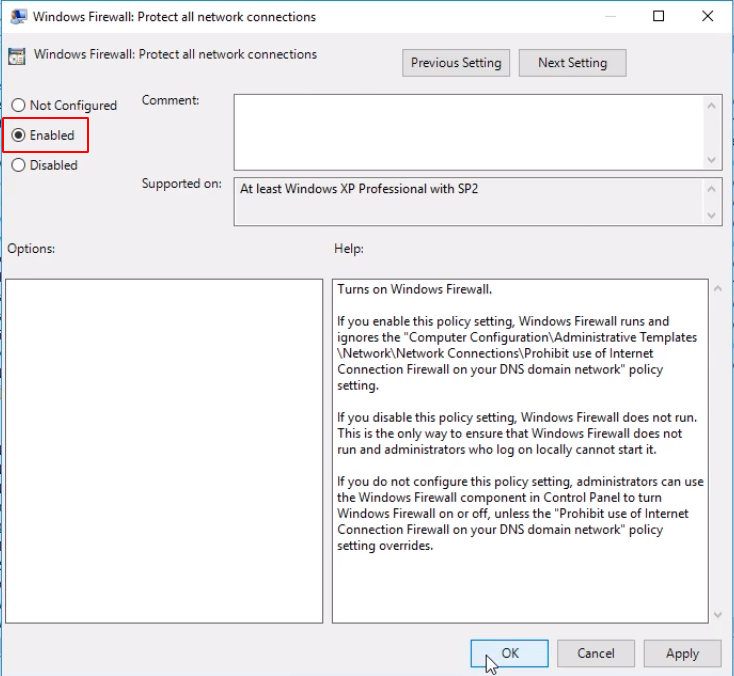
What we are looking for is the Windows Firewall: Protect all network connections.
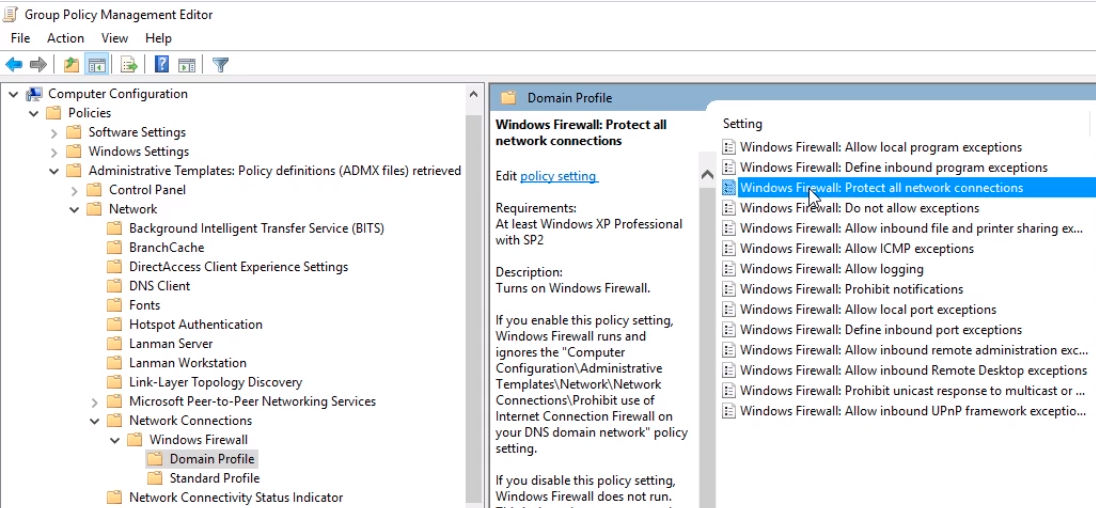
Double-click and choose Enabled. And, this is going to set it up so that we are the Administrators of the firewall domain policy.
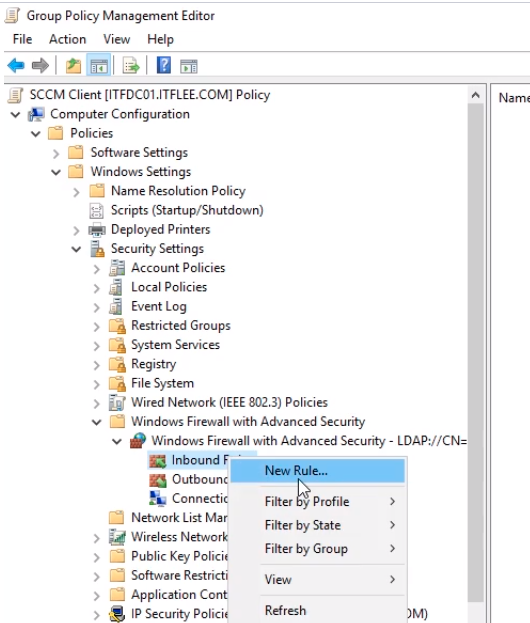
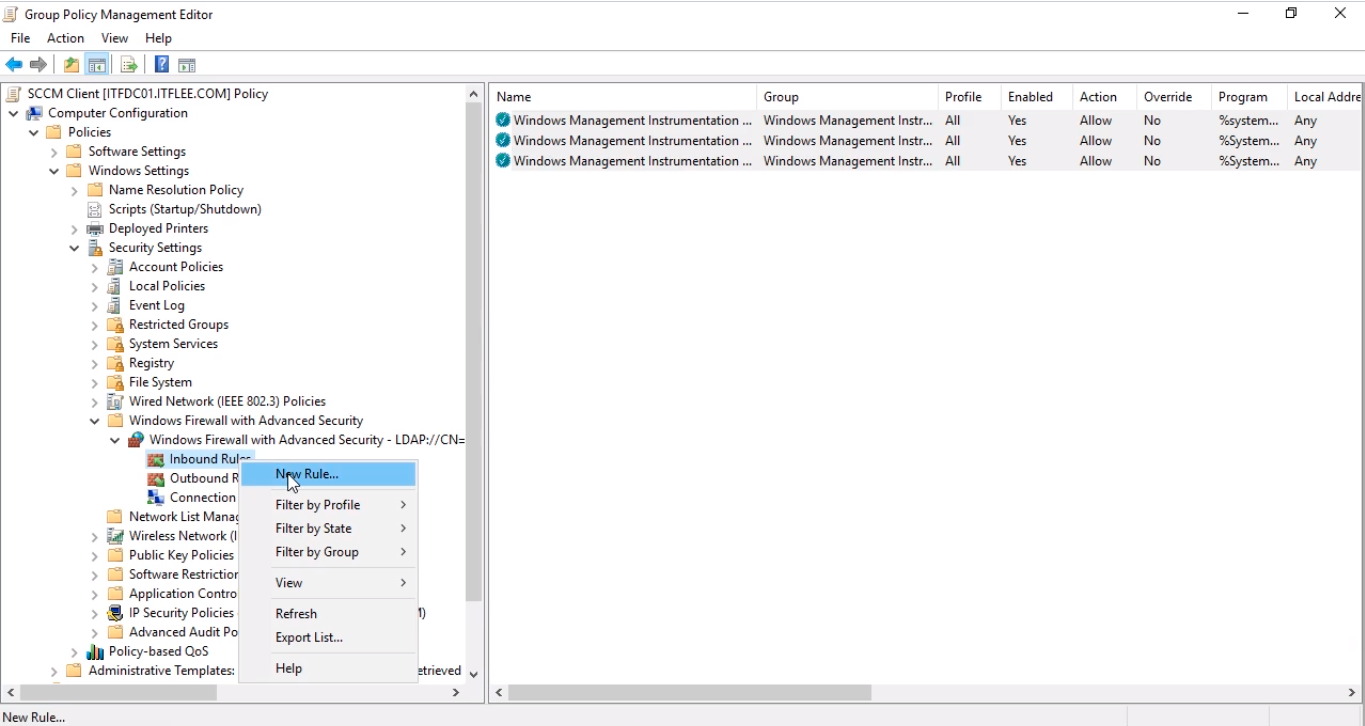
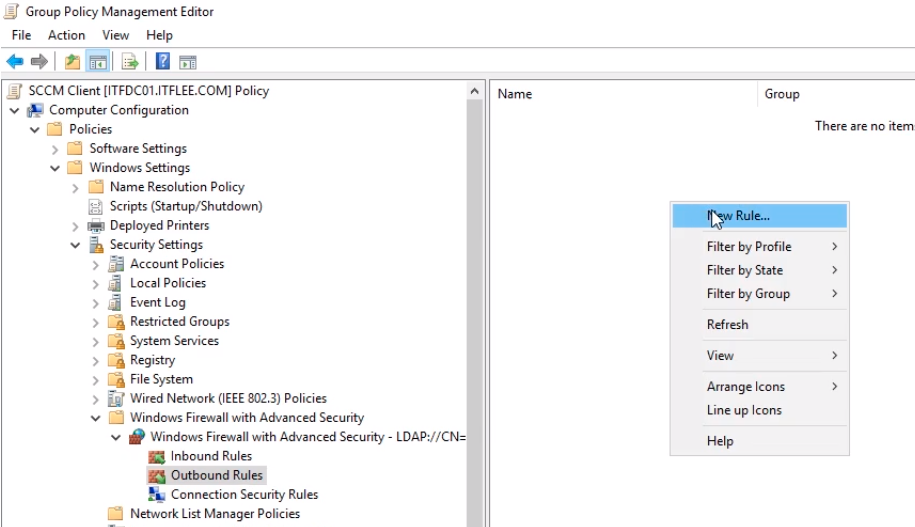
Now, navigate to Computer Configuration > Policies > Windows Settings > Security Settings > Windows Firewall with Advanced Security > Windows Firewall with Advanced Security > Inbound Rules.
Right-click Inbound Rules and select New Rule…
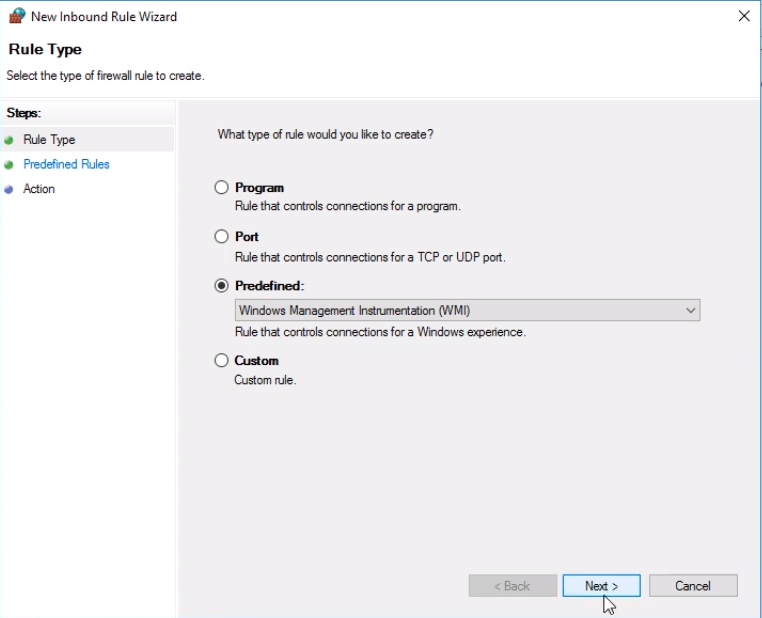
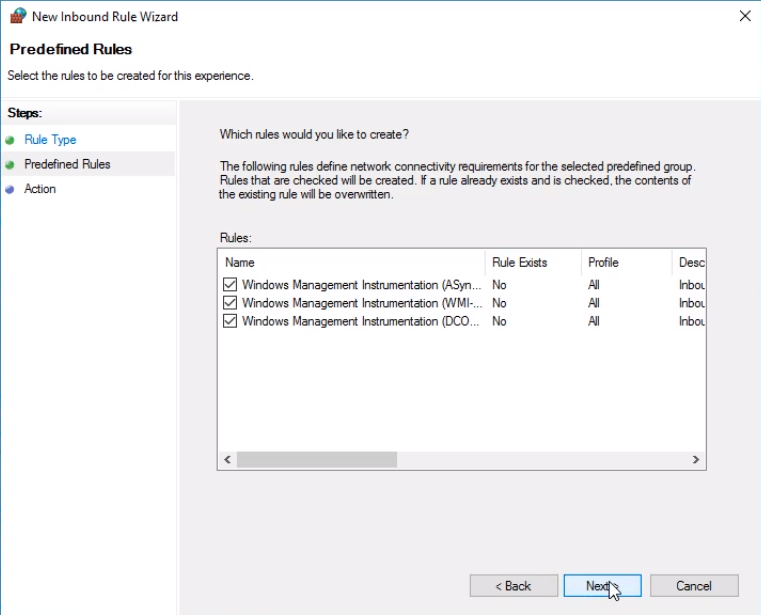
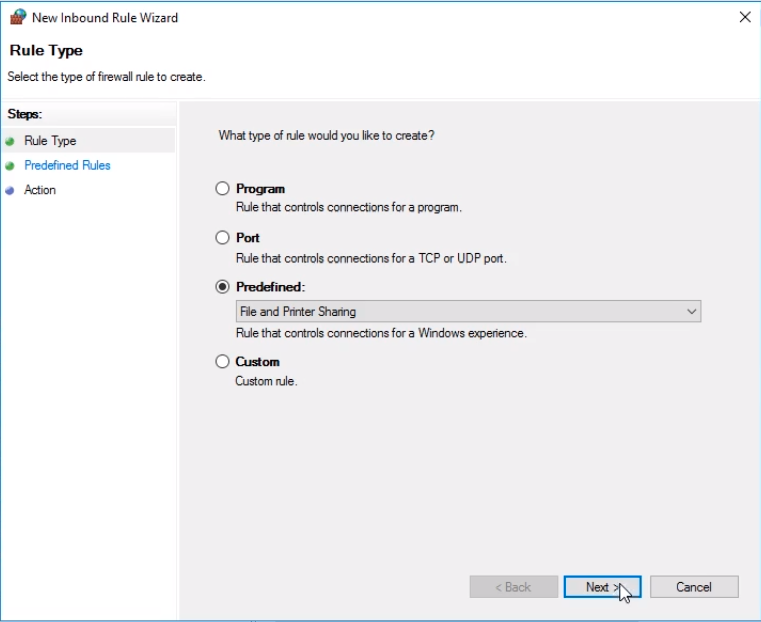
We need to select Predefined and select Windows Management Instrumentation (WMI) and click Next.
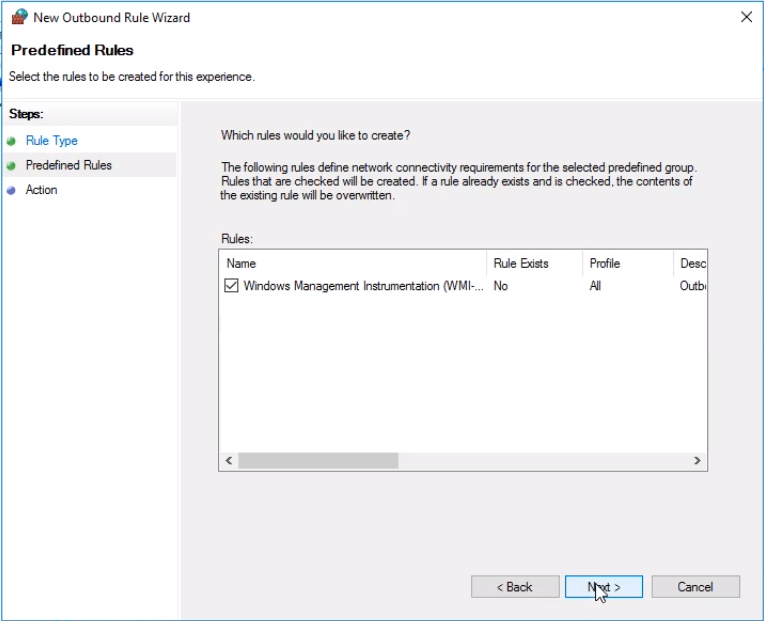
We are going to leave all these checkboxes checked and click Next.
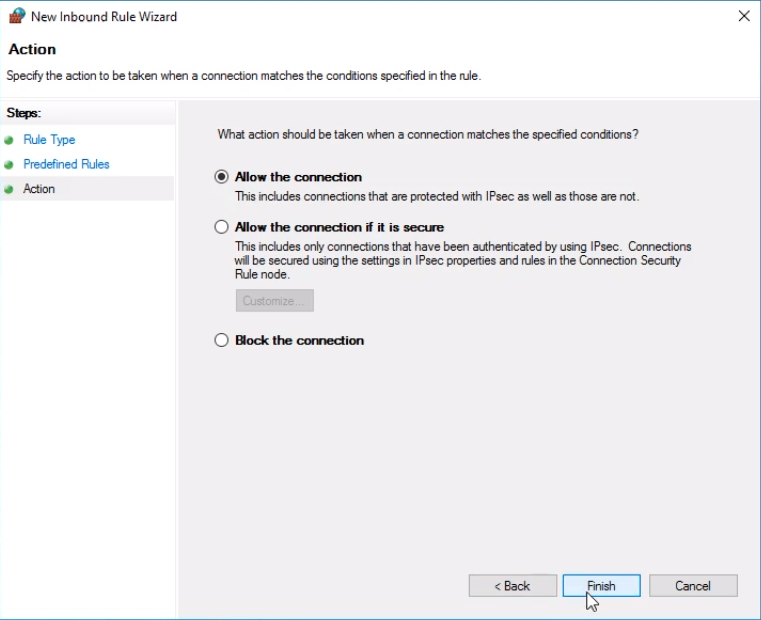
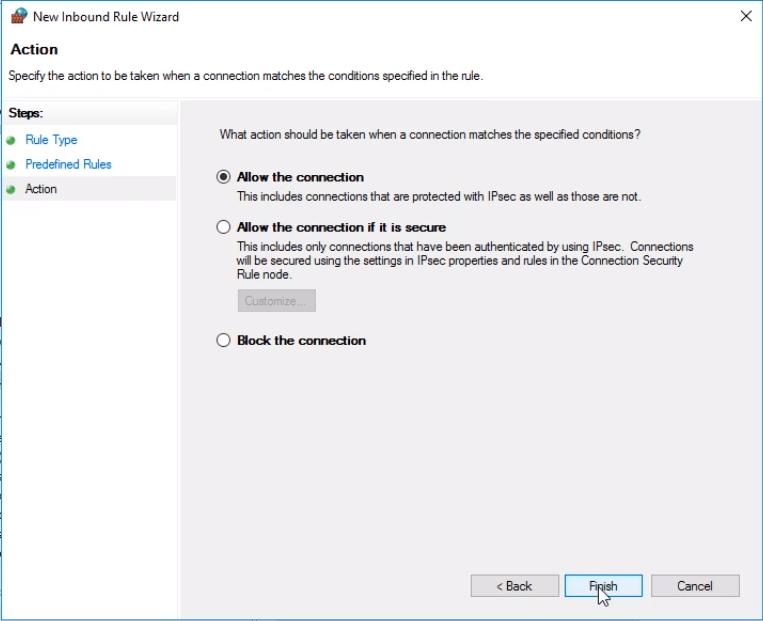
Leave Allow the Connection and click Finish.
We are going to do the same thing again, right-click on Inbound Rules and choose a New Rule.
We are going to choose Predefined and select File and Printer Sharing. Click Next.
Leave all the options selected.
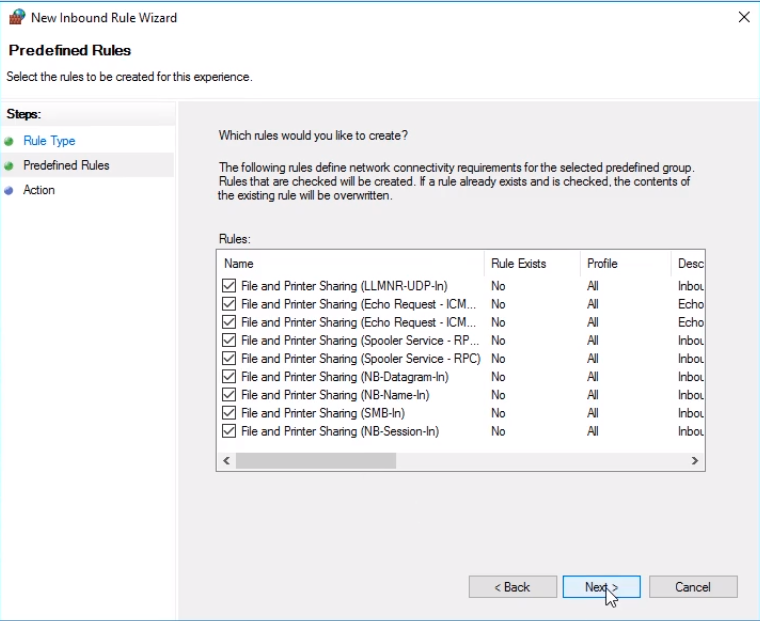
We are going to Allow the Connection and click on Finish.
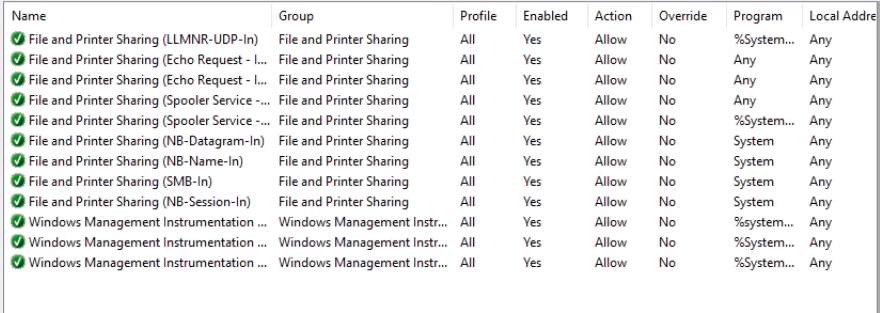
The Inbound Rules will be displayed to the right.
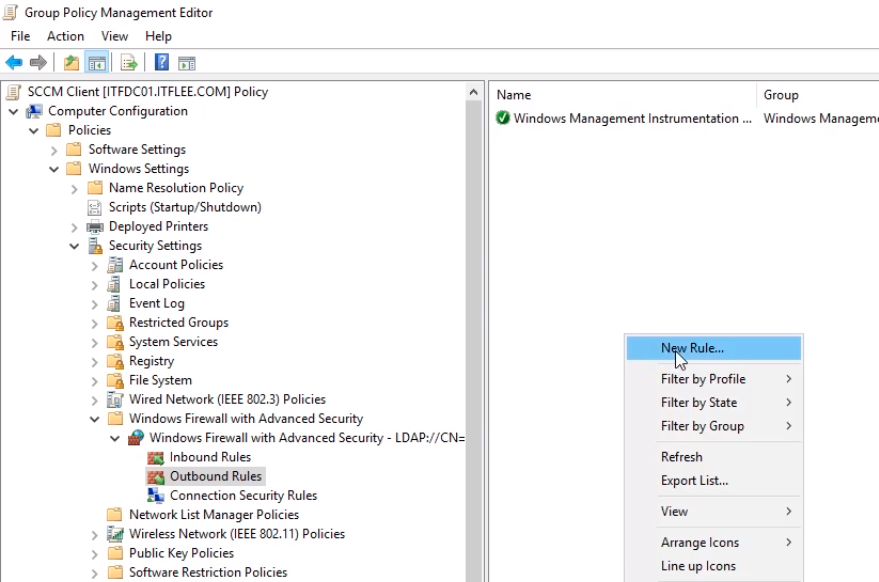
Now we are going to create our Outbound Rules. Select Outbound Rules and on the right window, right-click and select New Rule...
Select Predefined and again select Windows Management Instrumentation (WMI).
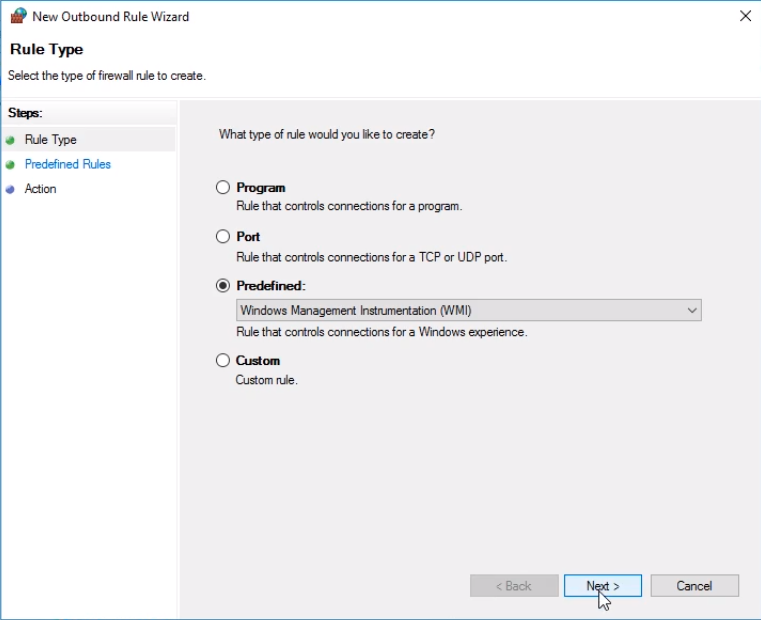
Click Next.
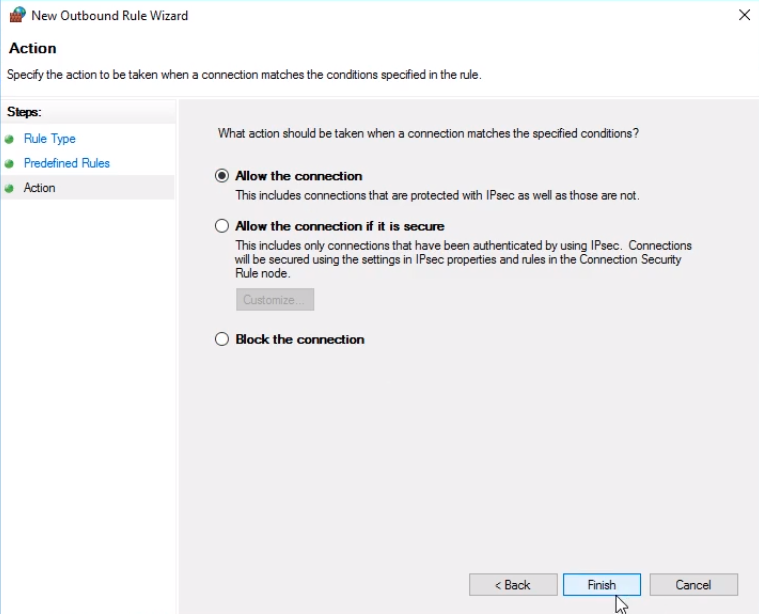
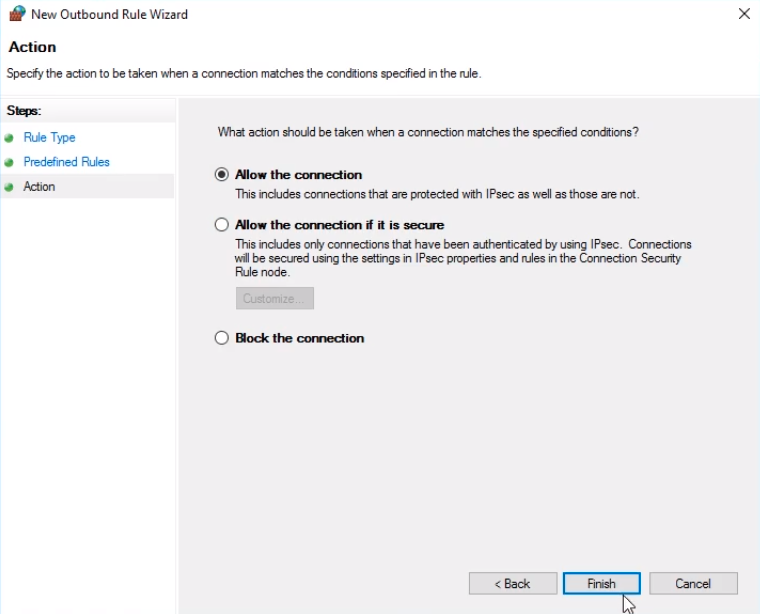
Now, really quick, make sure you pay attention, by default is going to Block the connection so we need to change it to Allow the connection. Click Finish.
And, one more Outbound Rule, right-click and choose New Rule for the File and Printer Services.
So, we select Predefined and File and Printer Sharing and click Next.

Click Next.
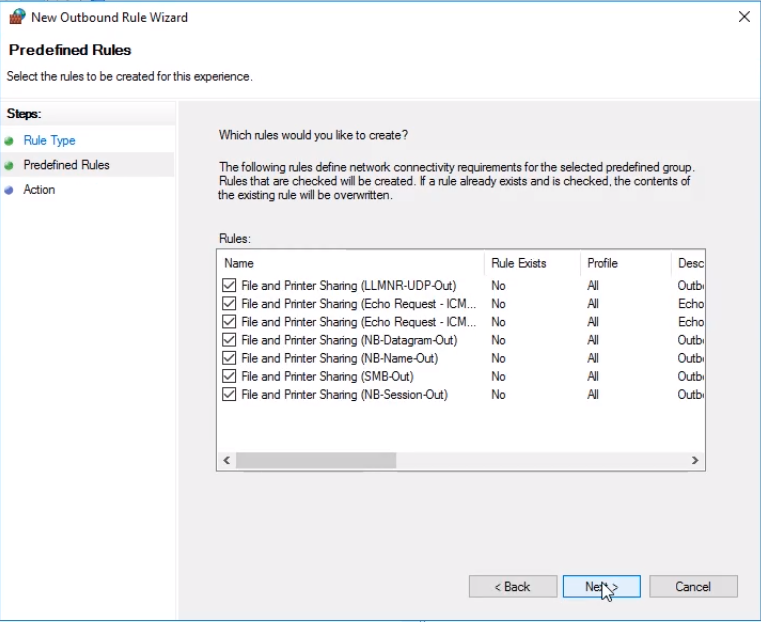
Change to Allow the connection and click Finish.
Now we are done with the GPO. Click Close on the upper right corner to close the Editor.

If now we select the SCCM client policy and select OK on the window.
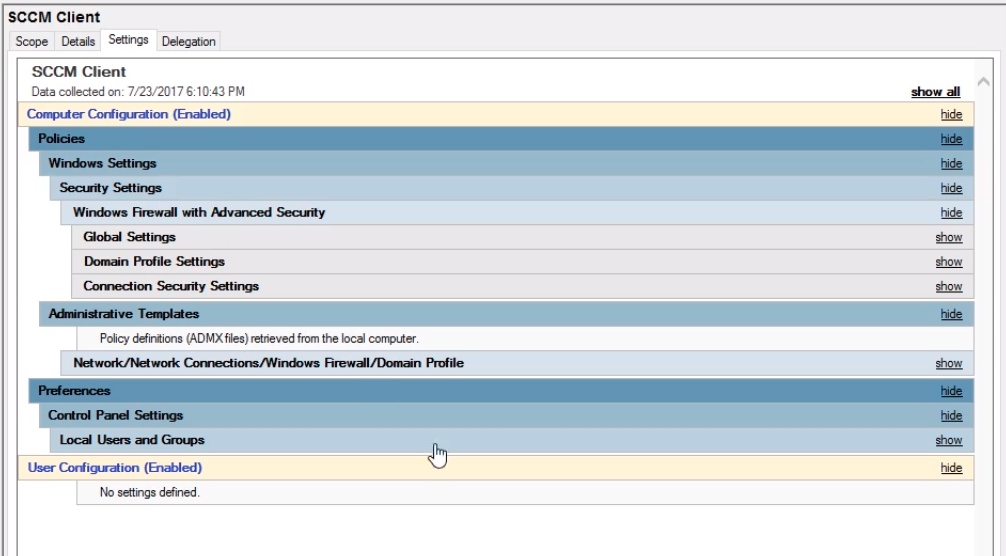
Choose the Settings tab and click Add on the popup window and Add again, then click Close.

Here we all the settings we have configured. You can click Show to expand each item.
What I am going to do know is a change to the ITFWS01 computer or my workstation that is the target of this group policy. I am going to run a gpupdate and we are going to see if the settings are actually taking effect.
I am on this workstation. We can use the LocalUser account that’s going to be fine, I am just going to type in the password and press Enter.
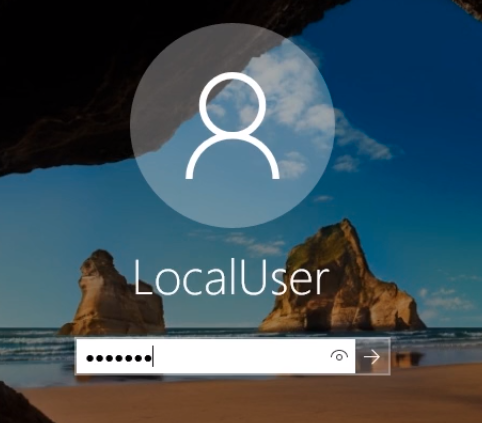
We can also use the domain account it really doesn’t matter which one we want to use.
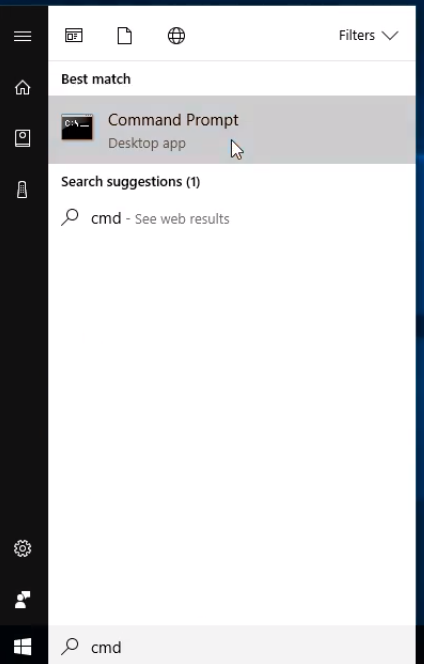
Click the Start button and type in cmd and click on Command Prompt.
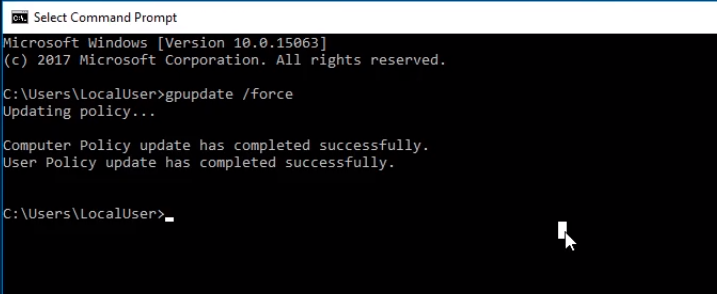
Type gpupdate /force and press Enter.
This is one thing that all sysadmins and help desk administrator professionals do. Create a Policy in the Domain Controller and you go to your workstation, you run gpupdate, and you see if it’s actually taking effect.
We can see the Computer Policy and User Policy have been updated.
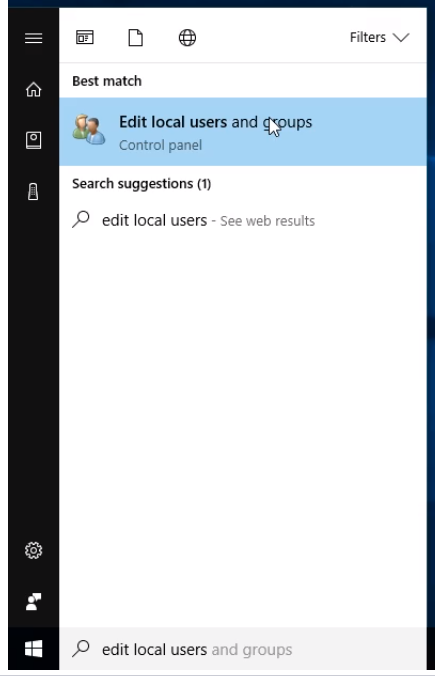
Now, we are going to click the Start button again and we are going to type edit local users and click on Edit local users and groups.
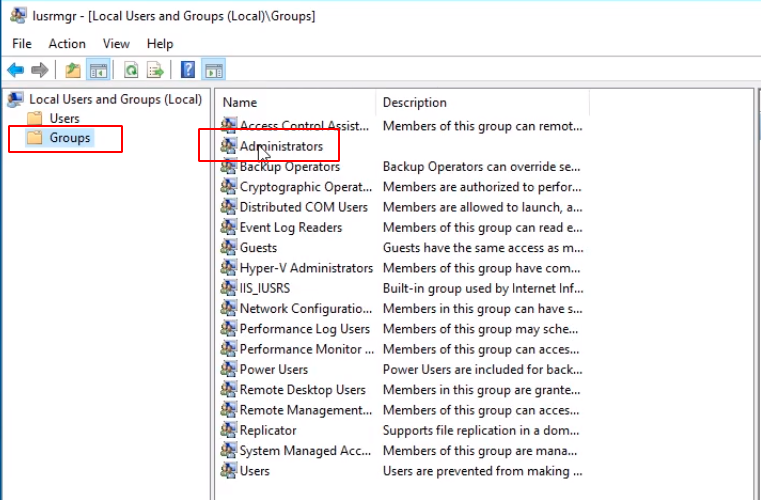
Click Groups and to the right double-click on Administrators.
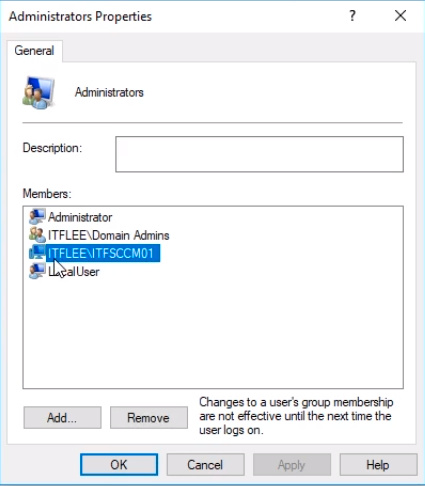
What we are looking for is the ITFSCCM01 Server. We can see that is a member of the Administrators group, so that is good.
Close the Windows.
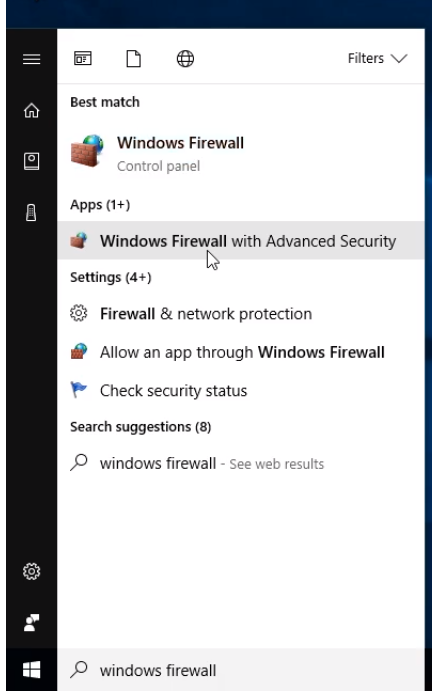
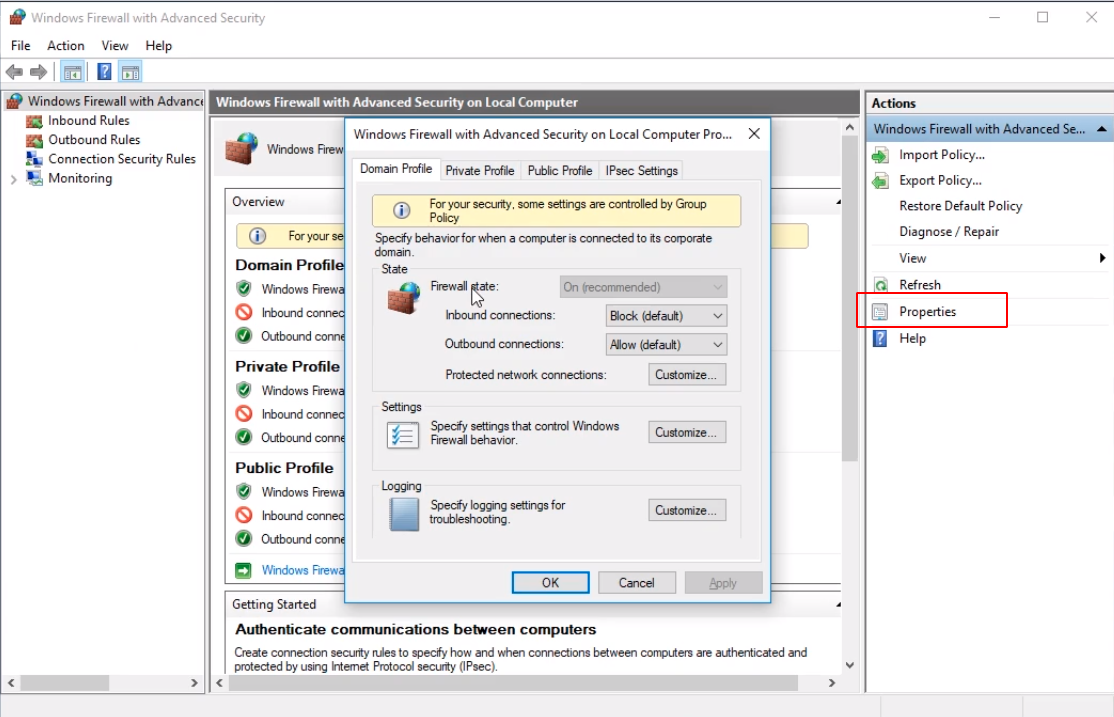
Click on Start and type windows firewall and select Windows Firewall with Advanced Security.
Click Properties on the right pane and in the middle you can see that the Firewall is on and a yellow banner that For your security, some settings are controlled by Group Policy.
This means that the Firewall policies are taking effect.
We can close all the windows opened.
Now, we are done preparing this workstation for the SCCM client installation, we’ve done it with Group Policy.


