
Extending the Active Directory Schema
Instructions
Q&A (0)
Notes (0)
Resources (0)
Saving Progress...
Resources
There are no resources for this lesson.
Notes can be saved and accessed anywhere in the course. They also double as bookmarks so you can quickly review important lesson material.
Extending the Active Directory Schema involves creating new structures to Active Directory that Configuration Manager sites use to store important data that clients need to access. This data simplifies client deployment and configuration and helps clients locate SCCM site resources.
While it is possible to avoid extending the Active Directory schema by using DNS and WINS, this method is generally avoided in favor of simply extending the Active Directory Schema with the automated script that is provided in the SCCM installation files.
Locating your Schema Master Server
To get started, first log in to your Active Directory Domain Controller that has the Schema Master FSMO role. If you’re unsure of how to find your locate your domain Schema Master server, open PowerShell or Command Prompt as an administrator on any Windows Server in your domain and execute the command below:
netdom query fsmo

Based on the output of the command above I can see that my Schema Master server is SADC01 - so I will log in to that server to extend the Active Directory Schema.
Copy extadsch.exe to Schema Master Server
Now that we have located the Schema Master Server, let’s copy the utility that will extend our AD schema over to our Schema Master Server.
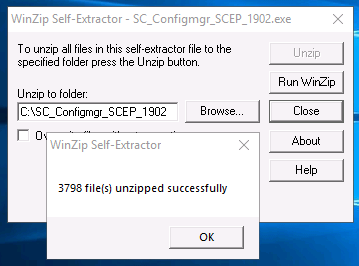
On the SCCM server, log in and locate your installation file “SC_Configmgr_SCEP_1902.exe”. Running that will extract the installation files to the C drive by default. Click Unzip and wait for it to complete.
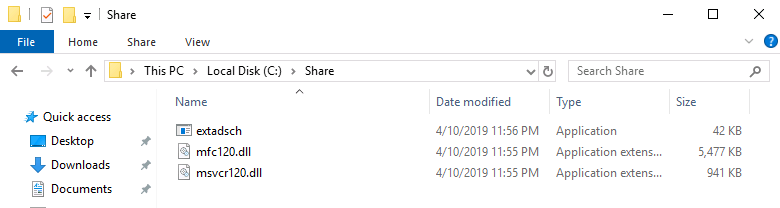
On the C:\ drive, create a new folder and name it “Share”. Next, navigate to “C:\SMSSETUP\BIN\X64” and copy the files listed below to C:\Share
- Extadsch.exe
- mfc120.dll
- msvcr120.dll
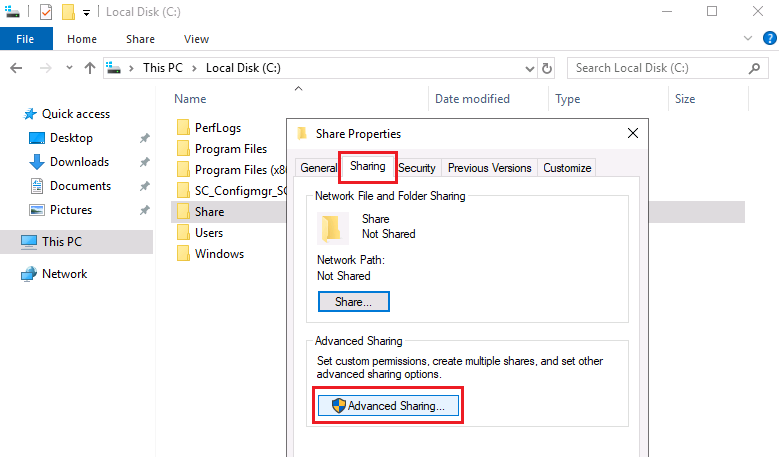
Now let’s go back to the C drive, right-click the new “Share” folder and click Properties. Navigate to the Sharing tab and click Advanced Sharing:
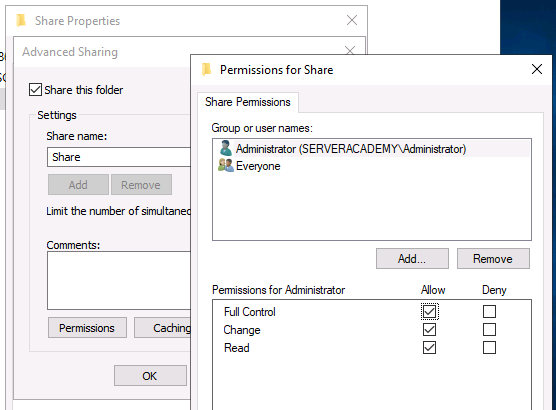
Click the Share this folder checkbox, then click Permissions and grant Full Control to the SERVERACADEMY\Administrator account:
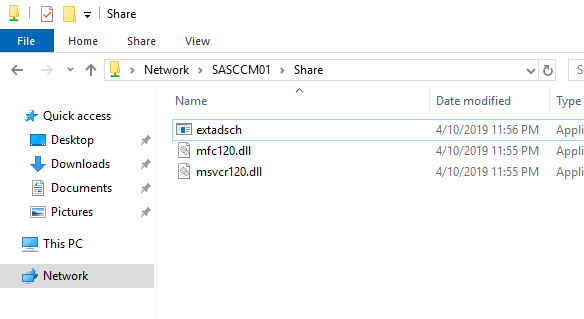
Click OK to close all of the windows then log back in to your Schema Master server. Open Windows Explorer and navigate to “\\SASCCM01\Share”. Here you should see the extadsch.exe script that we just copied from the SCCM install files to the new shared folder:
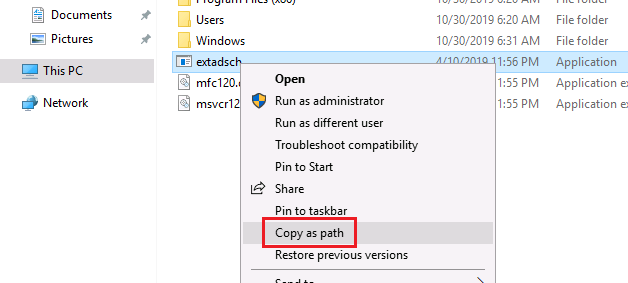
Copy those three files to the C:\ drive. Next, hold shift, right-click the file and select Copy as path:
Open Command Prompt as an administrator, right-click in the console to paste the path, and press enter:
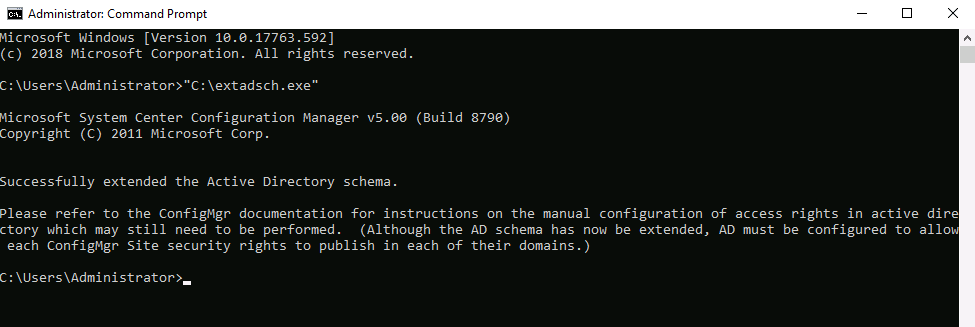
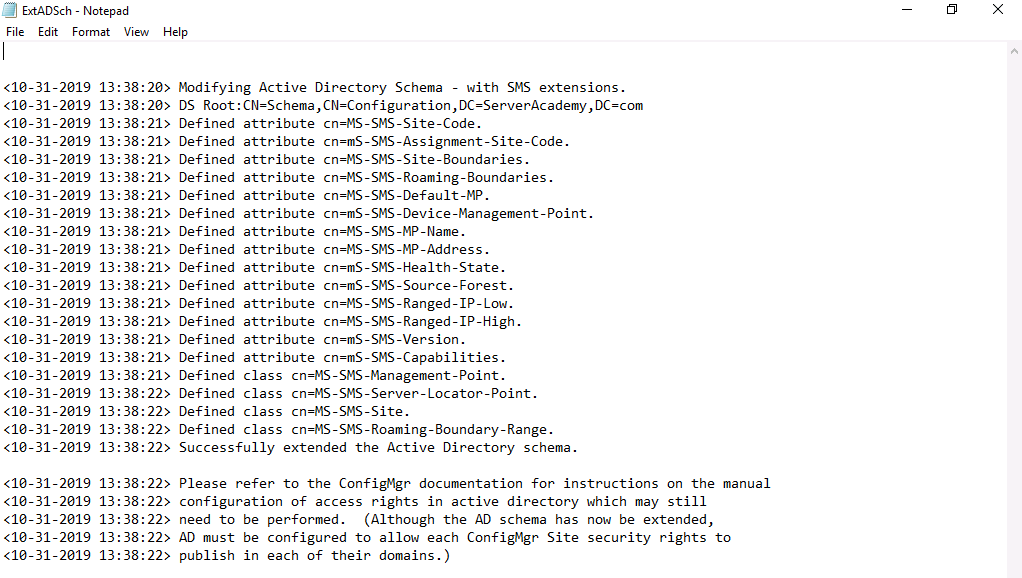
The process should be relatively quick, and once it completes we want to review the log that is generated (in our case on the C drive) when it is complete. Look for ExtADSch.txt which should contain the line below:
“Successfully extended the Active Directory Schema.”
And now we are done extending the schema and are ready to move on to the next step.


