
Configuring SADC01

Full-Access Members Only
Sorry, this lesson is only available to Server Academy Full-Access members. Become a Full-Access member now and get instant access to this and many more premium courses. Click the button below and get instant access now.
Instructions
Q&A (0)
Notes (0)
Resources (0)
Saving Progress...
Resources
There are no resources for this lesson.
Notes can be saved and accessed anywhere in the course. They also double as bookmarks so you can quickly review important lesson material.
In this lecture, we will be configuring our Windows Server 2019 Domain Controller SADC01.
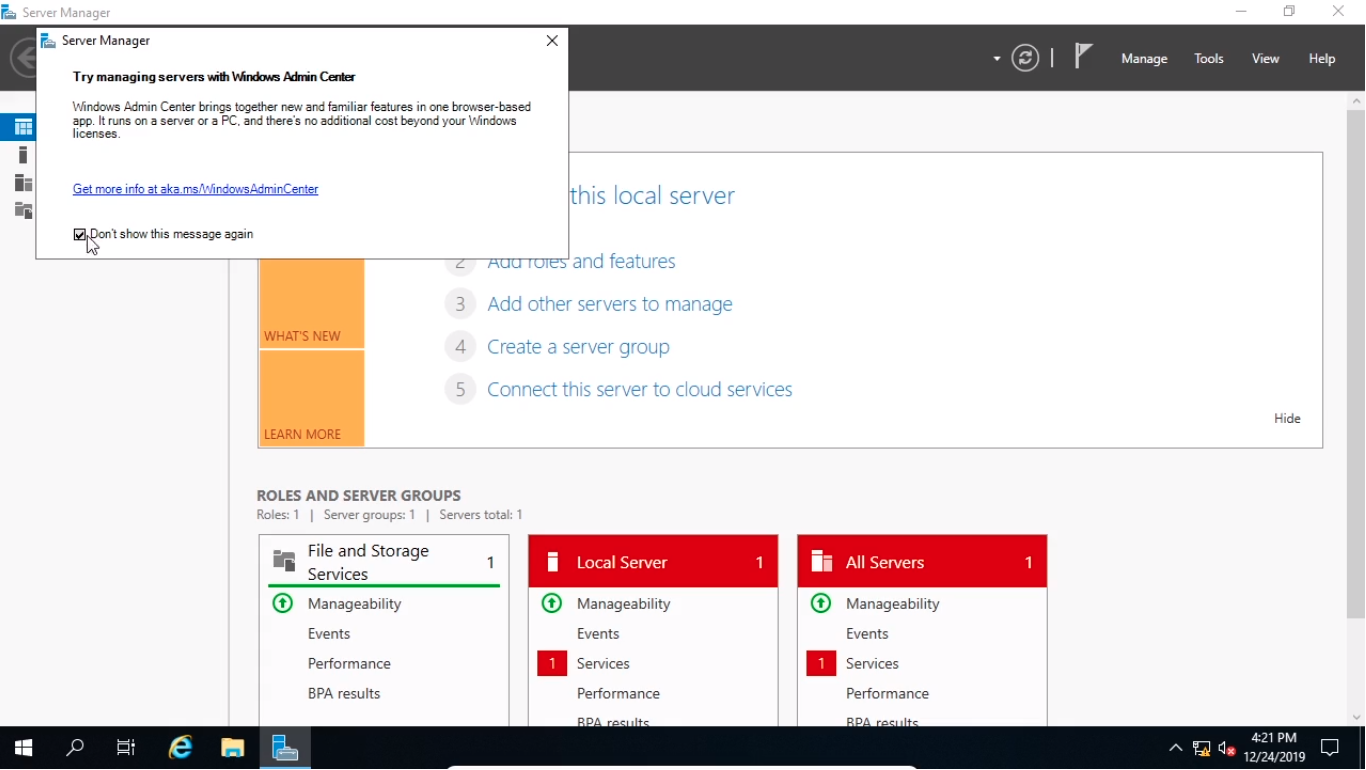
Now, I logged into the Domain Controller and I am brought to the Desktop. Here’s a message about the Windows Admin Center, I am going to click on Don’t show this message again and close the window from the X corner.
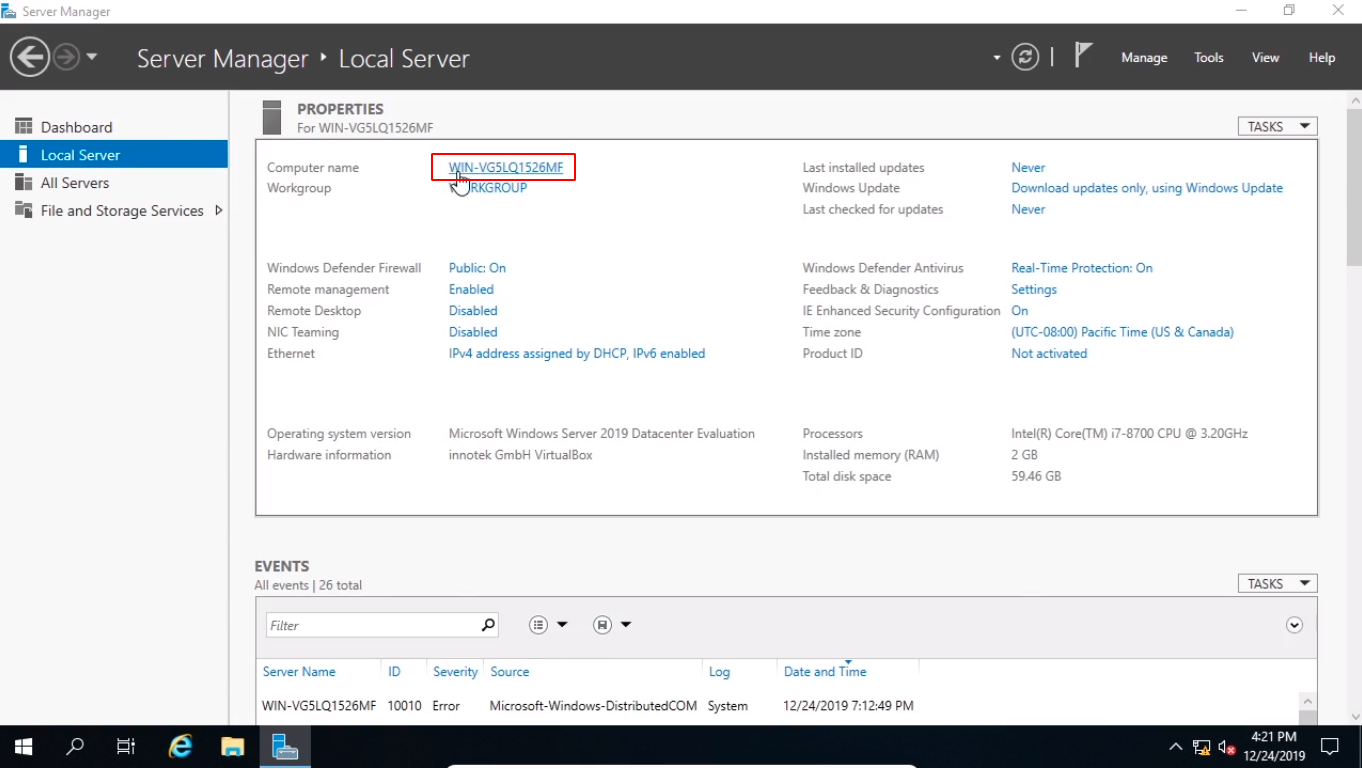
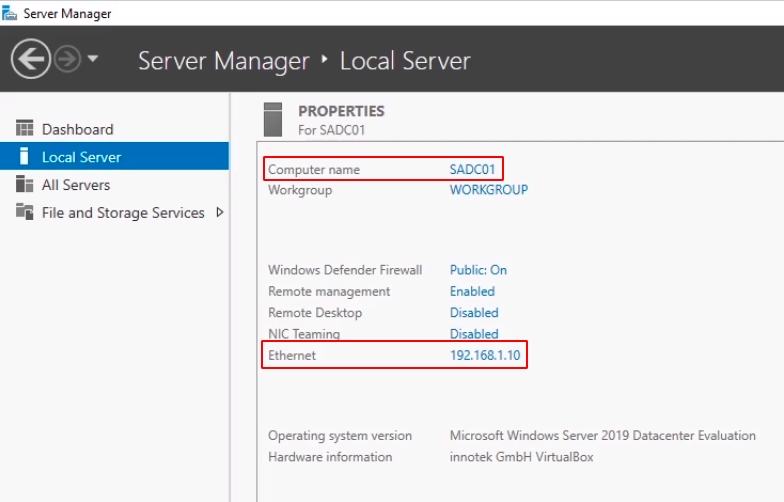
Now, let’s get started by naming the server. Select Local Server from the left.
From the Computer name, I am going to click on this blue text.
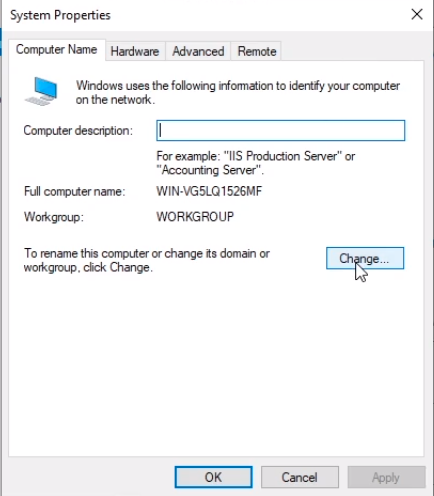
And I am going to click on the Change button.
From here I am going to type the name of the Domain Controller which is SADC01 and I am going to click OK.
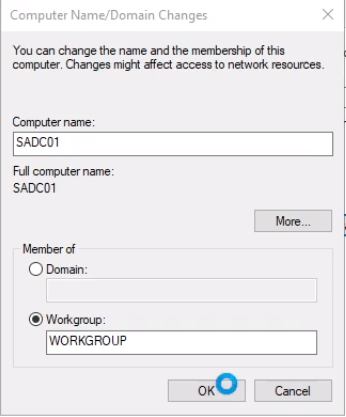
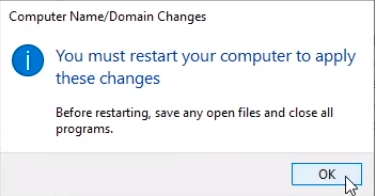
Click OK on the pup-up window.
And click Close.
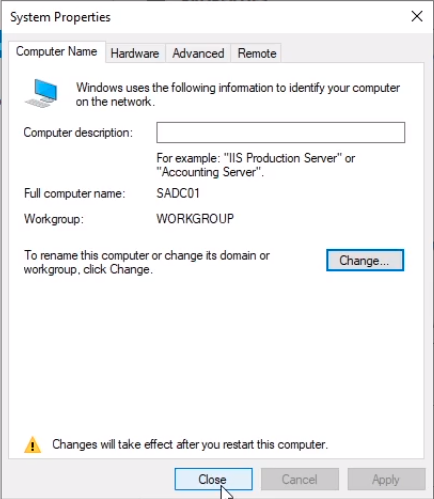
And I am going to Restart Later.

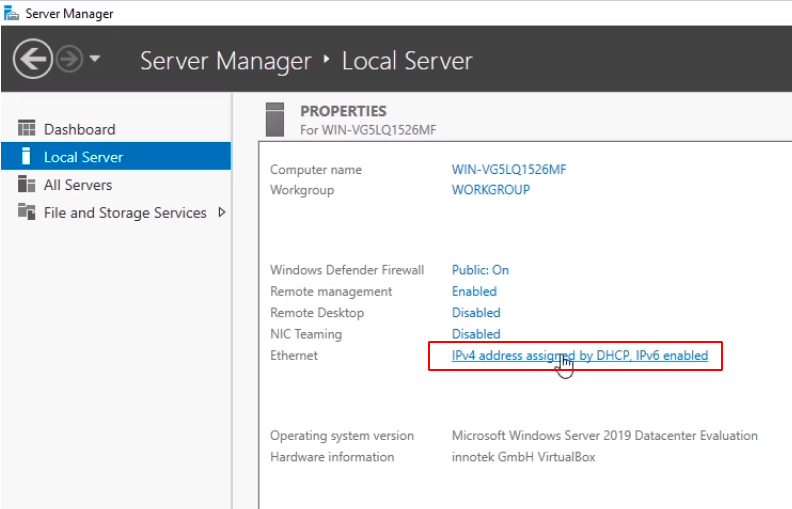
Next, let’s configure a Static IP Address.
So here where it says Ethernet we are going to click on the IPv4 blue text.
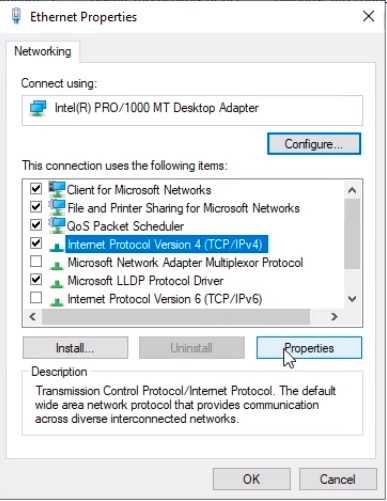
I am going to right-click on Ethernet and choose Properties.
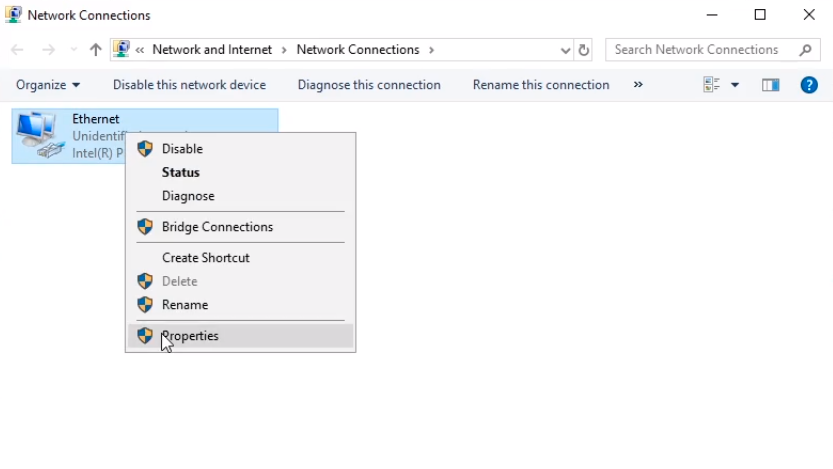
Next, what we are going to do is disable Internet Protocol Version 6 (TCP/IPv6) by unchecking the checkmark next to it. We then select Internet Protocol Version 4 (TCP/IPv4) and we click Properties.
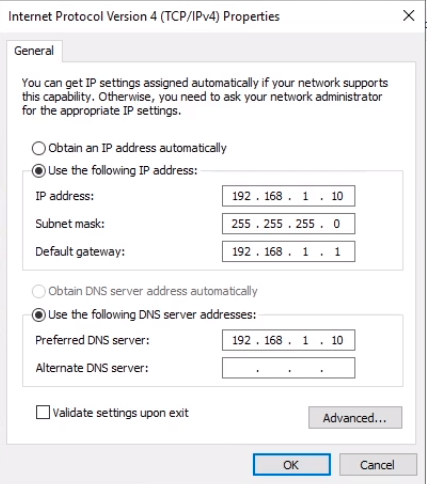
Now, this dialog allows us to either assign a Static IP Address or obtain an IP Address automatically through DHCP.
I am going to select Use the following IP address and I am going to use 192.168.1.10, and if I press the tab it’s going to autocomplete the Subnet mask to 255.255.255.0. Now for the Default gateway that’s going to be 192.168.1.1 and this is the IP Address of our Nat Network.
For the Preferred DNS Server, we are going to use the local server IP Address which is now 192.168.1.10. Right now this server is not yet a DNS server but it will be soon so we are going to go ahead and pre-enter this information. For an Alternate DNS server, you can either leave it blank or we can use google’s IP Address which would be 8.8.8.8. We are going to leave it blank and click OK.
Click Close and close the window.
What we are going to do now is to reboot the server by clicking on the Start icon and clicking the Power button and clicking Restart and Continue so the name and changes take effect.
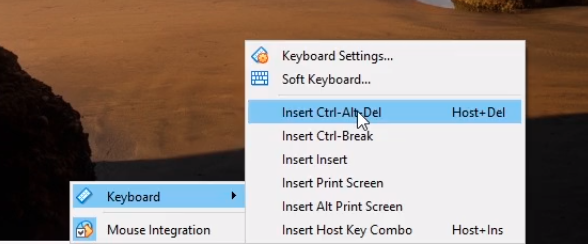
Now, the reboot is completed so we are going to click on Input > Keyboard > Insert CTRL+ALT+DEL
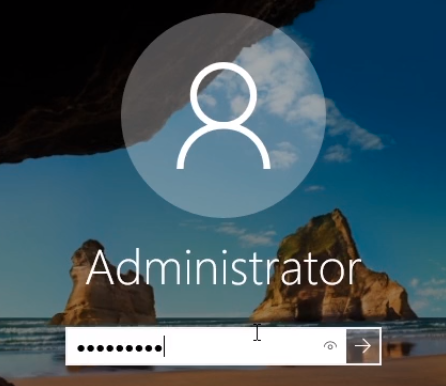
And I am going to type in the password that I created earlier.
So the reboot is completed so I am just going to go to the Local Server tab and I am going to make sure that the settings took effect.
I have SADC01, I have the IP Address configured.
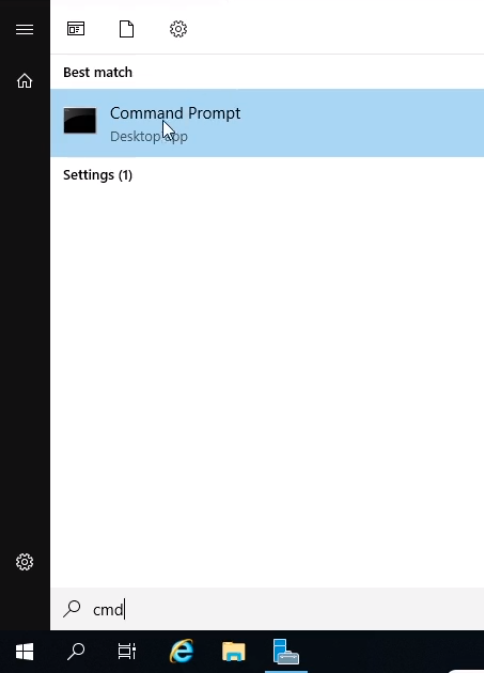
So what I am going to do now is hit the Start button and verify the IP Address. Type cmd and we are going to open the Command Prompt.
Next, I am just going to type ipconfig and press Enter. And, I am going to attempt to ping the default gateway by typing ping 192.168.1.1.
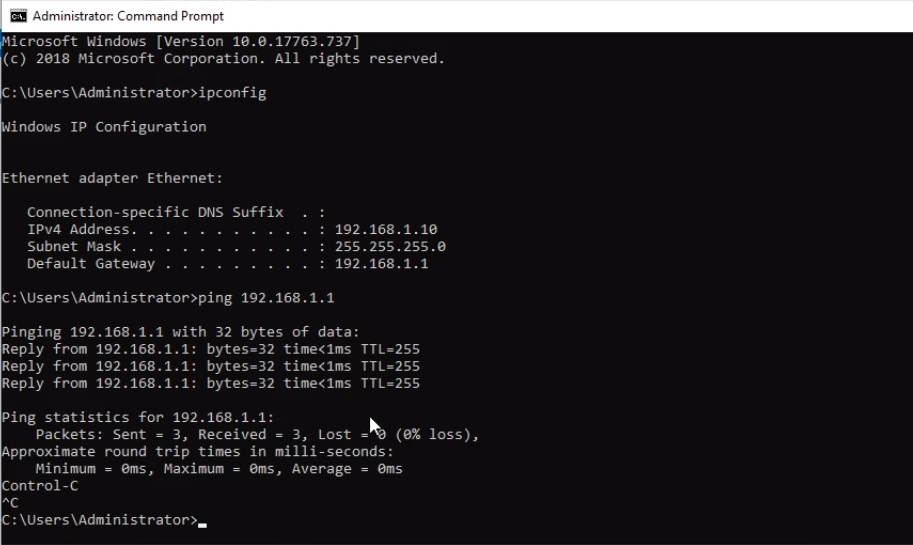
Let’s also try to ping Google.com so I just type ping google.com and press Enter.
Now, it says it could not find the host google.com. This is because we are referencing our local server as the DNS server, and is not actually a DNS server yet. So let’s fix that.

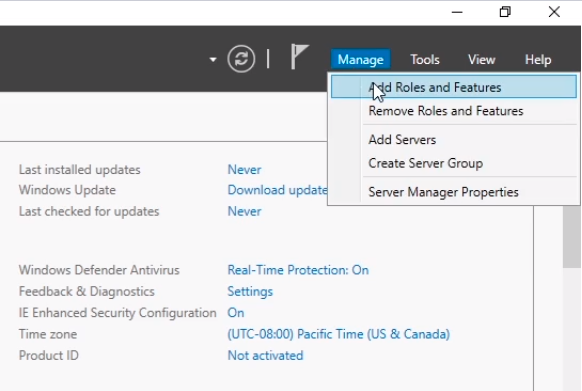
Let’s close out of the command prompt. What we are going to do from Server Manager click Manage and select Add Roles and Features.
We are going to click Next.
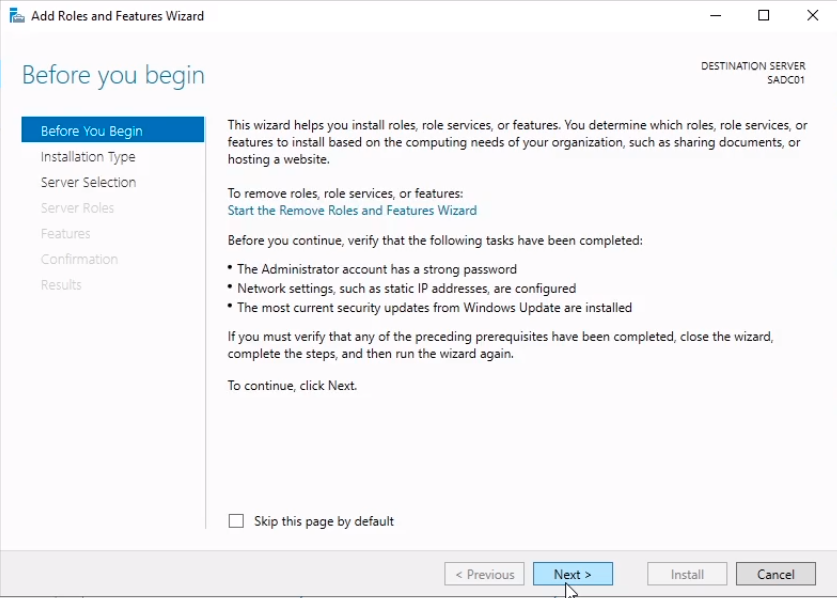
Click Next.
Server Academy Members Only
Sorry, this lesson is only available to Server Academy Full Access members. Become a Full-Access Member now and you’ll get instant access to all of our courses.


I Help was unable to ping google.com after completing new scope
Hi Abayomi Williams
Did it work by assigning a new IP address? Try an ipconfig /release and ipconfig /renew to see if it gets updated.
Ricardo
Thanks alot
also If I bring my laptop between my home and my and I want to practice setting up domains will I have issue because I am setting up on two different networks?
If you are using VirtualBox, then it should not matter since the NAT network will be the same. It typically is a private address local to your host machine.