0%
0/1 Lessons
Getting Started with this Course • 26min
0 / 3 lessons complete
SCCM Configuration Manager Overview
Free Preview Lesson
Video | 8 min
Prerequisites in a Production Environment
Free Preview Lesson
Video | 12 min
Configuration Manager Overview Section Quiz
Free Preview Lesson
Quiz | 6 min
System Center Configuration Manager - Features and Capibilities • 31min
0 / 5 lessons complete
Asset Management
Video | 6 min
Administrative Tasks
Video | 5 min
Client Management Part 1
Video | 7 min
Client Management Part 2
Video | 5 min
Features and Capabilities Section Quiz
Quiz | 8 min
SCCM 1902 Lab Setup • 51min
0 / 12 lessons complete
This section is optional
Text | 1 min
Lab Overview
Video | 4 min
Downloading and Installing VirtualBox
Video | 2 min
Creating Your NAT Network and VMs
Video | 4 min
Downloading and Mounting Server 2019 ISO
Video | 3 min
Installing Windows Server 2019 Part 1
Video | 4 min
Installing Windows Server 2019 Part 2
Video | 3 min
Downloading and Mounting Windows 10 ISO
Video | 2 min
Installing Windows 10
Video | 4 min
Configuring SADC01
Video | 15 min
Configuring our SAWS01 Workstation
Video | 4 min
Configuring our SASCCM01 Server
Video | 5 min
Installing SCCM 1902 Installation • 1hr 32min
0 / 11 lessons complete
SCCM Compatability Check
Video | 2 min
Download Required SCCM Software
Video | 2 min
Installing the ADK
Video | 2 min
Creating the System Management Container
Free Preview Lesson
Video | 4 min
Creating Domain User Accounts
Video | 8 min
Extending the Active Directory Schema
Free Preview Lesson
Video | 5 min
Configure Windows Firewall with Group Policy for SCCM
Video | 7 min
Install SQL Server 2017
Video | 9 min
Installing SCCM Dependent Server Roles
Video | 3 min
Installing System Center Configuration Manager
Video | 5 min
Lab: Installing System Center Configuration Manager
Lab | 45 min
Configuration Manager Basics • 1hr 58min
0 / 8 lessons complete
Console Overview Part 1
Video | 12 min
Console Overview Part 2
Video | 10 min
Site System Roles
Video | 9 min
Creating and Managing Administrative Users
Video | 6 min
Creating Boundary and Boundary Groups
Video | 4 min
Client Discovery Methods
Video | 7 min
SCCM Basics Section Quiz
Quiz | 10 min
Lab: SCCM Basics
Lab | 60 min
Updating SCCM • 30min
0 / 7 lessons complete
Understanding Windows ADK Compatibility
Video | 4 min
Configuration Manager Update Overview
Video | 6 min
How to Verify Your ADK Version
Video | 2 min
Installing ADK 1903
Video | 2 min
Updating SCCM
Video | 4 min
Verifying Our Configuration After Update
Video | 6 min
Updating SCCM Section Quiz
Quiz | 6 min
SCCM Client Installation • 46min
0 / 4 lessons complete
Preparing for Client Installations with Group Policy
Free Preview Lesson
Video | 12 min
Client Push Installation
Free Preview Lesson
Video | 11 min
Deploying the SCCM Client with Group Policy
Video | 17 min
Manual Client Installation
Video | 6 min
User and Device Collections • 1hr 6min
0 / 13 lessons complete
Collections Overview and the Direct Rule
Video | 9 min
Creating Include/Exclude Collections
Free Preview Lesson
Video | 5 min
Query based User and Device Collections Introduction
Video | 2 min
Query Based User Collections Example #1
Video | 5 min
Query Based User Collections Example #2
Video | 3 min
Query Based User Collection Challenge #1
Video | 2 min
Query Based Device Collection Example #1
Video | 3 min
Role Based Administration
Video | 2 min
Assigning a User Collection to an Administrative Security Roll
Video | 10 min
Using a Collection to Enforce a Maintenance Window
Video | 4 min
Deploying Power Management to a Collection
Video | 6 min
Using a Collection to Turn-On the Remote Control Feature
Video | 10 min
User and Device Collection Section Quiz
Quiz | 5 min
Application Management • 2hr 34min
0 / 12 lessons complete
Application Management Overview
Free Preview Lesson
Video | 7 min
Creating an Application using an MSI Part 1
Video | 9 min
Creating an Application using an MSI Part 2
Video | 9 min
Supersedence Part 1
Video | 7 min
Supersedence Part 2
Video | 8 min
Creating an Application using an EXE
Video | 16 min
Creating an Application that requires Approval
Video | 12 min
Creating a Package using an MSI
Video | 9 min
Uninstalling an Application
Free Preview Lesson
Video | 5 min
Monitoring Applications
Video | 4 min
Lab: Application Deployment
Lab | 60 min
Application Management Section Quiz
Quiz | 8 min
Operating System Deployment • 23min
0 / 7 lessons complete
Create a Windows 10 Collection
Text | 2 min
OSD - The Basics
Video | 3 min
Setting Up a DHCP Server
Video | 2 min
Adding an Operating System to Configuration Manager
Free Preview Lesson
Video | 6 min
Create a Deployments folder for the Captured Image
Text | 1 min
Creating a Task Sequence
Free Preview Lesson
Video | 5 min
Enable PXE Support - Configure WDS
Video | 4 min
Endpoint Protection • 1hr 11min
0 / 10 lessons complete
An Overview of Network Security
Video | 8 min
Endpoint Protection Server Prerequisites
Video | 6 min
Endpoint Protection Licensing
Video | 1 min
Endpoint Protection Planning and Integration
Video | 5 min
Create a Shared Folder Named EPUdates
Text | 5 min
Endpoint Protection Server Configuration and Installation
Video | 5 min
Endpoint Protection Policy Overview
Free Preview Lesson
Video | 13 min
The Anti-malware Policy Settings Overview
Video | 7 min
Configuring an Automatic Deployment Rule (ADR)
Video | 7 min
Endpoint Protection Client Installation
Video | 14 min
Troubleshooting • 37min
0 / 4 lessons complete
SCCM Troubleshooting Overview
Video | 7 min
The CMTrace Overview
Video | 8 min
Deploying CMTrace to a Device Collection
Video | 7 min
Troubleshooting a failed Client Push Install
Video | 15 min
Problems and Solutions from the Message Board • 14min
0 / 5 lessons complete
Resources
There are no resources for this lesson.
Notes can be saved and accessed anywhere in the course. They also double as bookmarks so you can quickly review important lesson material.
Characters: 0 / 1000
- Now we need to install the ADK 1903 and Windows PE on our SCCM server.
- Let’s start by launching the adksetup_1903.exe installer file.
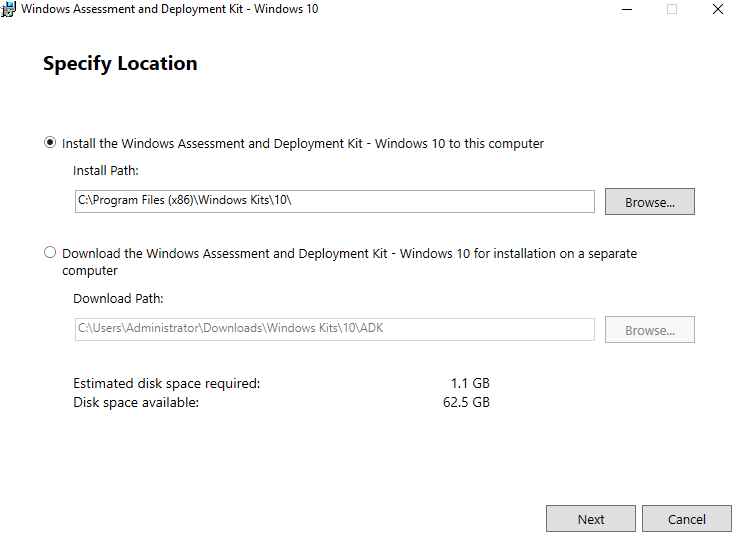
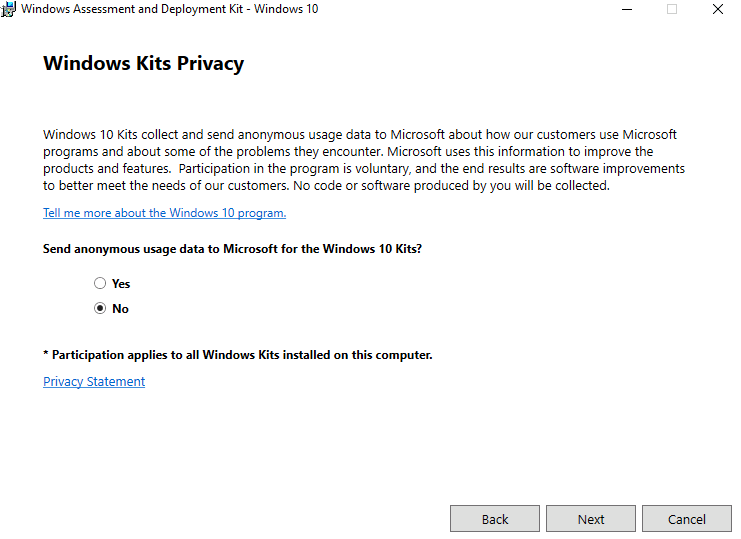
- Click Next and then decide whether or not you want to send anonymous usage data to Microsoft then click Next
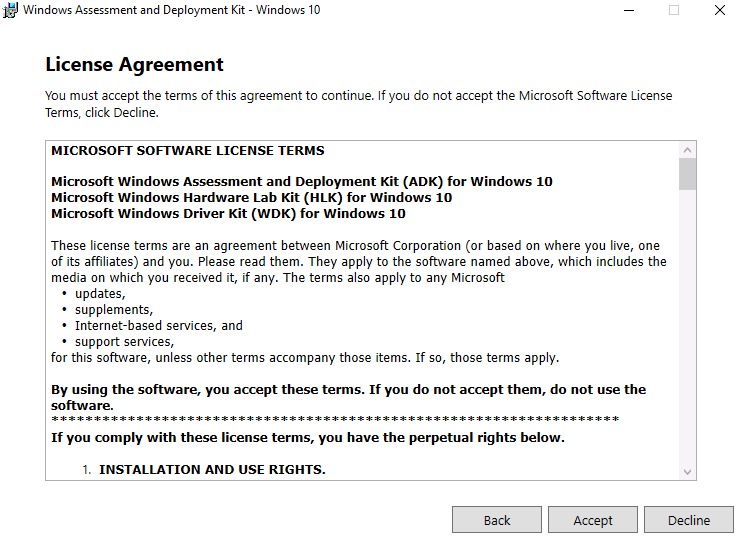
- Click Accept on the license terms...
- Uncheck all the selections except Deployment Tools and User State Migration Tool (USMT) and click Install.
- The Deployment Tools include DISM, WinPE. These tools are used for capturing servicing and deploying boot images and operating systems.
- USMT – is used for backup and restoring user state and data from one computer to another.
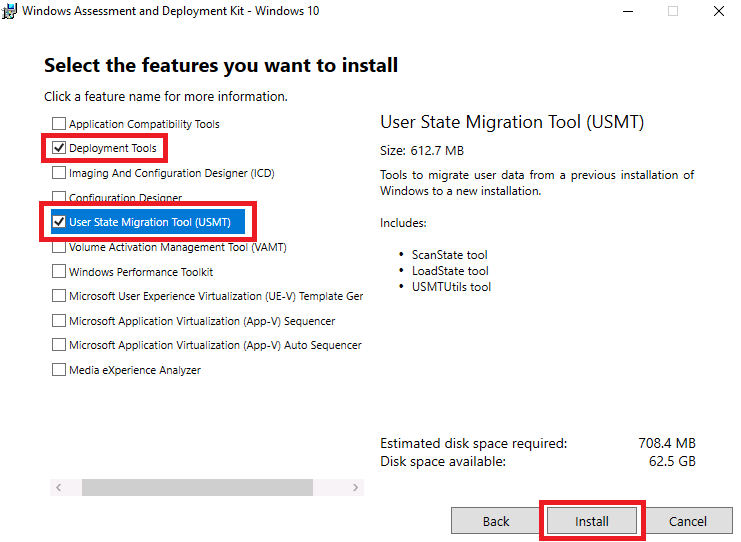
- Then click install.
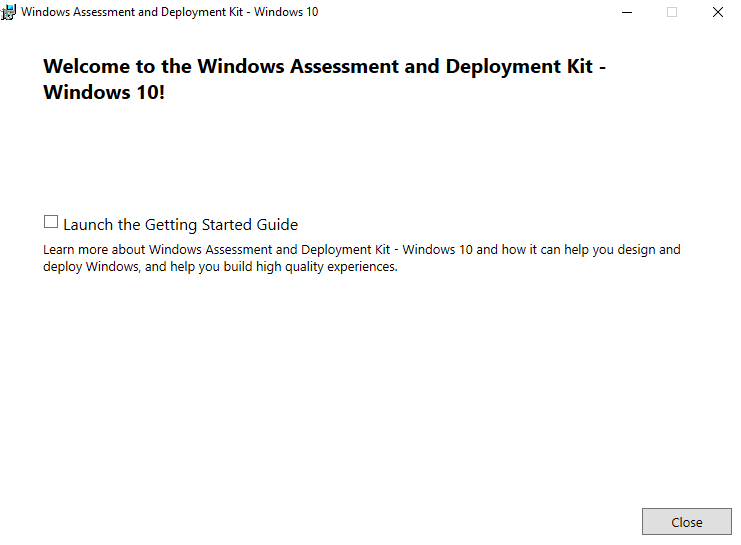
- Click Close when the installation is complete.
- Next launch the adkwinpesetup_1903.exe installation:

- This will be the exact same process as before. Click Next until you get to the install page
- Then select the features that you want. And by default, we will select the Windows Preinstallation Environment

- Then click Install.
- This will take a couple of minutes so go ahead and stop the video.
- Click Close when the installation is complete.


