
Installing SCCM Dependent Server Roles

Full-Access Members Only
Sorry, this lesson is only available to Server Academy Full-Access members. Become a Full-Access member now and get instant access to this and many more premium courses. Click the button below and get instant access now.
Instructions
Q&A (0)
Notes (0)
Resources (0)
Saving Progress...
Resources
There are no resources for this lesson.
Notes can be saved and accessed anywhere in the course. They also double as bookmarks so you can quickly review important lesson material.
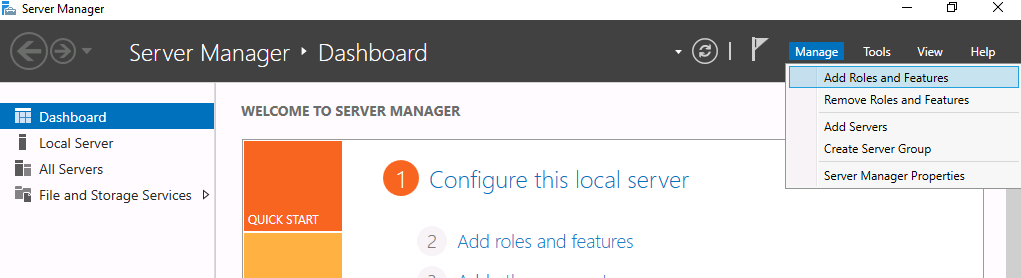
Now we are going to install the Windows Server Roles that SCCM requires before installation. Log in to your SCCM server and open Server Manager.
Click Manage > Add Roles and Features:
Click Next until you get to the Server Roles page, then select Web Server IIS and Windows Server Update Services.
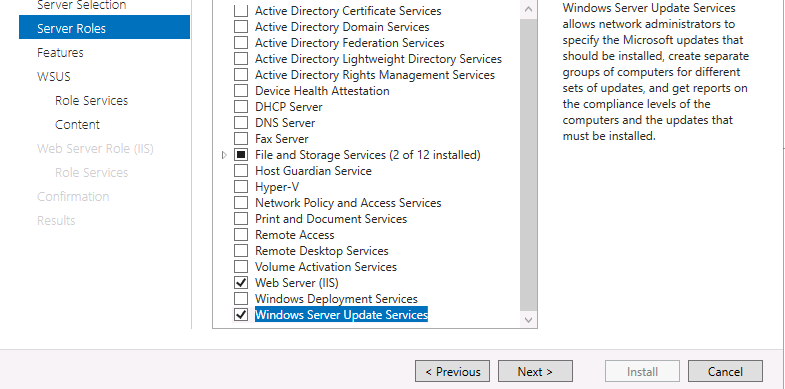
Select Web Service (IIS) and Windows Server Update Services roles. Be sure to click Add Features when you get the popup:
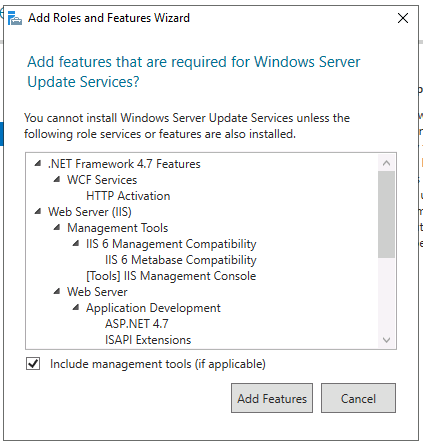
Click Next. On the Features page, enable the following features:
- Net Framework 3.5/4.5 Features (all sub-features)
- BITS (all sub-features)
- Remote Differential Compression
Now click Next. Depending on which Role you selected first, you might get to the IIS or WSUS page first. When on the Web Server (IIS) Role Services page, be sure the following role services are enabled:
Application Development
- ASP.NET 3.5 / 4.5 / 4.7
Management Tools > IIS 6 Management Compatibility
- IIS 6 Metabase Compatibility
- IIS 6 Management Console
- IIS 6 Scripting Tools
- IIS 6 WMI Compatibility
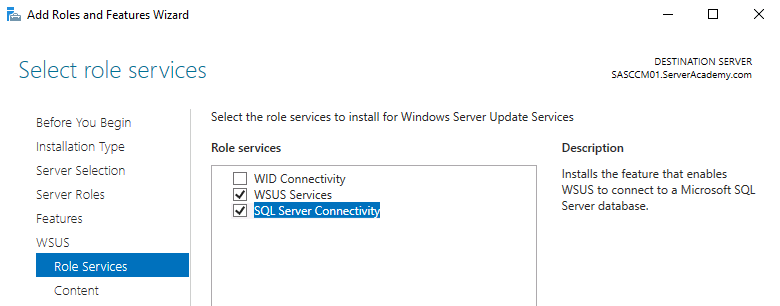
Click Next until you get to the WSUS Role Services page. Uncheck the WID Connectivity and select the SQL Server Connectivity and click Next:
Place the WSUS content in the “C:\wsus_content” folder and click Next:

For the DB Instance enter the name of your SQL server (mine is the localhost, SASCCM01) and click Check connection:

Now click Next and Install:
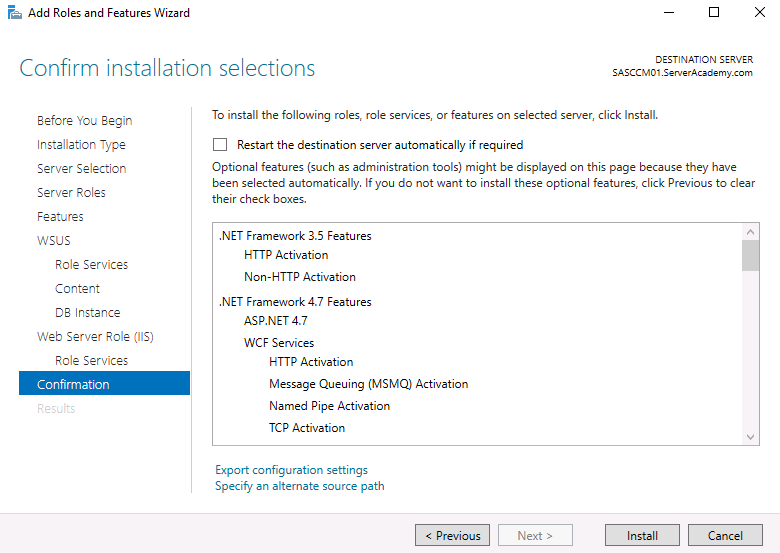
This installation will take a few moments so we just need to wait for the installation to complete.
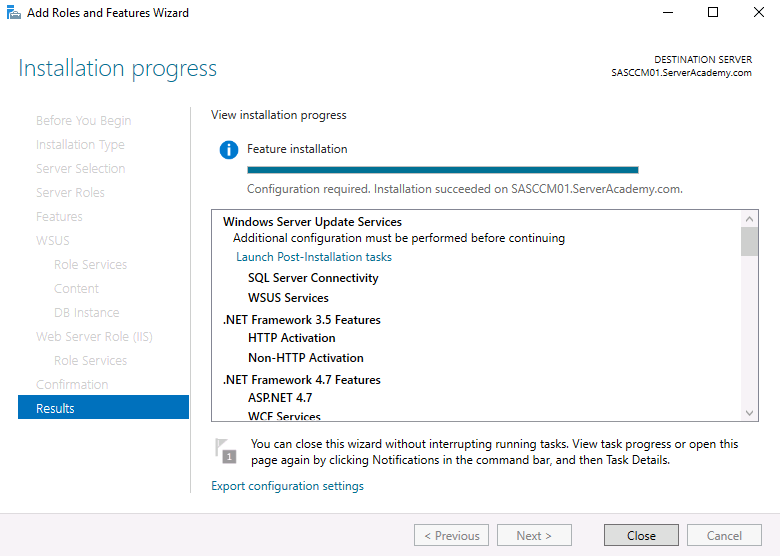
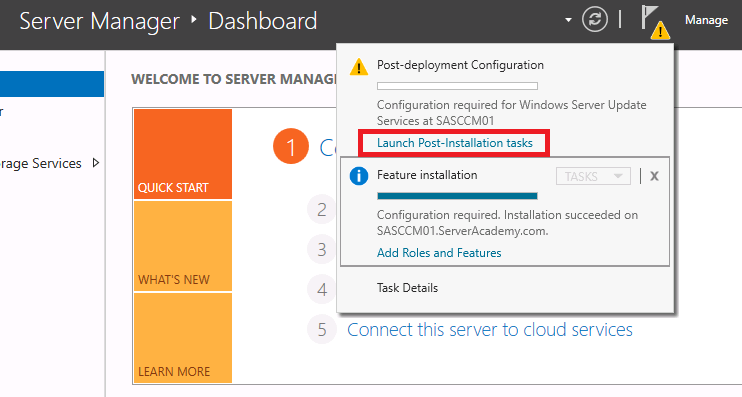
Once the installation is complete, click the Close button. Disregard the triangle In the top right-hand corner of Server Manager.
It’s the prompt to complete the WSUS installation. We will be allowing SCCM to configure and manage the WSUS role.
Server Academy Members Only
Sorry, this lesson is only available to Server Academy Full Access members. Become a Full-Access Member now and you’ll get instant access to all of our courses.


