
Creating Your NAT Network and VMs

Full-Access Members Only
Sorry, this lesson is only available to Server Academy Full-Access members. Become a Full-Access member now and get instant access to this and many more premium courses. Click the button below and get instant access now.
Instructions
Q&A (0)
Notes (0)
Resources (0)
Saving Progress...
Resources
There are no resources for this lesson.
Notes can be saved and accessed anywhere in the course. They also double as bookmarks so you can quickly review important lesson material.
In this lecture, we are going to create the three Virtual Machines that we will be using for this Lab. We are also going to create the NAT Network that our VMs are going to use.
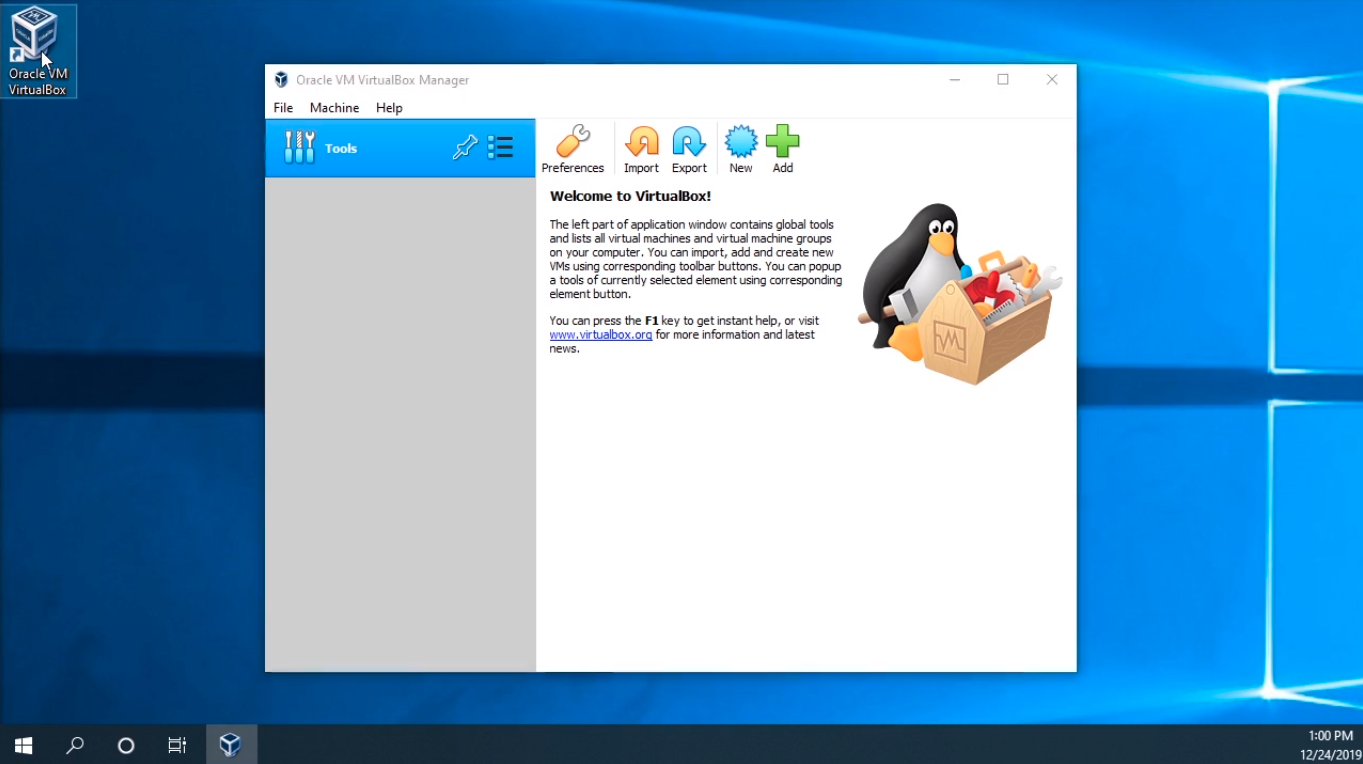
First, open VirtualBox by double-clicking on the shortcut icon on the Desktop that gets created when you install VirtualBox.
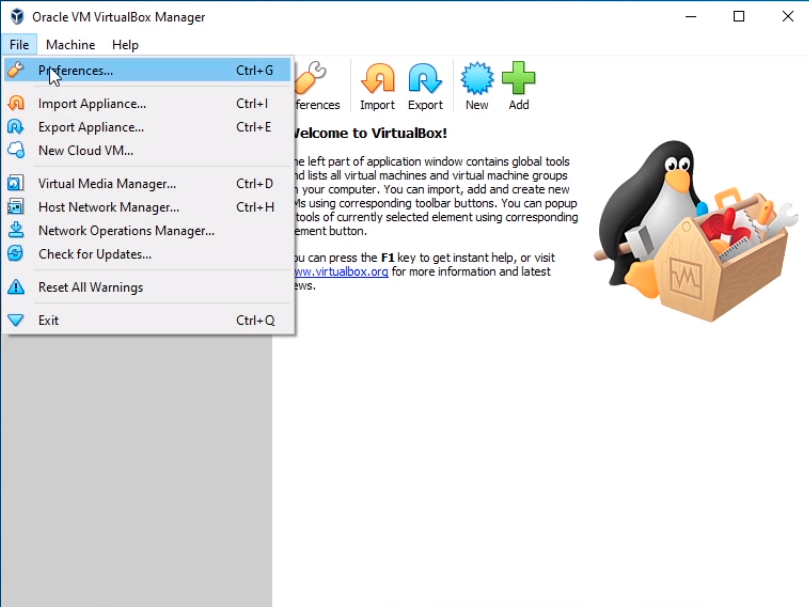
Click on File > Preferences and we will create this NAT Network first.
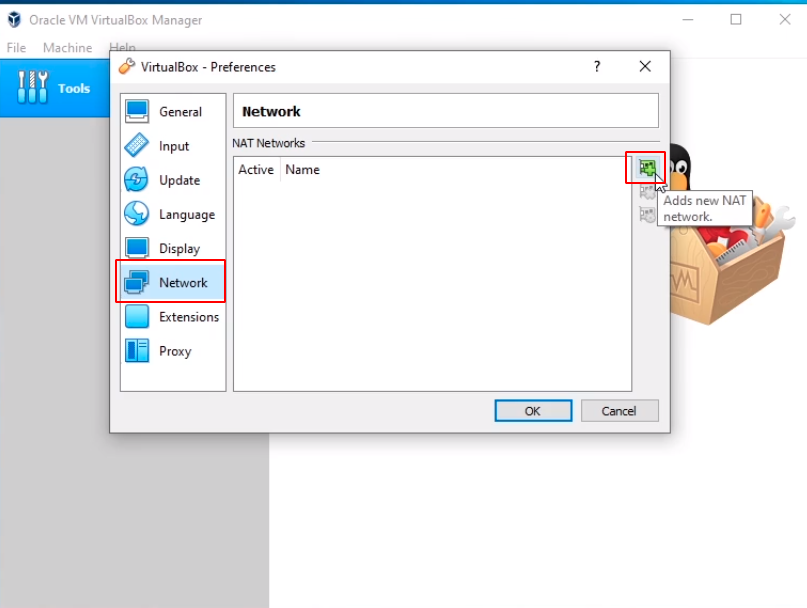
Click on Network from the left options and then to the right there’s a green plus icon. Click on it.
Now, that’s going to create a new NatNetwork. Double click on the NatNetwork.
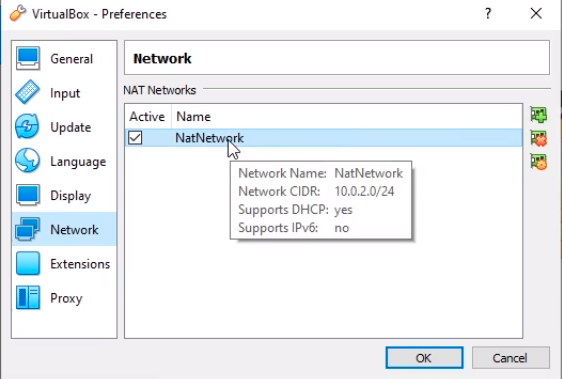
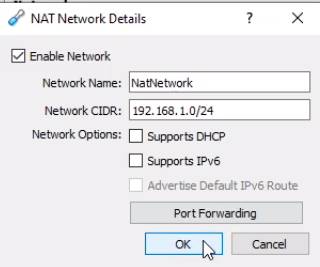
Here we can do things like changing the NatNetwork Name, we can change the Network CIDR or the subnet that will work on. I am going to change the CIDR to 192.168.1.0/24 to use the entire subnet as the network and the last octet to act as the host space.
I am going to turn off DHCP by unchecking the checkbox. We can do other things like enabling IPv6, we can do Port Forwarding, this is unnecessary for our lab environment.
So I am going to click the OK button.
And click OK again.
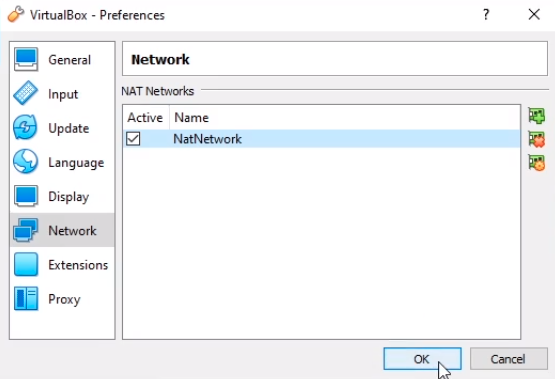
And now we have created our network.
Next, we need to create the three Virtual Machines that we will be using for this IT Lab. That is SADC01 for the Domain Controller, SASCCM01 for our SCCM server, and SAWS01 for our workstation.
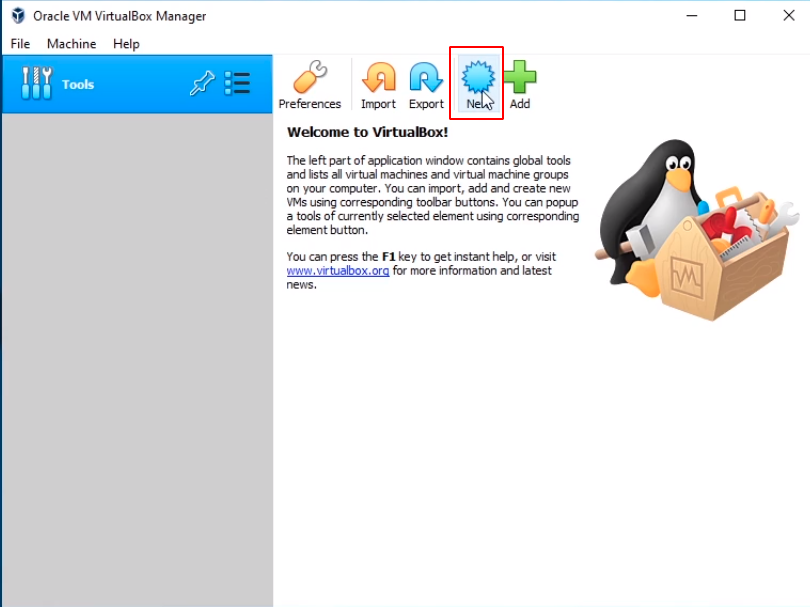
So what I am going to do is click the New button.
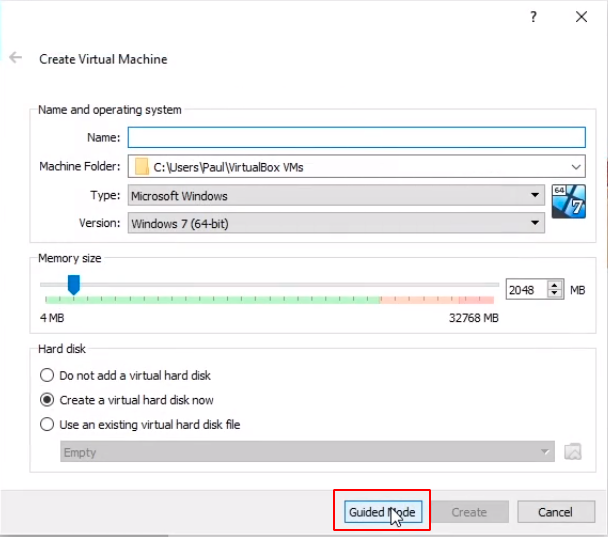
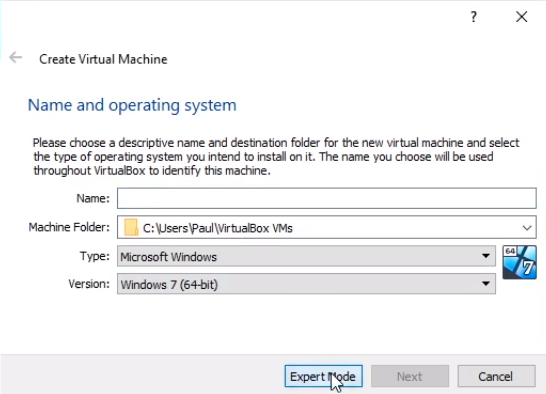
And, right away I already changed to Expert Mode.
If you click on Guided Mode in this window.
You will see the following when you first start VirtualBox which is the Beginner or Guided mode.
I will just click the Expert Mode button and all that does is allow us to is complete this wizard with less pages
So, we are going to create SADC01 and allocate as much memory as we can afford. I am going to leave it at 2048 MB and I’ll click the Create button.
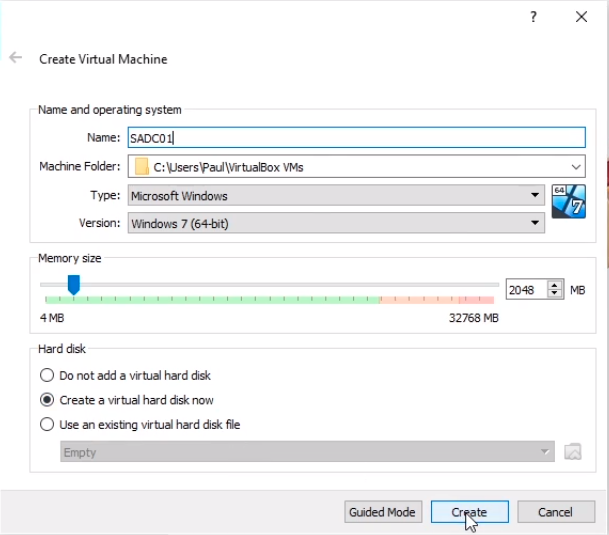
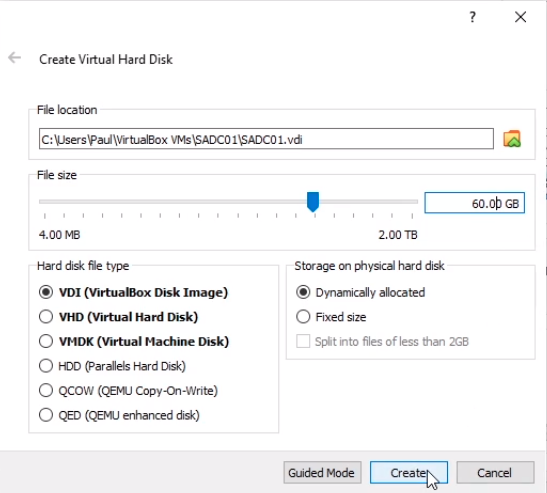
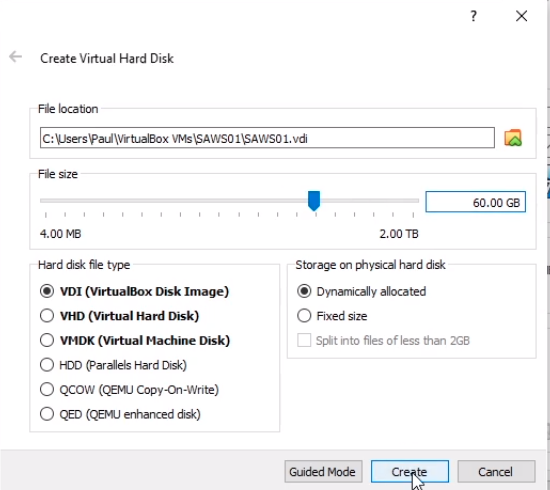
And now we are specifying the Hard Disk that we want to use. We want to use at least 60 GB. Click the Create button.
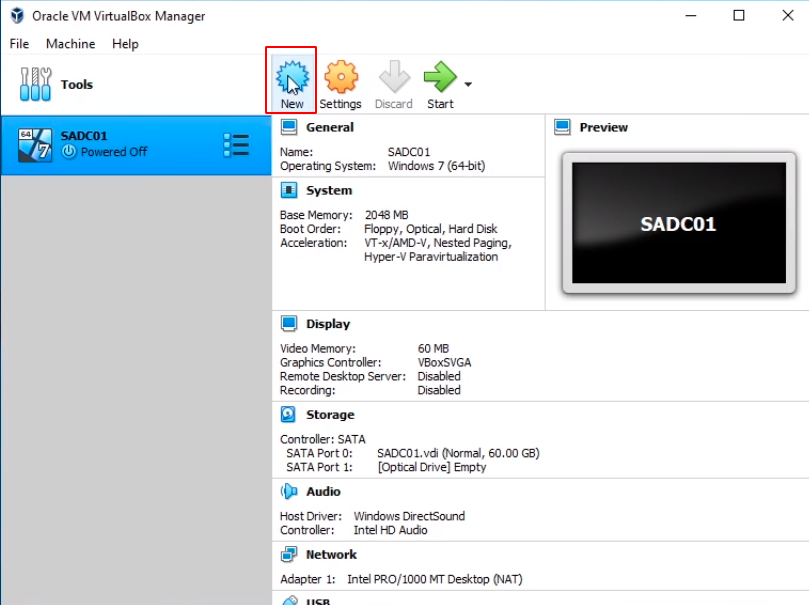
Now we have created our first Virtual Machine, let’s create the next one.
Click the New button again to repeat the process.
This is going to be SASCCM01. For the memory, I am going to change this to 4096 MB. If you can’t afford to do this based on the hardware your host computer has, that's fine, just put in what you can and we are going to click Create.
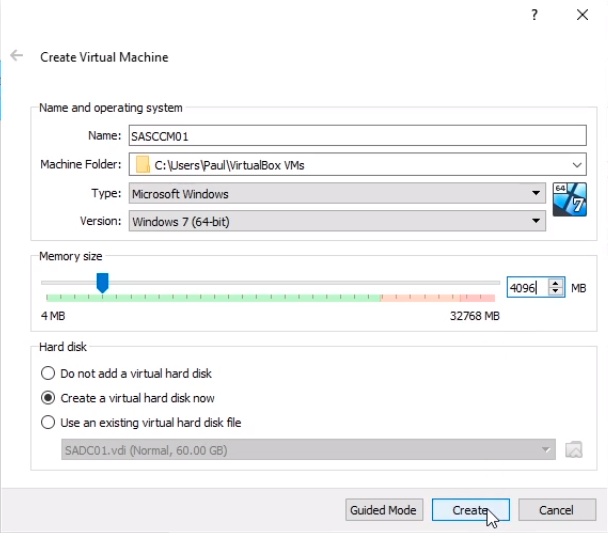
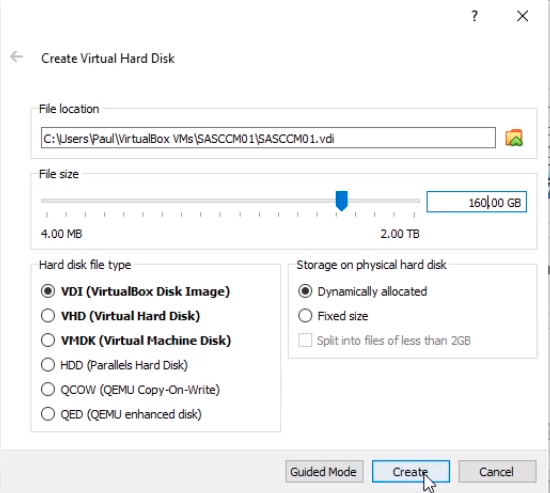
For the storage, I am going to give it 160 GB and click Create.
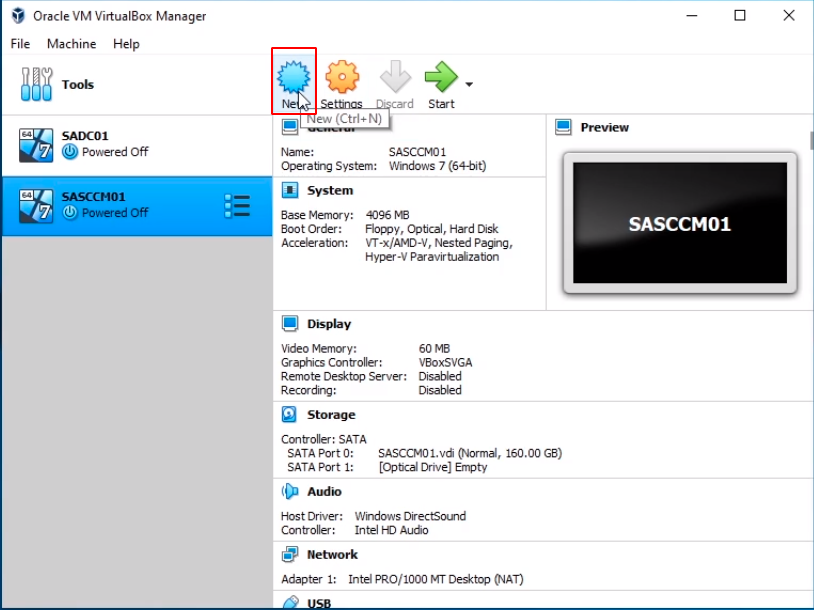
And now we have created SASCCM01. Now, let’s create the final VM which is going to be our Windows 10 workstation. Click the New button to repeat the process.
We are going to call it SAWS01. I am going to leave it at 2 GB of ram and click Create.
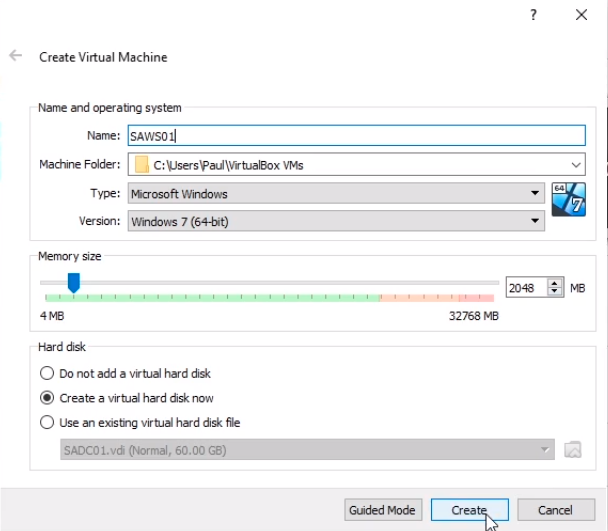
I am going to change the storage to 60 GB of storage and I’ll click on Create.
So at this point, we created our Nat Network and we’ve created the three VMs. Let’s connect them all to the same network.
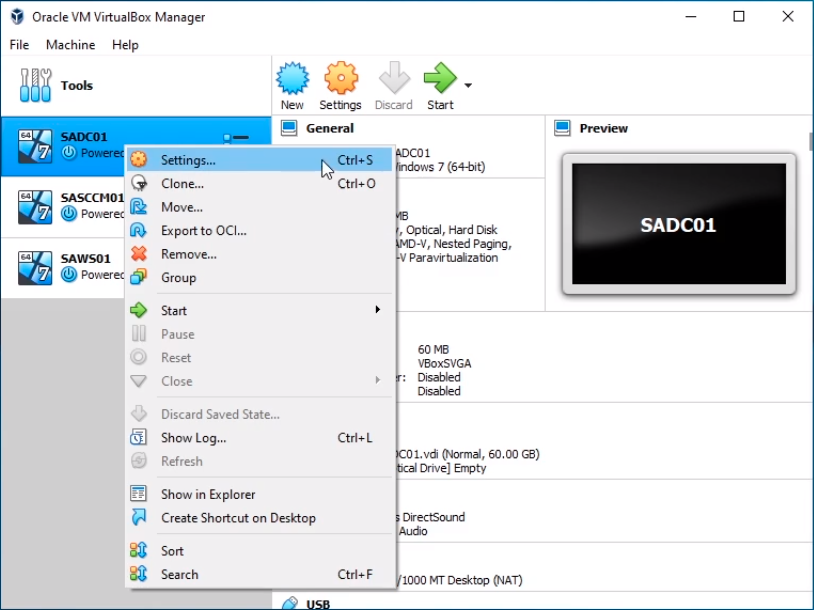
First, right-click on SADC01 and select Settings.
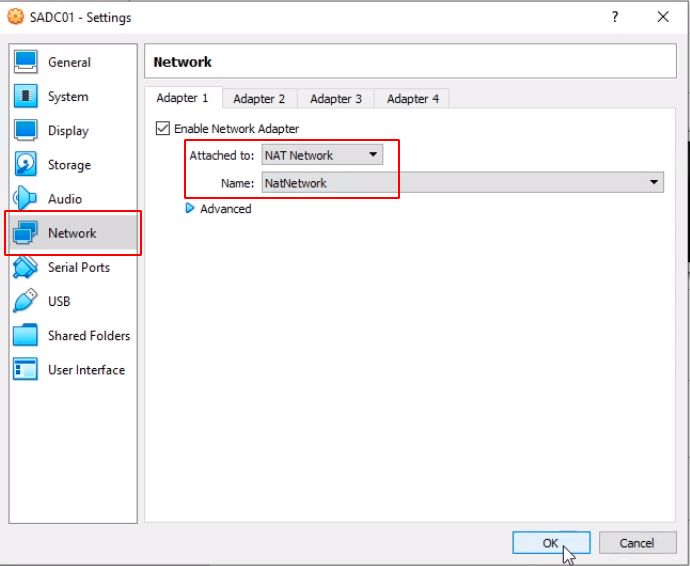
Now, let’s go down to the Network tab. Change the Attached to: drop-down from NAT to NAT Network. This will select the default NatNetwork that we’ve created and click OK.
Repeat these steps for the other two VMs. Once all the Virtual Machines have been connected to the same NatNetwork, what’s left to do is mount the ISOs for the operating systems and proceed with the installations, but we will be covering that in another lecture.
Server Academy Members Only
Sorry, this lesson is only available to Server Academy Full Access members. Become a Full-Access Member now and you’ll get instant access to all of our courses.


