
Deploying the SCCM Client with Group Policy

Full-Access Members Only
Sorry, this lesson is only available to Server Academy Full-Access members. Become a Full-Access member now and get instant access to this and many more premium courses. Click the button below and get instant access now.
Instructions
Q&A (0)
Notes (0)
Resources (0)
Saving Progress...
Resources
There are no resources for this lesson.
Notes can be saved and accessed anywhere in the course. They also double as bookmarks so you can quickly review important lesson material.
In this lecture, you are going to learn how you can deploy the SCCM client with Group Policy.
This method should be only used when you do not plan to use the Client Push installation method.
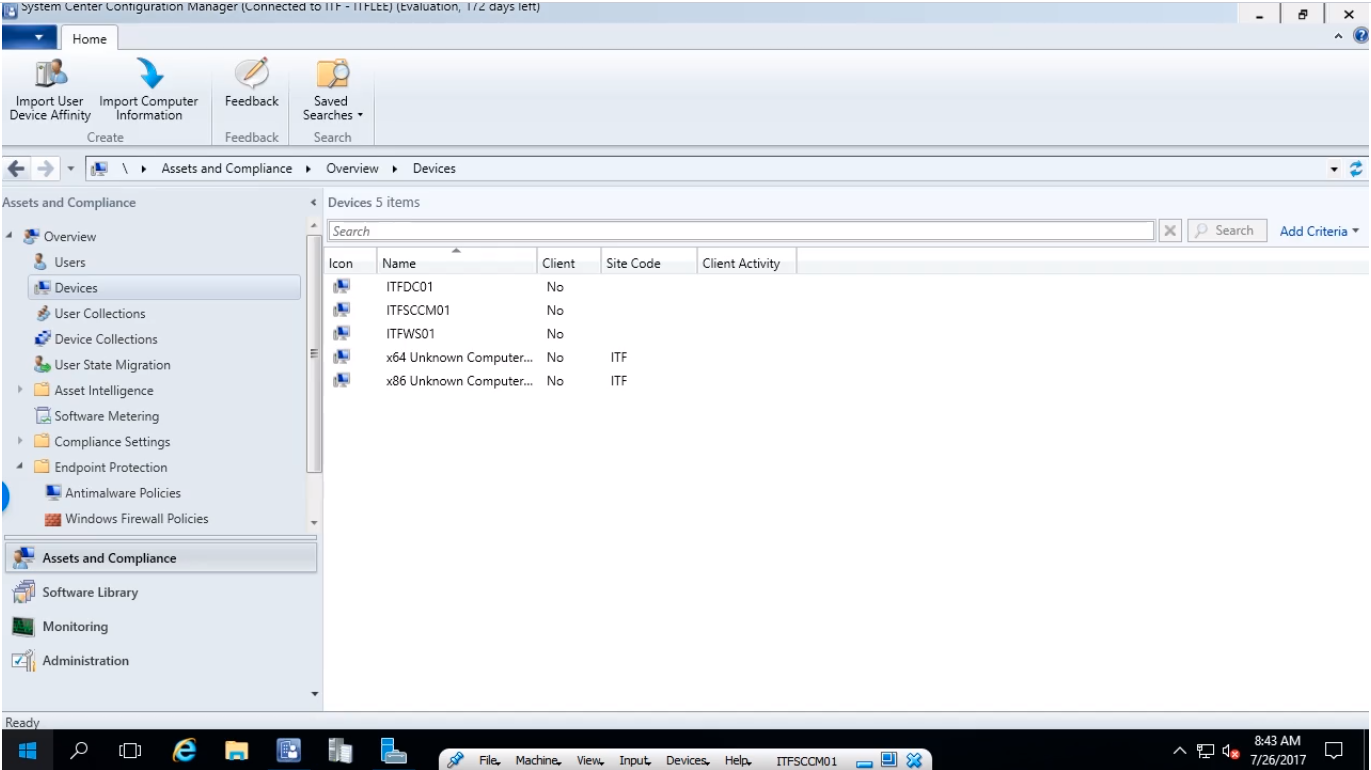
If you already installed the Configuration Manager client on your Domain workstations then you can regard this lesson to be strictly informational.
If the Client Push method does not work for you, but you have success installing the SCCM client manually this may be the method you want to use.
Here are the basic steps you have to complete in this lesson. First, we are going to create a File Share that is accessible from our target workstations. Second, we are going to copy the SCCM client installation media into that share. Finally, we are going to create a GPO, link it to the appropriate OU, and configure it to run the SCCM client installation.
Now, if you are working in a lab environment it is important to understand that we have to have our DC, our SCCM, and our Workstation VMs all powered on simultaneously.
We are going to start this lecture by logging into our SCCM server and creating the file share for the client installation file.
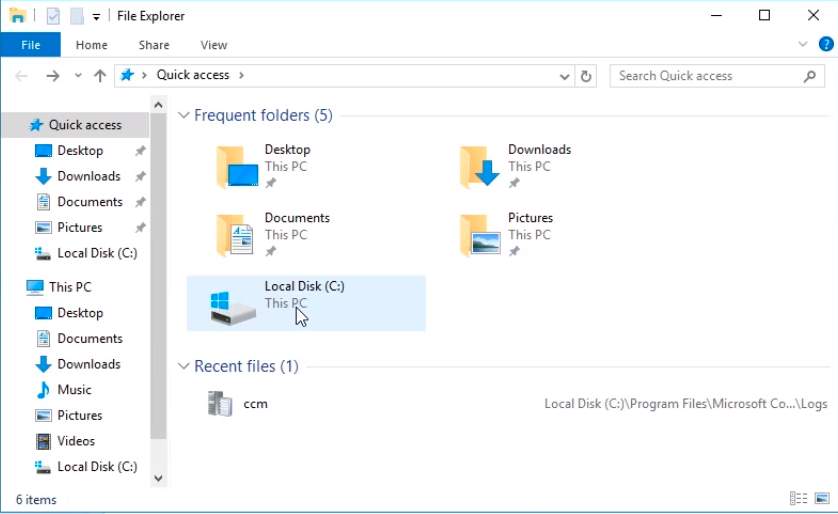
Once you are logged into the SCCM server we are going to open File Explorer, and we are going to open the C:\ drive.
Now, what we are going to do is create a new folder, we are going to right-click, choose New > Folder.
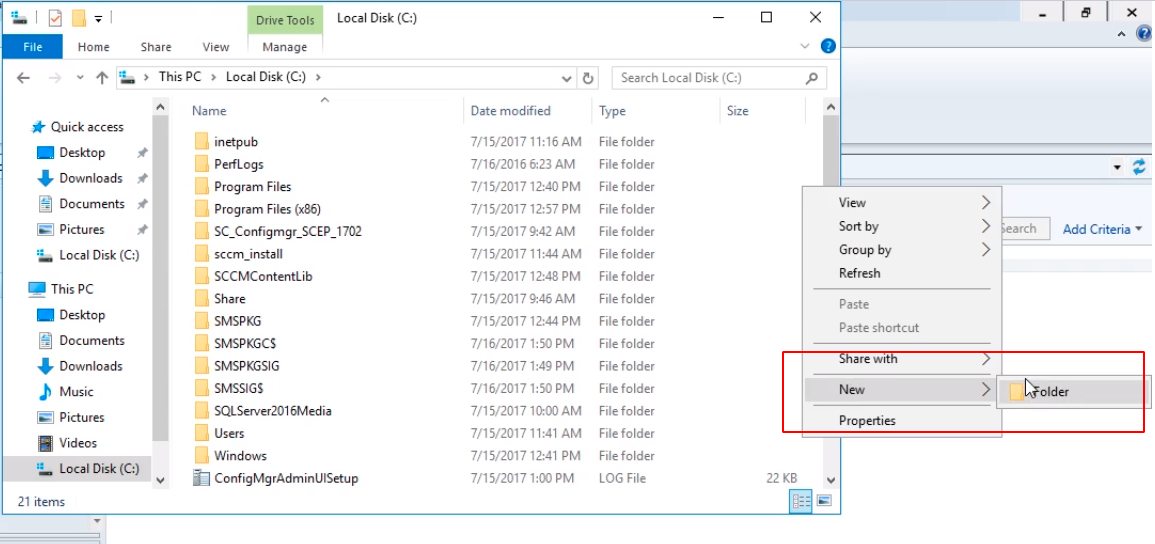
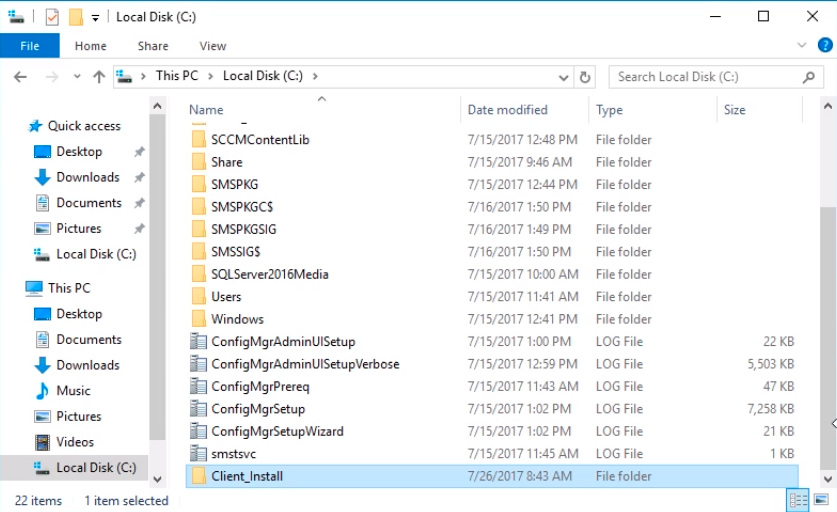
I am going to call this new folder Client_Install.
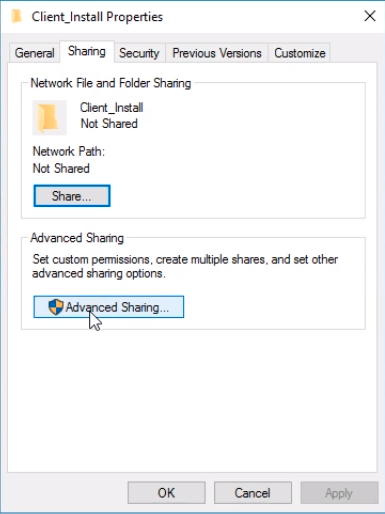
Next, we are going to make this a share, so I am going to right-click and choose Properties.

Switch to the Sharing tab, and I am going to select Advanced Sharing.
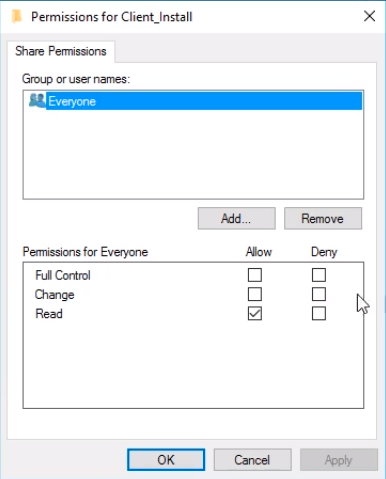
Select Share this folder, and if you want you can check the Permissions.
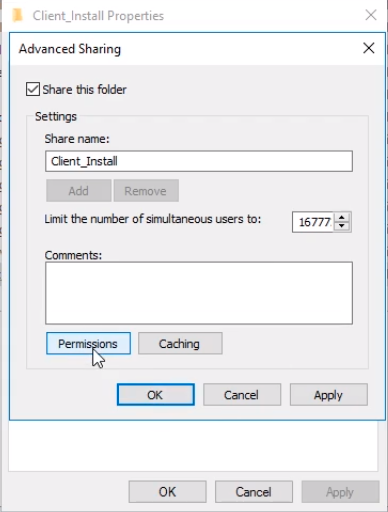
Right now it says Everyone has the Read permissions access. That’s going to work for our case. We are going to work on our case.
We can switch this to Authenticated users if you would like, but I will just leave it to Everyone Read permissions. Click OK, and OK on the previous window.
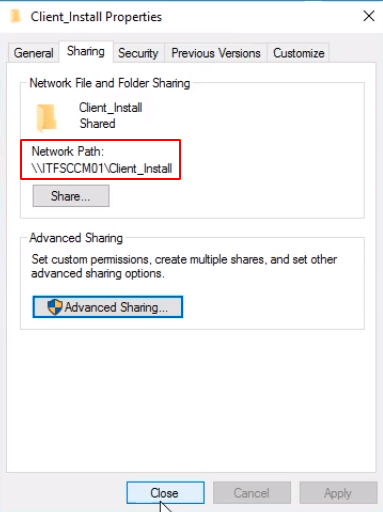
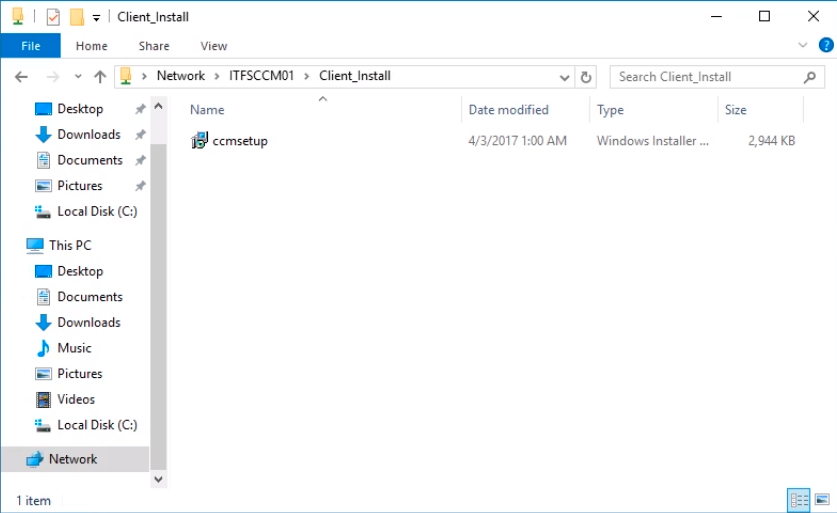
Here we can see the network path is \\ITFSCCM01\Client_Install. Click Close.
Alright, now we are going to copy the Client Install MSI into this folder.
So, we need to go to C:\ > Program Files > Microsoft Configuration Manager > bin > i386 > ccmsetup.msi.
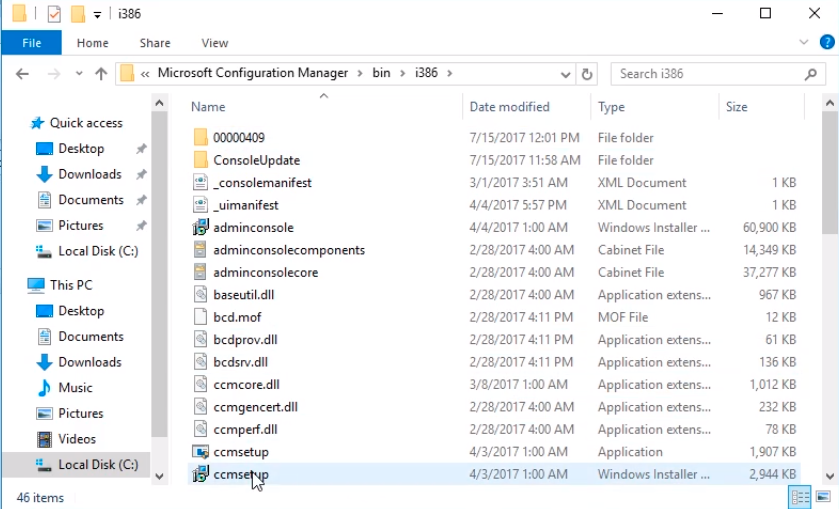
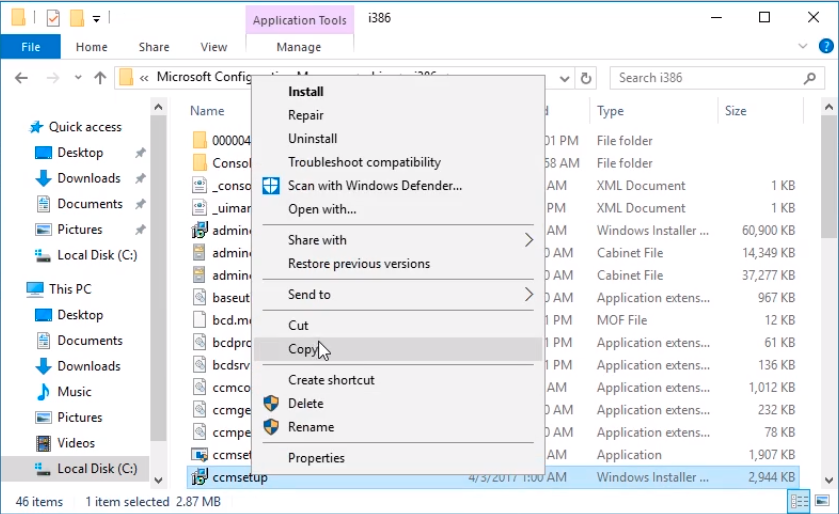
We are going to right-click and choose Copy.
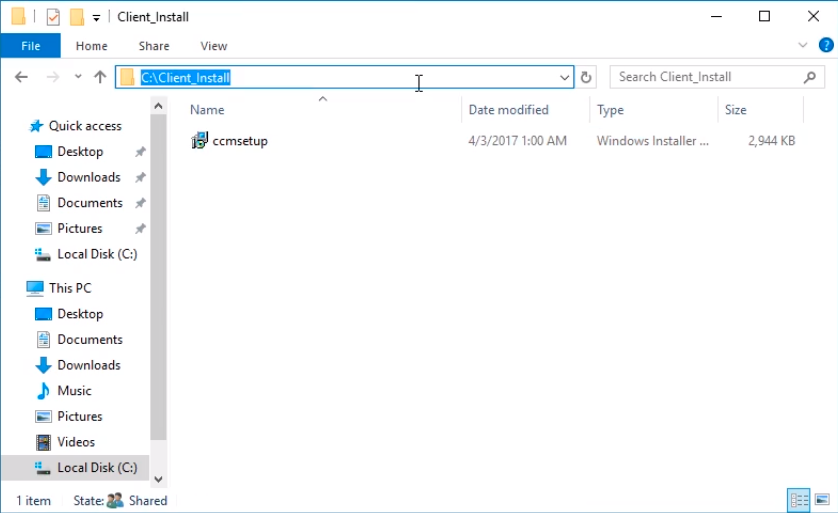
And, we are going to go back to the C:\Client_Install\ and right-click and Paste it here.
We can test this File Share by clicking on the address bar and typing \\ITFSCCM01 and pressing Enter.
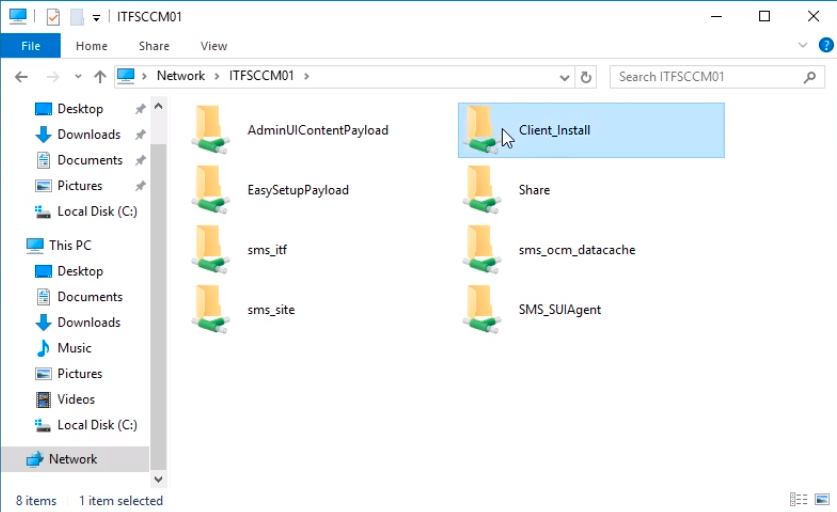
If we double-click the Client_Install file share we can see the file ccmsetup.msi inside.
Finally, we need to switch back to our Domain Controller so we can create this GPO and link it to the appropriate OU.
Now, we are logged into the Domain Controller.
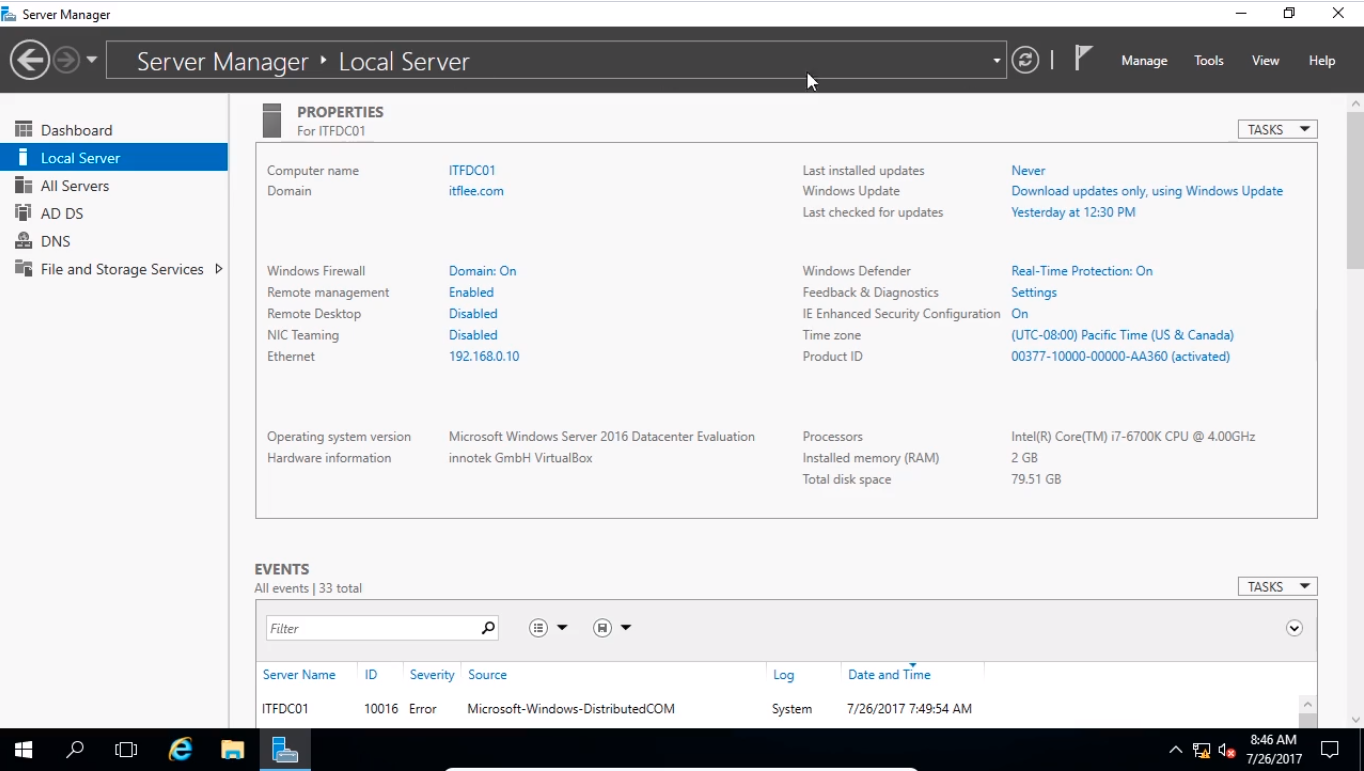
What we are going to do is on Server Manager click on Tools and select Group Policy Management.

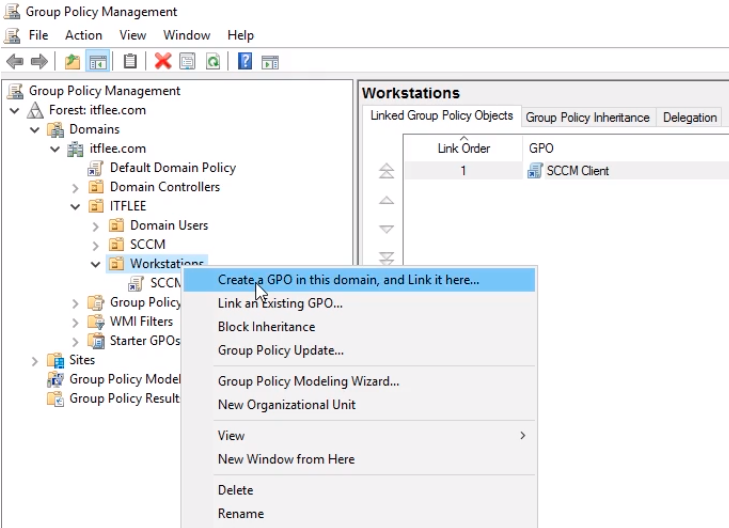
Here my domain is already expanded and we can see ITFLEE and Workstations OU and this is where we want to install our client. I am going to right-click on Workstations OU and select Create a GPO in this domain, and Link it here...
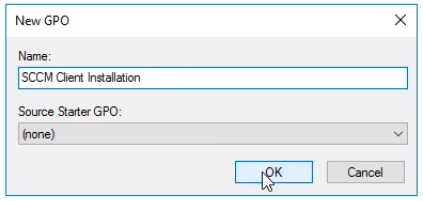
I am going to call this SCCM Client Installation and click OK.
And, this might be a little bit confusing for you guys since now we have two GPOs that are named very similar.
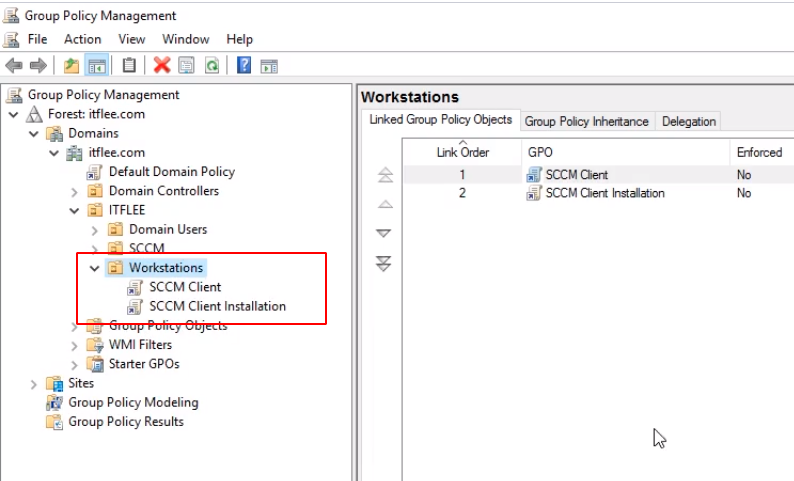
SCCM Client was the GPO that we created to open ports in the firewall and add the SCCM Computer Account to the Local Administrators group. This GPO is only going to be used for the Client Push method, so it is not a requirement for the Group Policy deployment.
Server Academy Members Only
Sorry, this lesson is only available to Server Academy Full Access members. Become a Full-Access Member now and you’ll get instant access to all of our courses.


