Installing Windows Server
In this lecture, we are going to install Windows Server 2019.
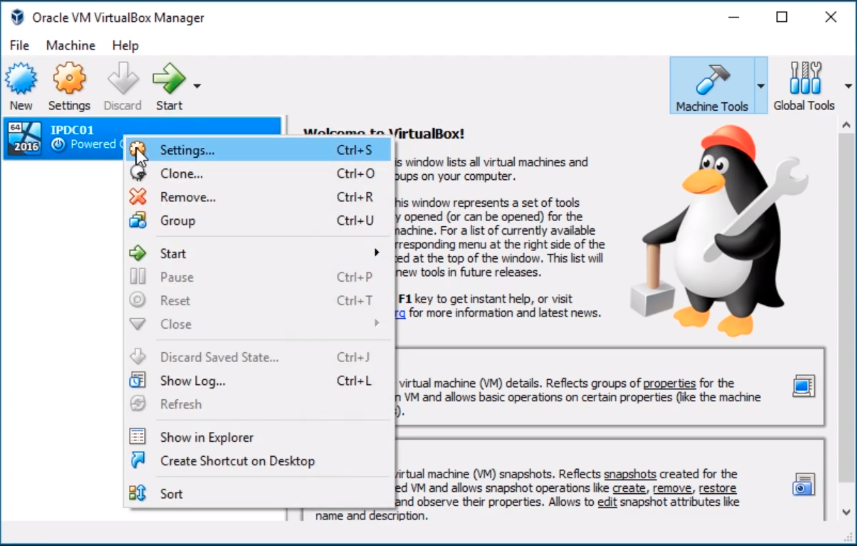
So, the first thing we are going to do is open VirtualBox. Here I have IPDC01. What I am going to do is right-click on it and choose Settings.
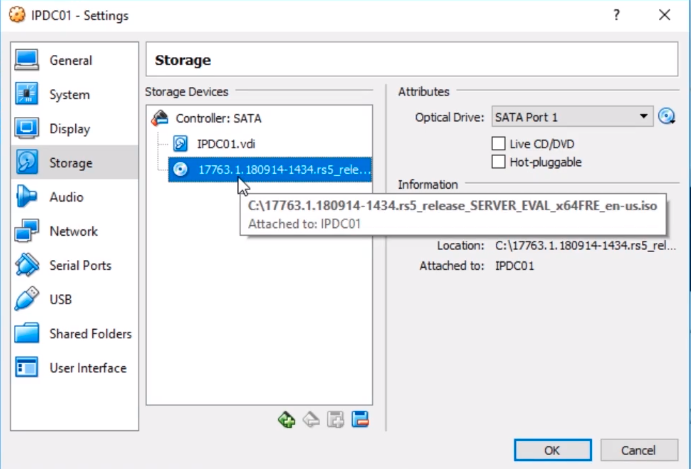
And, we are going to go to Storage and verify that the ISO is mounted.
Also, under Network, I can see I have Server2019Lab under the Nat Network and it is mounted to the correct Nat Network.
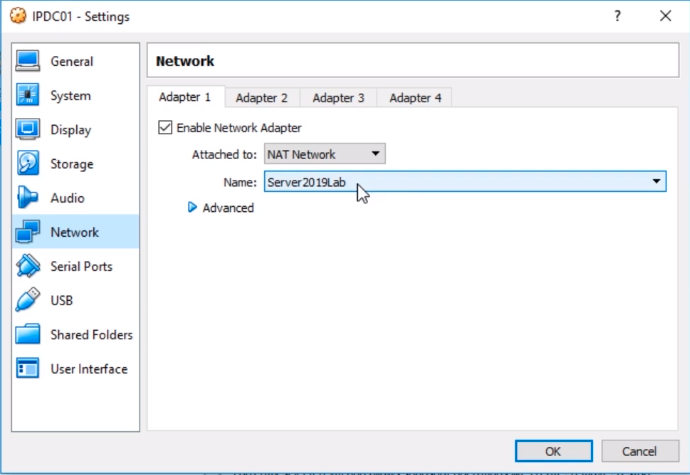
So, no matter what virtualization technology you’re using, it’s important for you to mount the ISO, and then it’s attached to the right Nat Network that will give it Internet connectivity.
Now, if you are installing Server 2019 on a physical server you can burn this ISO to a DVD, insert the DVD into the server, and then boot to that DVD. That’s another way you could do it. Hyper-V, VMWare, all have their different ways to mount the ISO directly to the VMs.
So, once you do that, all we need to do is power on the Virtual Machine. We can do that by clicking on the Start button.
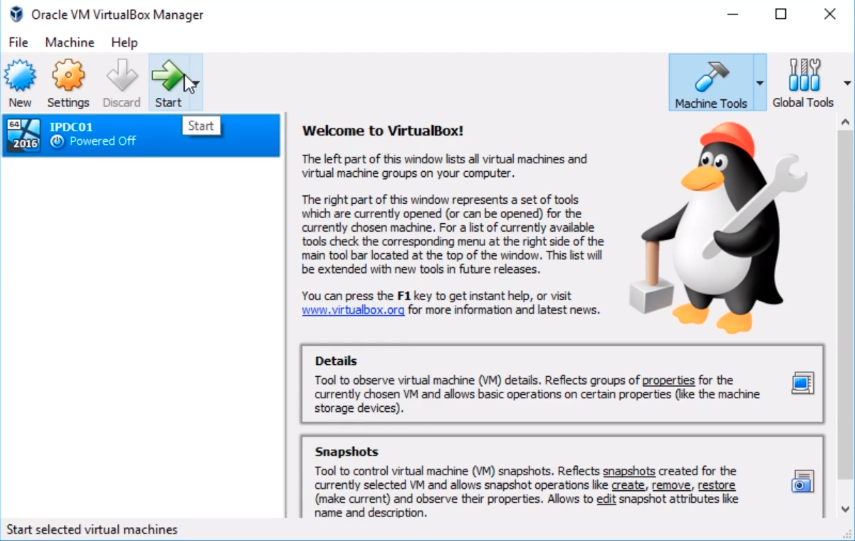
And, the VM will begin to Power On, and we can see one thing right away and that is that the screen is in a little bit different screen resolution than my monitor. We will fix that once the operating system is installed so that it uses dynamic resolution.

What we need to do now is click Next. If you need to choose a different language you can do that by clicking the drop-down.
Time and Currency format you can also do that here. 9 times out of 10…
No comments yet. Add the first comment to start the discussion.