Creating Your Virtual Machines
In this lecture, we are going to create our first Virtual Machine for our lab.
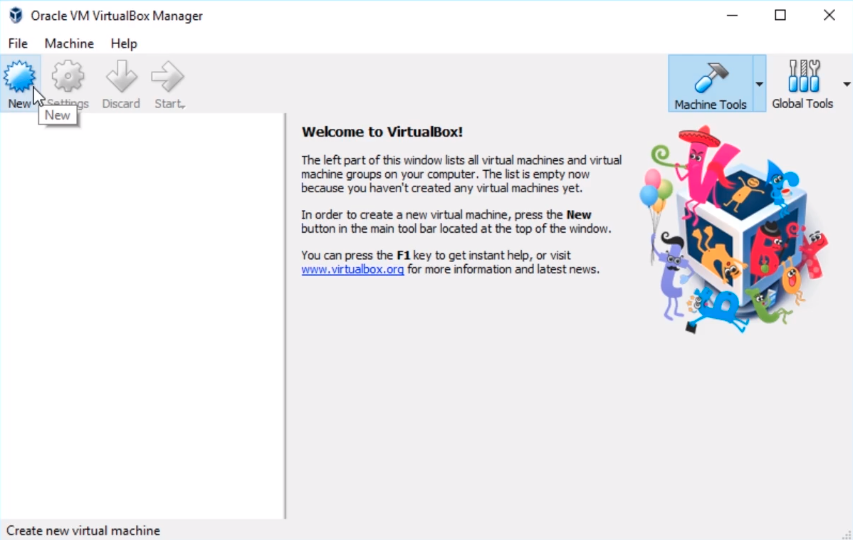
Now, we are going to do this with VirtualBox so we are just going ahead and opening that application.
And, we have already created our Virtual Network. So, all we need to do is click on New on the left-hand side of the screen.
Now, by default, I’ve chosen to set this up by going to Expert mode. Most likely you will launch in Guided mode if you see a screen that looks like this.
What we are going to do is click on the Expert Mode button.
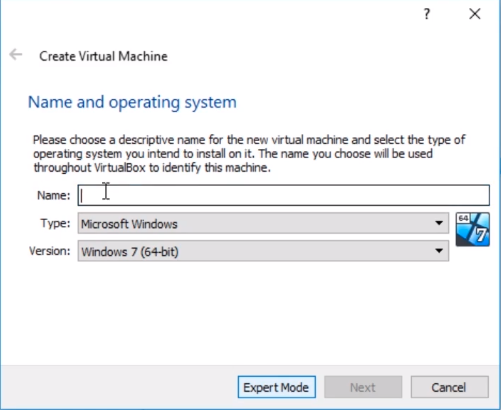
And, we need to type in a Name, and by the way, all that Expert mode does is reduce the number of pages that we have to go through, it really doesn’t add any more settings to it.
So, what we are going to do is Name the server. Now, we are naming the Virtual Machine in the VirtualBox inventory is not actually a computer name as on the Windows operating system, this is just for the VirtualBox inventory so just keep in mind that those are separate.
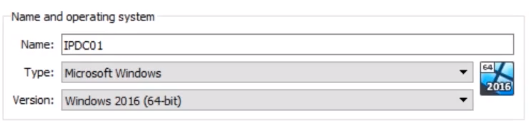
What I am going to do is I am going to name this IPDC01. I’m naming it IP for InstructorPaul because that’s my website and that is what my domain is going to be. I am naming it DC because I intend to make this a Domain Controller at some point, and I am naming it 01 because is the first Domain Controller that will be in my domain
Now, what we have here is the Type. We can choose Microsoft Windows, and under the Version, we are going to choose Windows 2016 (64-bit) since 2019 will probably not show in this list for quite a while so it’s perfectly acceptable to choose 2016.
Now, one thing you want to keep in mind is that if you see only (32-bit) versions here that mea…
No comments yet. Add the first comment to start the discussion.