Creating Your Virtual Network
In this lecture, we are going to be creating our Virtual Network with VirtualBox.
Thankfully this is going to be really easy, sounds intimidating but is not.
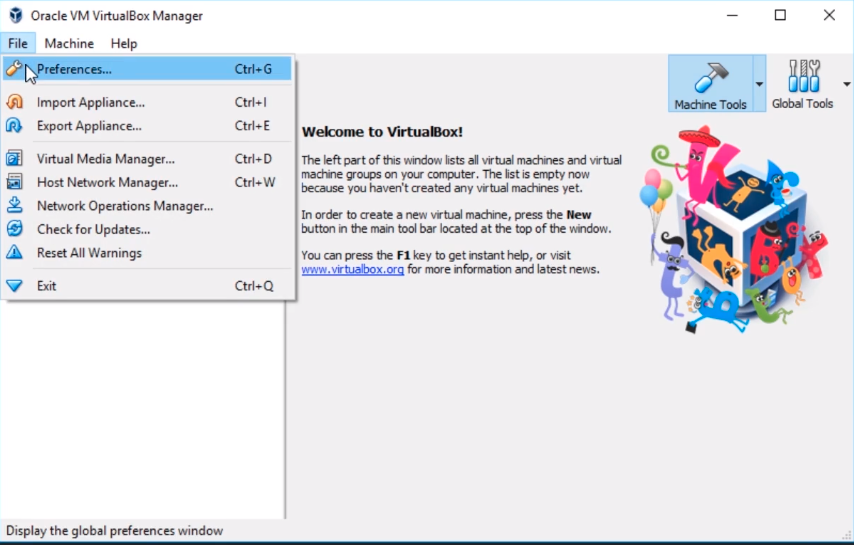
What we are going to do is open VirtualBox, and we are going to click on File > Preferences…
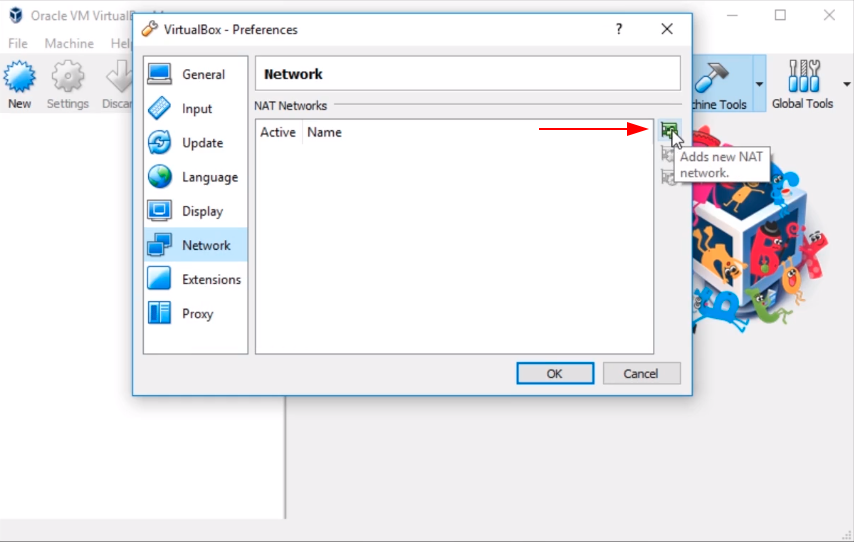
Next, we are going to select the Networking tab at the bottom left, and on the right hand of the screen, we are going to click this green plus button.
Now, this is for NAT Networks which is for Network Address Translation. What it allows us to do is create a network where our Virtual Machines can communicate with each other and with the Internet. It is different from just a NAT Adapter if you are familiar with VirtualBox.
So, we are going to click that plus button.
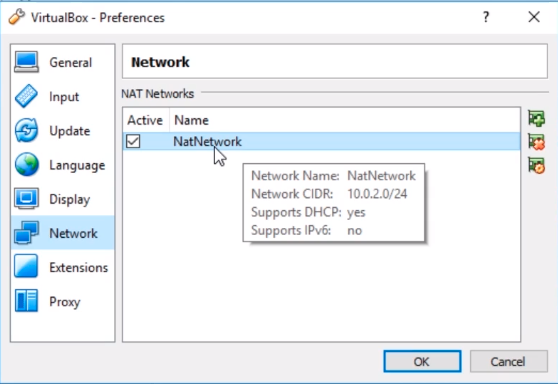
And, we can see here that a new NatNetwork is created, and if we hover over it we can see the networking settings.
So, what we are going to do here is double click on that network.
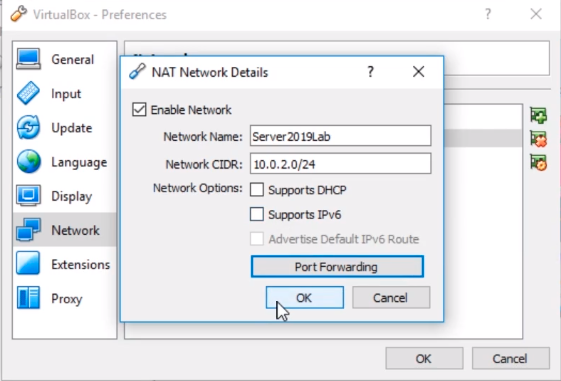
Here we can change the Network Name if we like. I am going to call this Server2019Lab, and if you like you can change the subnet. I am not worried about doing this.
What I would like to do is turn off Supports DHCP as we would be setting up our own DHCP server later on in the course.
If you like to do Port Forwarding and things like that you can do that. That is totally out of the scope of what we are teaching.
We are definitely not going to enable IPv6.
Click OK.
We can see here we now have Server2019Lab, and it has been renamed from NatNetwork.
So what we are going to do now is click OK.
No comments yet. Add the first comment to start the discussion.