
Upgrading Windows Server Desktop Experience from 2016 to 2019

Full-Access Members Only
Sorry, this lesson is only available to Server Academy Full-Access members. Become a Full-Access member now and get instant access to this and many more premium courses. Click the button below and get instant access now.
Instructions
Q&A (0)
Notes (0)
Resources (0)
Saving Progress...
Resources
There are no resources for this lesson.
Notes can be saved and accessed anywhere in the course. They also double as bookmarks so you can quickly review important lesson material.
In this lesson, you are going to learn how to upgrade Windows Server 2016 Datacenter. We are going to upgrade to the 2019 Datacenter Evaluation.
Keep in mind the basic principles are the same no matter what version you are going to be upgrading.
We are going to start by taking an inventory of the system, that would be IP configuration, what software or server and roles are installed on the system, and we are going to back up that data to a secondary hard drive that we added to the server.
Once we have done that, we are going to run through the installation and the upgrade. Then we are going to go back and look at that inventory that we took and we are going to make sure we restore all configuration settings if any were lost.
So the first thing we need to do is to create a second volume where we can store this information so it would not be lost during the upgrade.
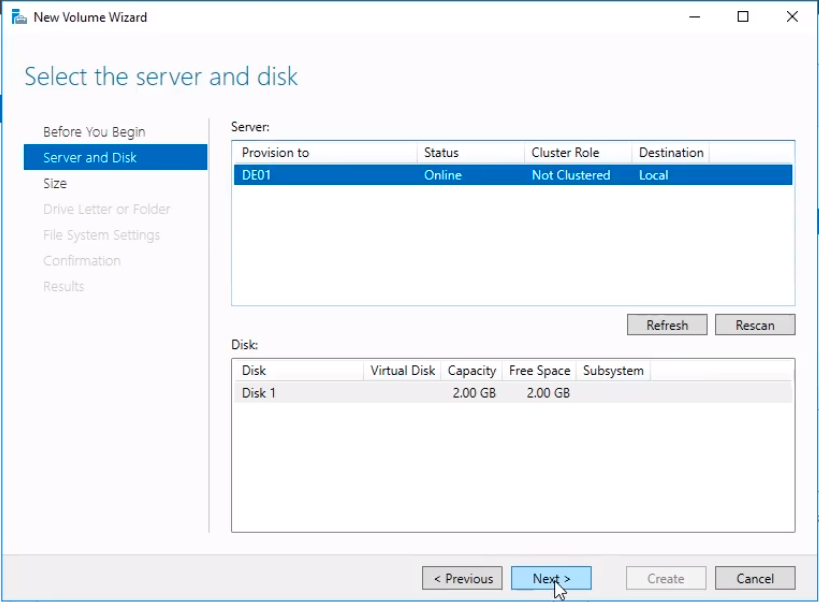
I’ve attached a second hard drive to this virtual machine. Click on Server Manager and on the left pane click on File and Storage Services, click on Disks and we should see a 2 GB disk. Right-click and choose New Volume...

Click Next on the Before you begin New Volume Wizard.

Leave the default prompts and just click Next.
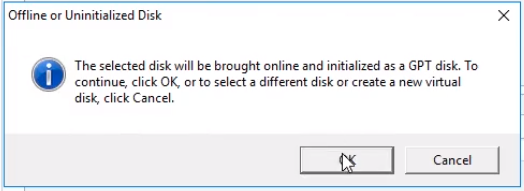
An informational window might appear saying that it will initialize and bring online the disk. Click OK.
Click Next again to continue.
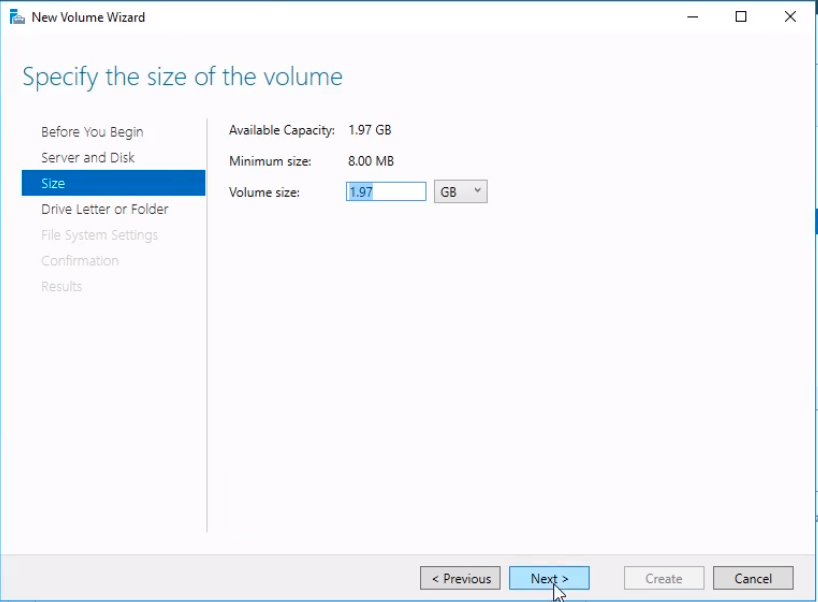
Click Next again leaving the defaults.
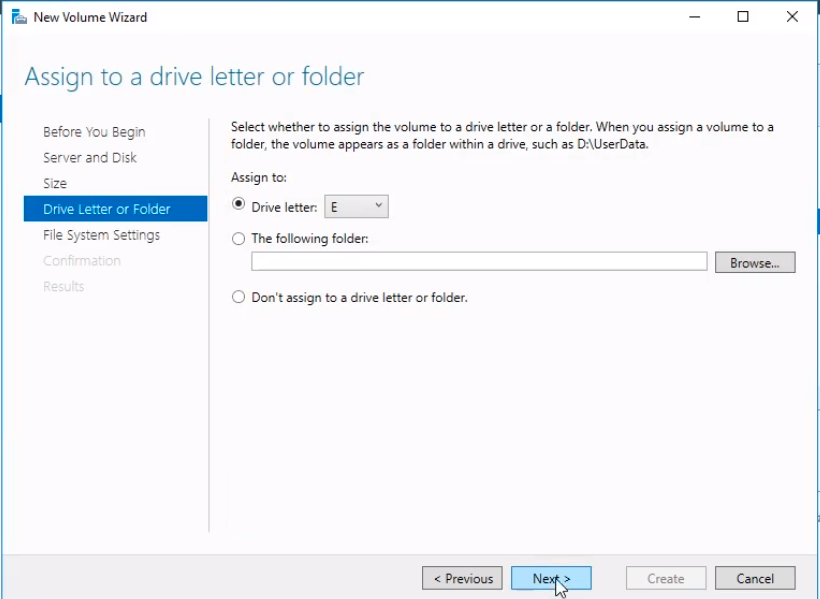
Name the volume Data and click on Next.
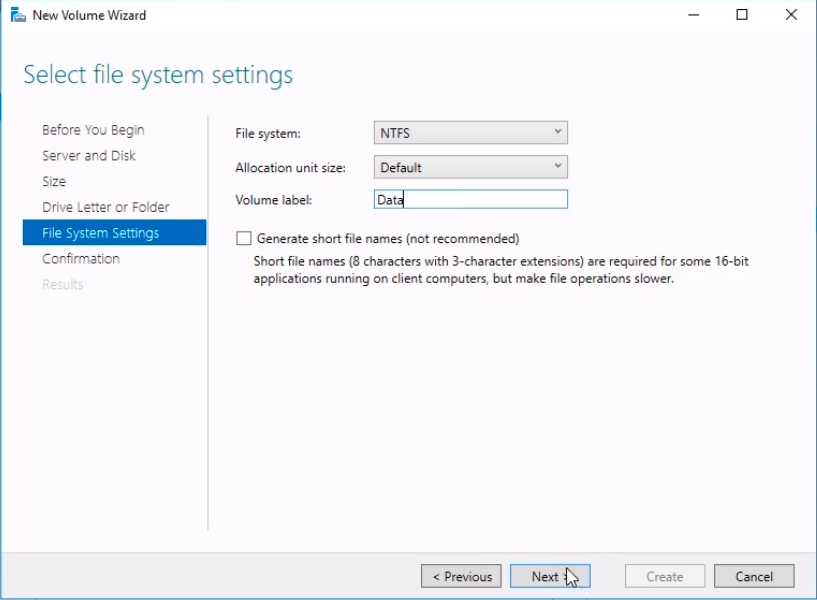
Finally, click on the Create button.

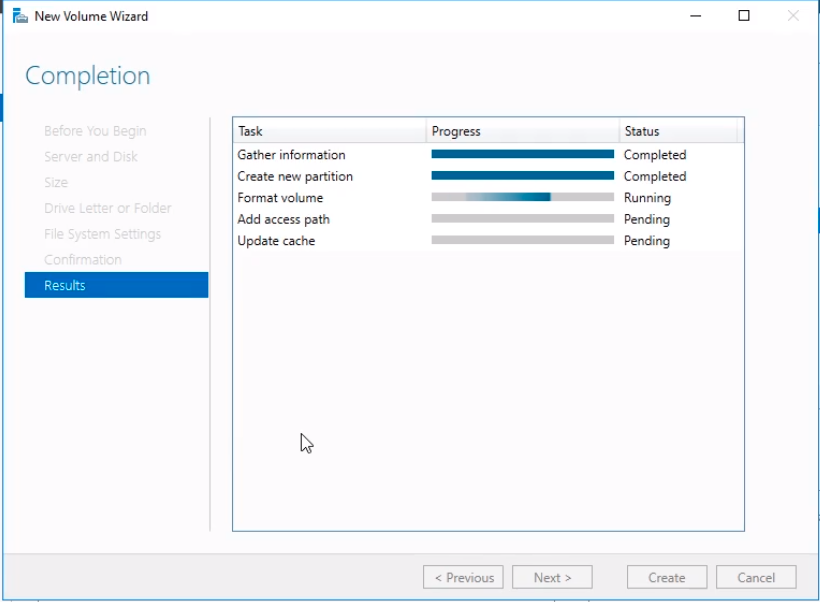
The process begins, just wait to finish. Click Close.
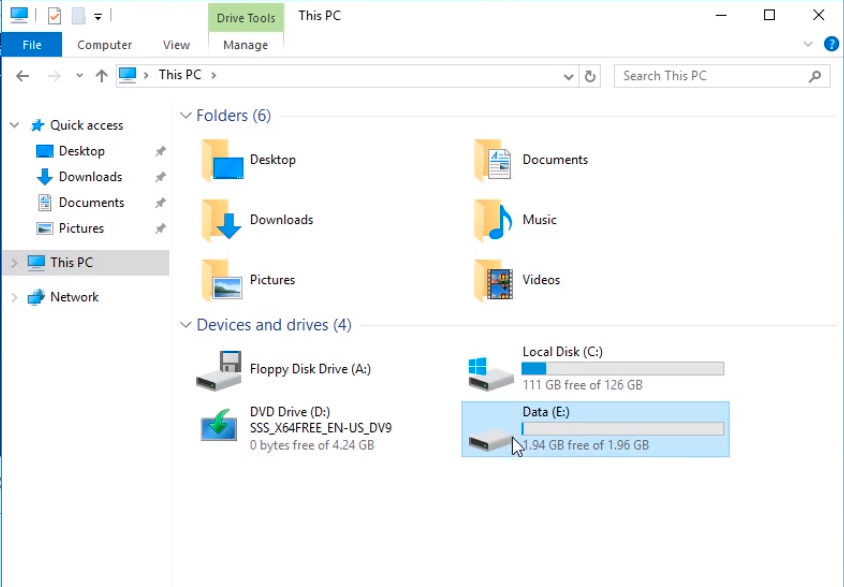
Open File Explorer and navigate to This Pc to check on the newly created Data drive E:\.
Next, click the Windows start button at the bottom left and type powershell. Click the application from the list.

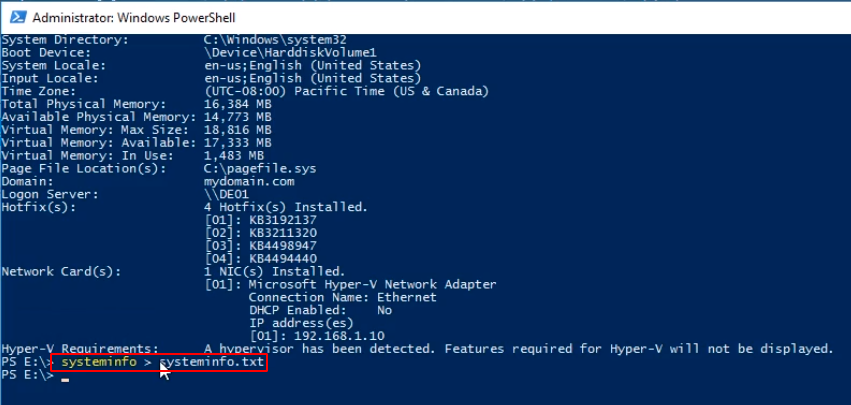
In PowerShell type cd E:\ and press Enter. Type systeminfo and press Enter.
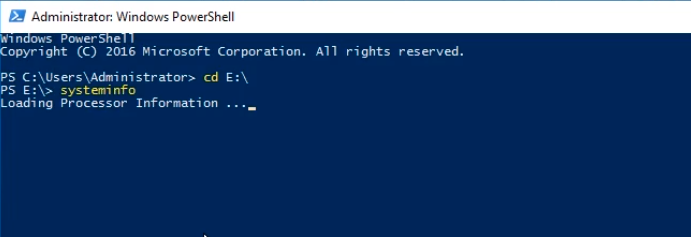
This is the first command we are going to use to generate information on our computer, that way we can restore the information later if any is lost during the upgrade process.
Once we see the output we want we redirect the output to a file by typing systeminfo > systeminfo.txt and press Enter.
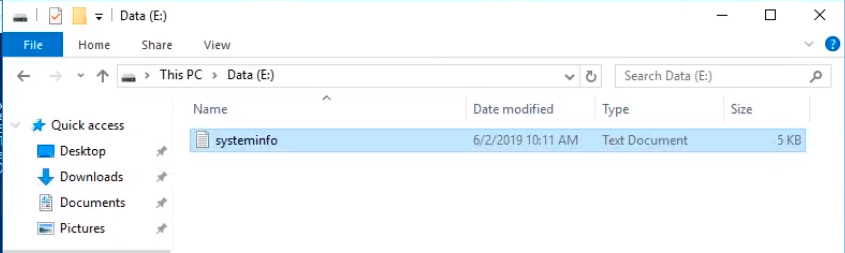
We can see a newly generated file in the E:\ drive from File Explorer.
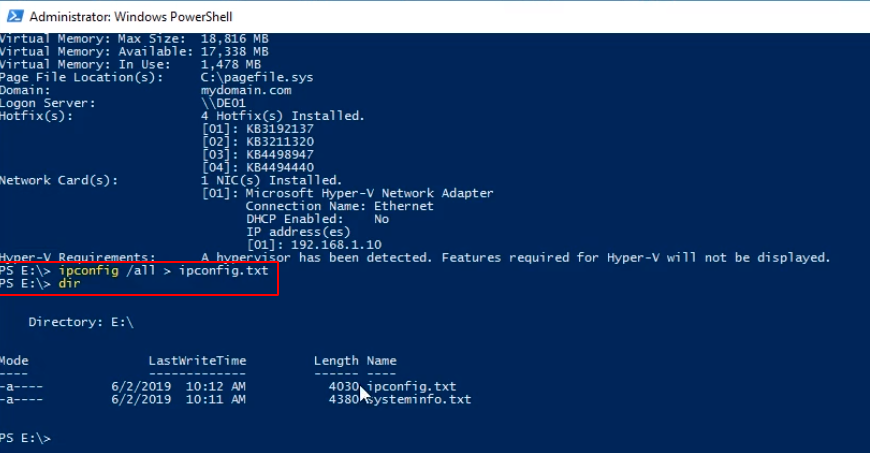
The next command we are going to type is ipconfig /all > ipconfig.txt. If we type dir in PowerShell we can see the files there as well.
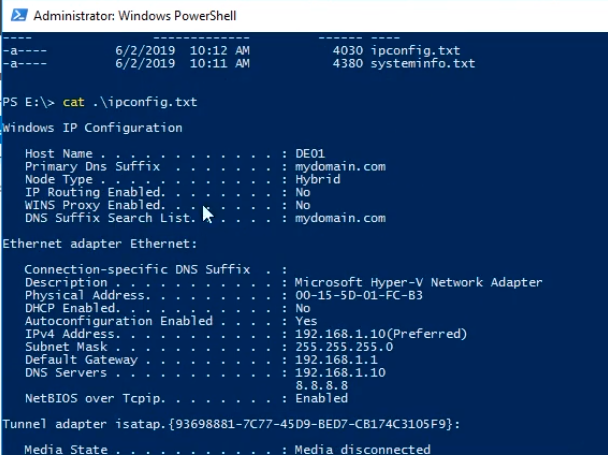
We can type cat ipconfig.txt to see the file contents.
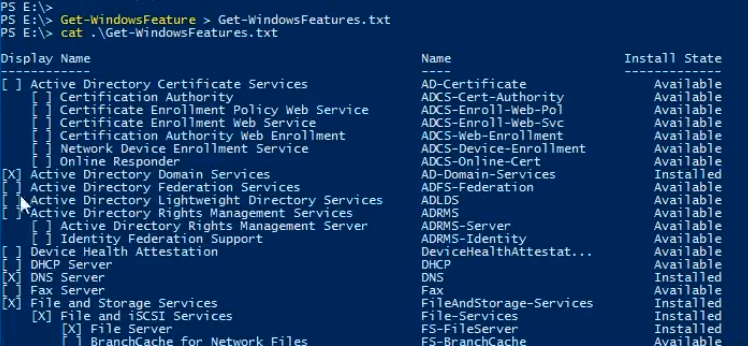
Next, we are going to get all the Windows Features and Roles that are installed.
Type Get-WindowsFeature > Get-WindowsFeatures.txt. We can see the contents by typing cat Get-WindowsFeatures.txt.
Roles and Features installed are marked as X.
One last command we can run is Get-Item -Path “HKLM:\SOFTWARE\Microsoft\Windows NT\CurrentVersion\” and press Enter. This information is useful for comparison purposes with the new Windows OS.
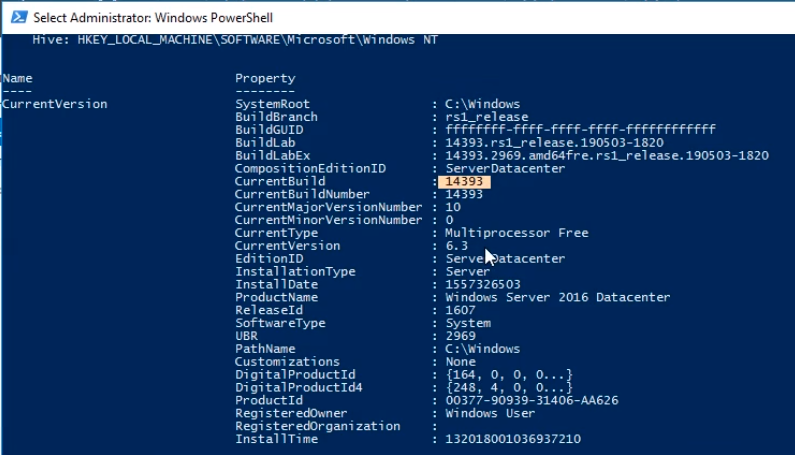
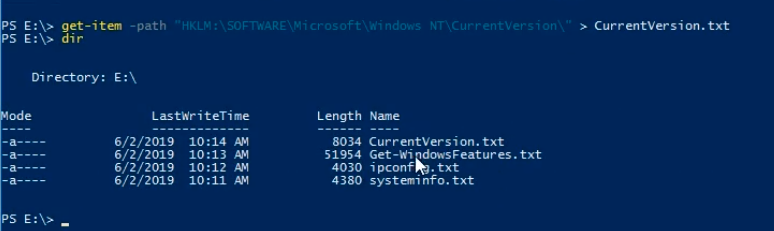
We can send the output to a file by typing Get-Item -Path “HKLM:\SOFTWARE\Microsoft\Windows NT\CurrentVersion\” > CurrentVersion.txt.
Type dir and press Enter to see what we have so far.
If you have additional applications and software installed on this computer, you may want to create a new text document and name it Apps.txt, and list any software installed manually.
Now we have an inventory of the software that is on our computer.
Close the PowerShell prompt.
Open File Explorer and navigate to This PC. We can see we have our installation media in our Optical Drive for Windows Server 2019 already mounted.
Server Academy Members Only
Sorry, this lesson is only available to Server Academy Full Access members. Become a Full-Access Member now and you’ll get instant access to all of our courses.


The line in the text with the command Get-Item -Path “HKLM:\SOFTWARE\Microsoft\Windows NtT\CurrentVersion\” is invalid and should be Get-Item -Path “HKLM:\SOFTWARE\Microsoft\Windows NT\CurrentVersion\” as shown in the video.
Thanks, Josh Campbell. We have fixed the typo.
As l follow along, when I enter the command, Get-WindowsFeature
> Get-WindowsFeatures.txt there’s an error message saying there’s
no command! Therefore I cannot continue.
Hi Thomas Parham
Test from the Lab: Upgrading Windows Server Desktop Experience from 2016 to 2019. The command is only available on Windows Server and only available from the 64-bit version of PowerShell.
Ricardo
does the upgrade also transfer all the data of the previous version?
Hi ALWI DELGADO ALAUDIN
No, the upgrade will wipe and reload the OS. There’s a lab at the end of the section where you do an upgrade, and you can test there.
It is possible from 2019 to 2022 but not from 2016 to 2019. This article explains some differences between both:
https://softwarekeep.com/help-center/windows-server-2019-in-place-upgrade
Ricardo
hey admin,
when upgrading to 2019, do i have to install the 2019 iso seperately? or like doesn’t the server2016 have an automatic update by itself to level up to 2019?.. uk like windows does from 10 to 11?
Hey ALWI DELGADO ALAUDIN
In Windows Server environments you need to do the upgrade with the ISO from the Windows Server you are planning to upgrade to. Check out the lab at the end of the section. It does not work like on Windows Clients which prompts you to upgrade. On Windows Server is up to the administrator to decide when and how to upgrade.
Here is a list of different upgrade approaches a sysadmin choose from:
https://learn.microsoft.com/en-us/windows-server/get-started/install-upgrade-migrate
Ricardo
While attempting to upgrade Windows Server Desktop Experience
from 2016 to 2019 the downloads and reboots take too long and my
time runs out, therefore I can’t pass the final Lab test. How can I speed
up the downloads and reboots?
Hi Thomas Parham
Try to just skip the download of drivers and additional components and go straight to the upgrade process. There’s no need to do updates before or during the process for the lab.
Ricardo