
Creating a One-Time Backup

Full-Access Members Only
Sorry, this lesson is only available to Server Academy Full-Access members. Become a Full-Access member now and get instant access to this and many more premium courses. Click the button below and get instant access now.
Instructions
Q&A (0)
Notes (0)
Resources (0)
Saving Progress...
Resources
There are no resources for this lesson.
Notes can be saved and accessed anywhere in the course. They also double as bookmarks so you can quickly review important lesson material.
In this lecture, we will be creating a one time backup with the Windows Server Backup feature.
Log into the DE01 server and open the Windows Server Backup Console and click on the Local Backup (1) option from the left pane and then Backup Once (2) from the right pane under Actions.
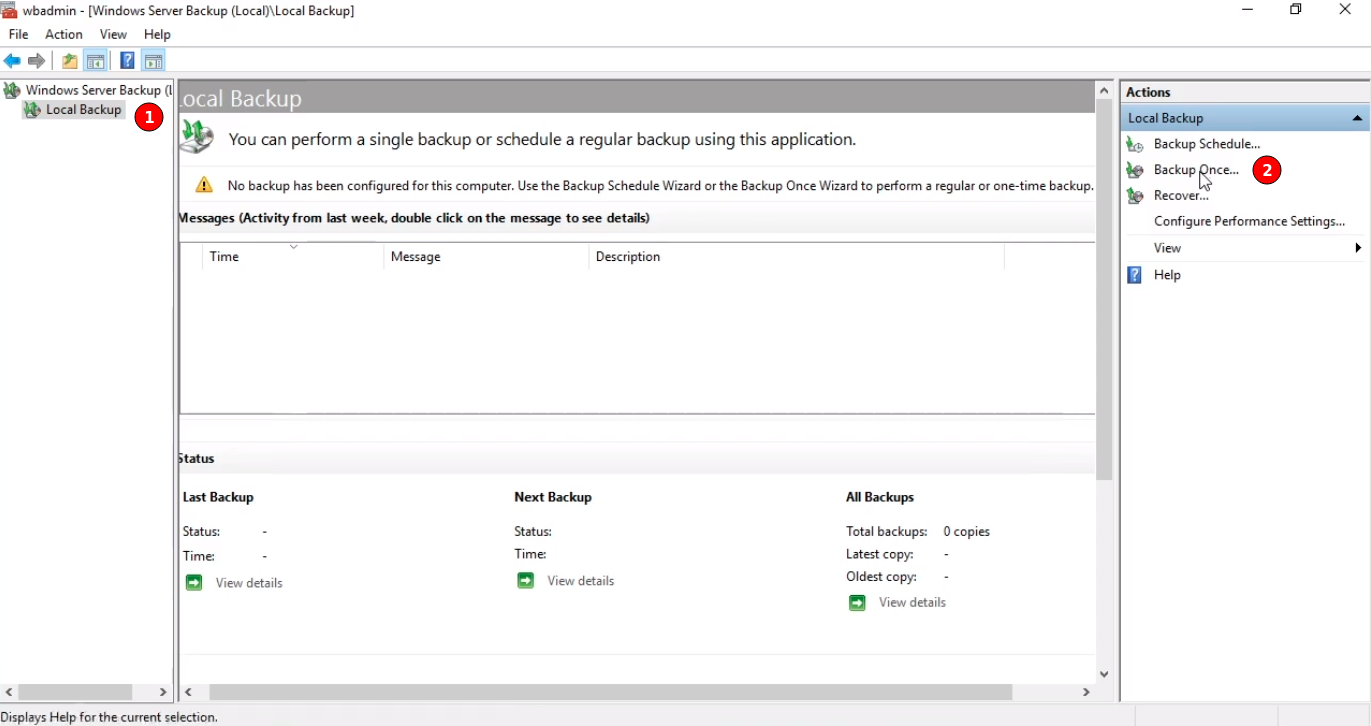
The Backup Once Wizard appears.
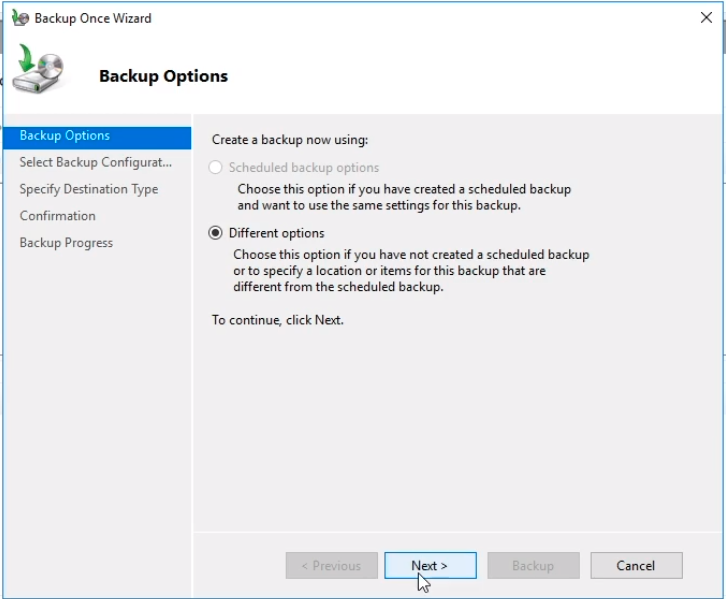
The only option available is Different options. The Scheduled backup options is grayed out since we haven’t configured any scheduled backups. Click on Next to continue.
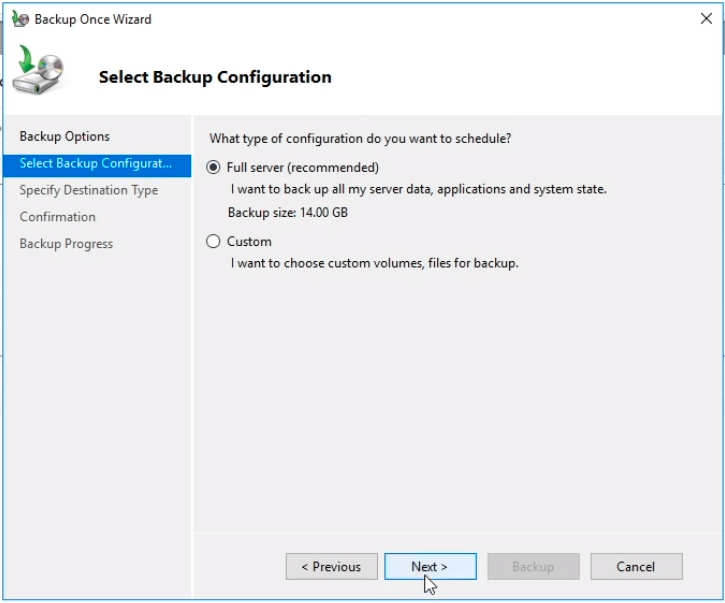
We can choose either a Full server (recommended) backup or a Custom backup.
Notice that a Full server backup is 14GB. Make sure you have enough space to store the full backup and click Next to continue.
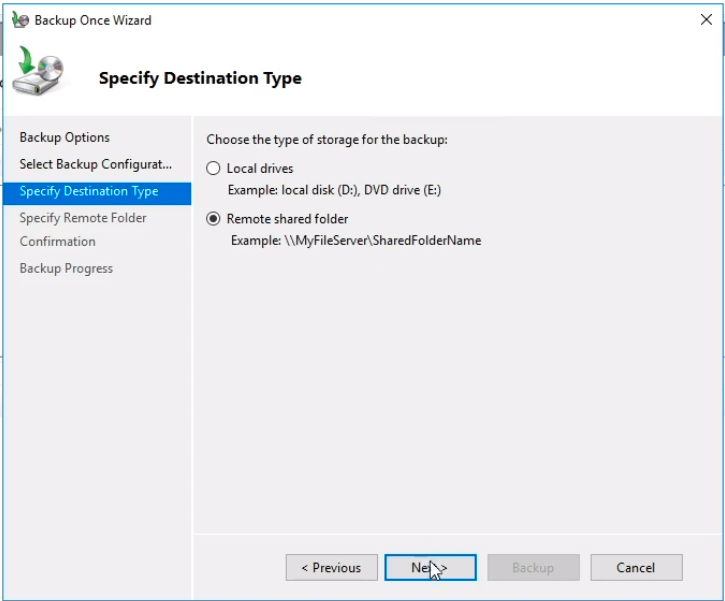
Now, in the Specify Destination Type we ideally would be saving the backup to a remote storage location.
Generally you don’t want to be saving them to the same server that you are creating the backup for.
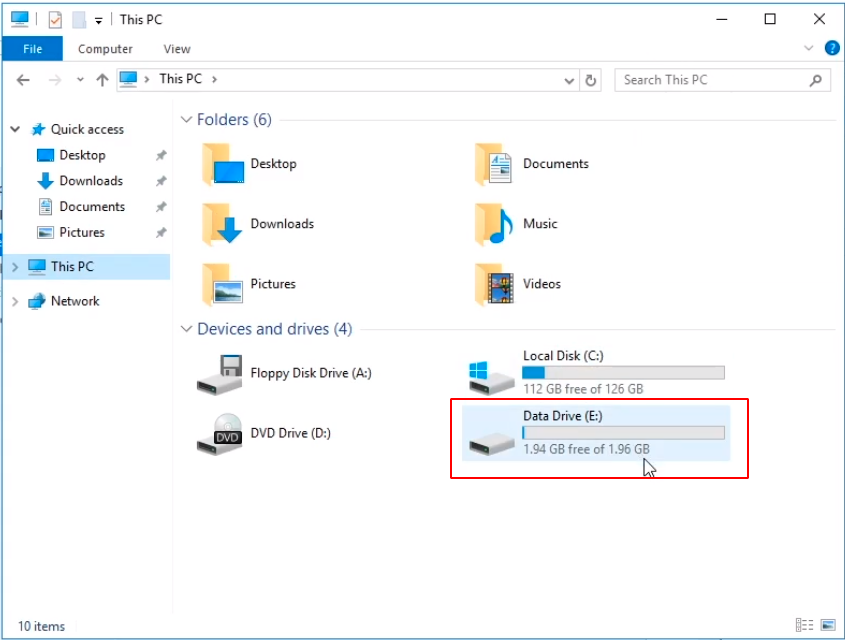
In our specific case we can back up to the local disk D:\ which wouldn't work because that’s actually a DVD drive. The other option we have is the E:\ drive. If we check File Explorer we can quickly see our drive size and available space. The problem is that our E:\ drive is only 2 GB in size and we are backing up 15 GB.
So we will select the Remote shared folder radio button and click on Next to continue.
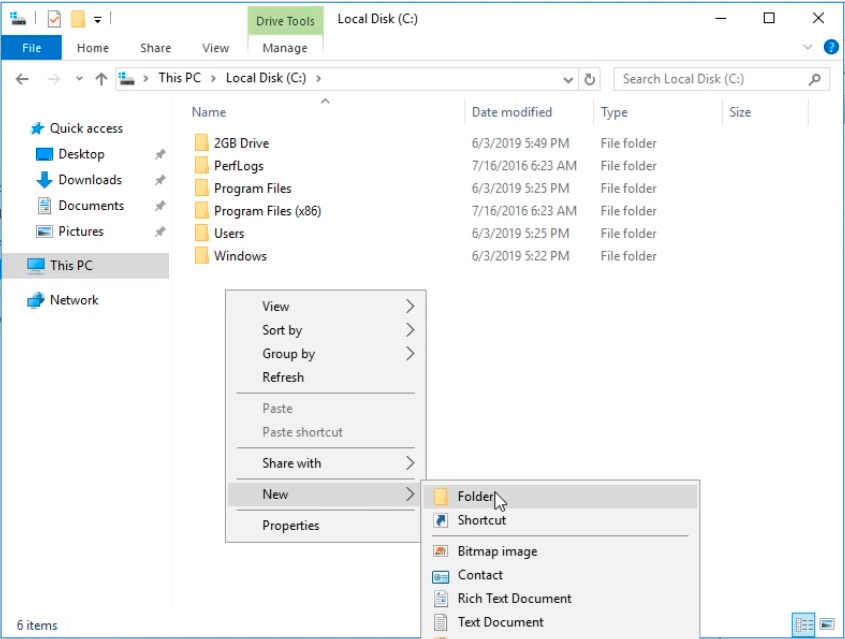
Now, we have to Specify the Remote Folder location. We are going to trick the wizard here for the lab purposes because we don’t have any kind of NAS or SAN setup. So, what we do is go to the C:\ drive and we right click on an empty space and select New > Folder.
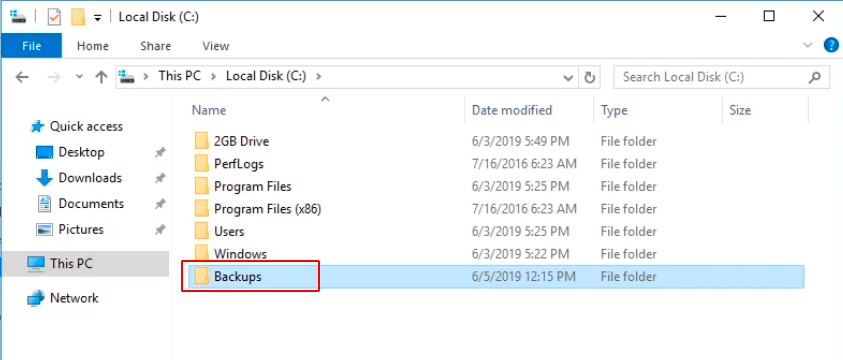
Name the folder Backups.
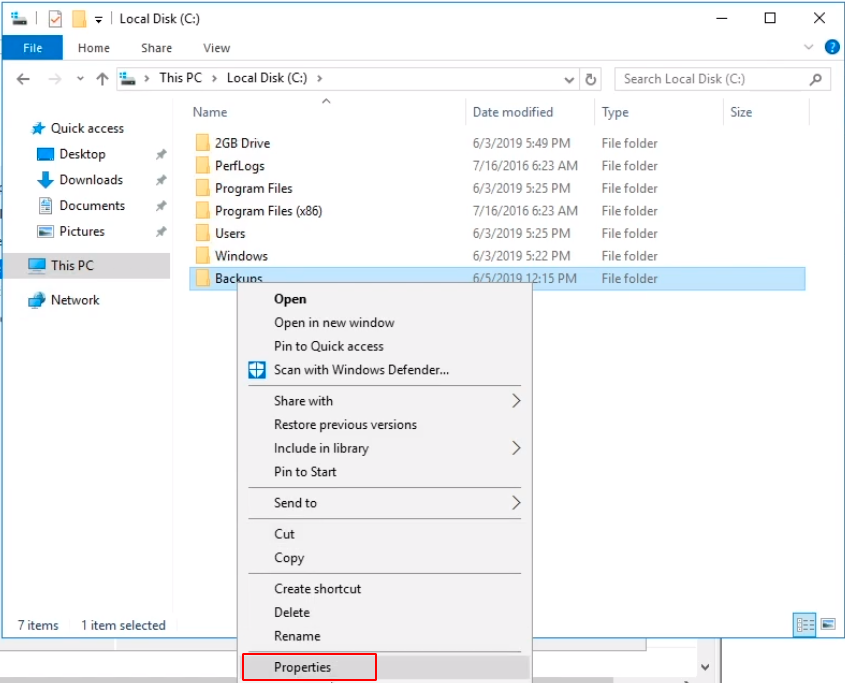
Next, right click on the Backups folder and choose Properties.
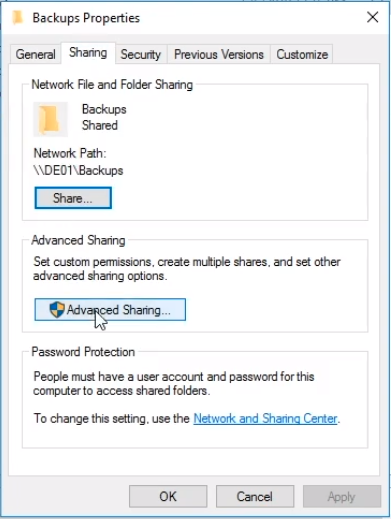
On the Properties window click on the Sharing tab and click on the Share button.
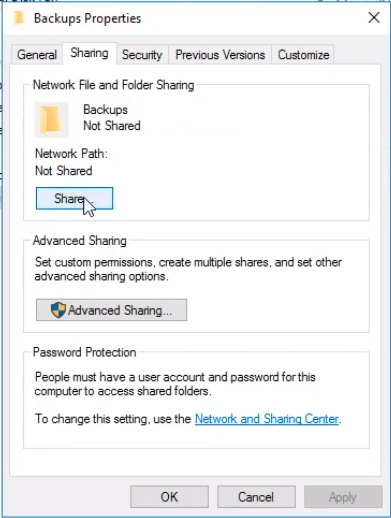
Click on the Share button.
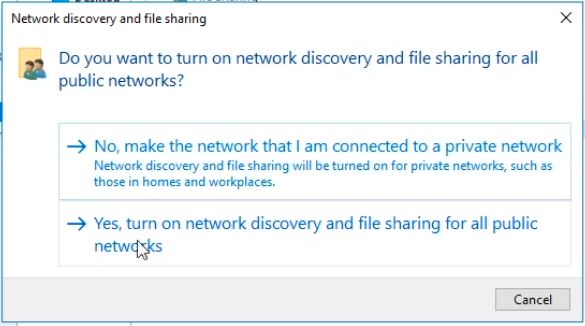
Click on Yes, turn on network discovery and file sharing for all public networks option.
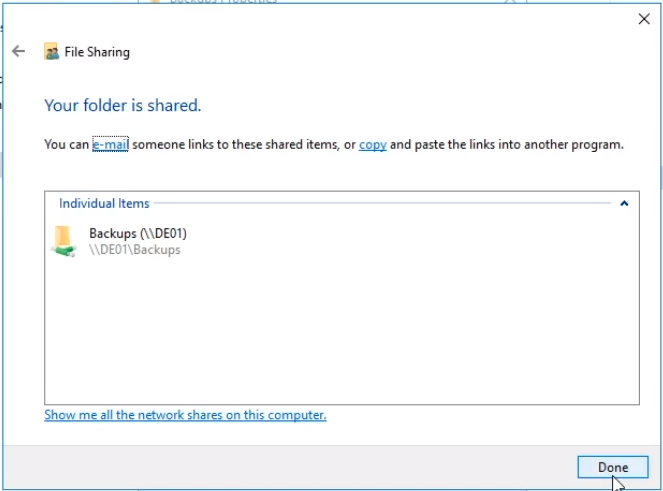
Click on Done.
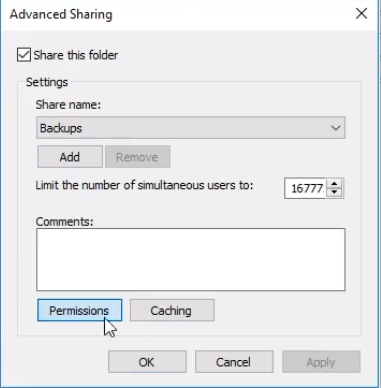
Now, click on the Advanced Sharing button.
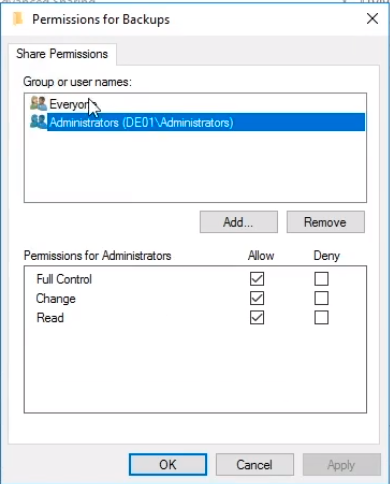
Click on the Permissions button.
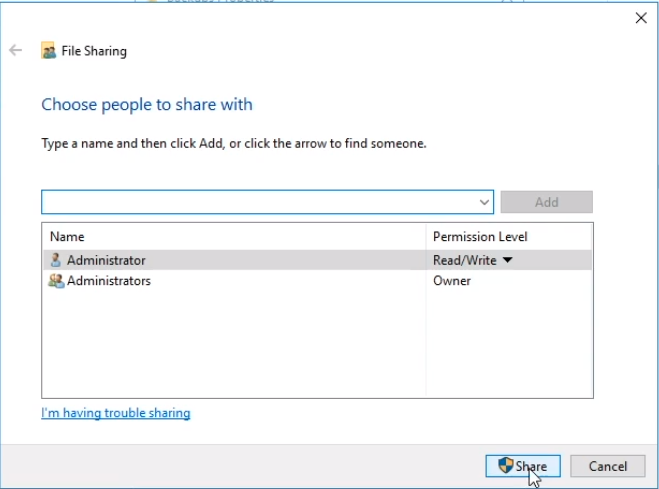
Make sure Administrators has Full Control and remove the Everyone group and click OK.
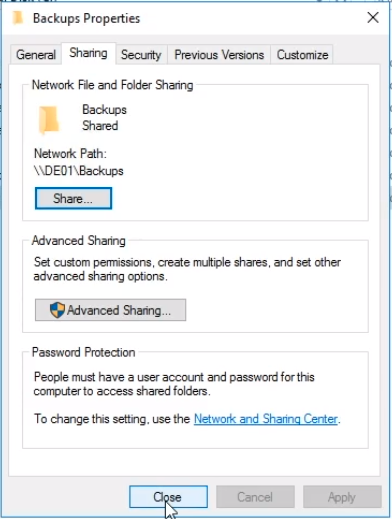
Now you can click on Close to close the Backups Properties button.
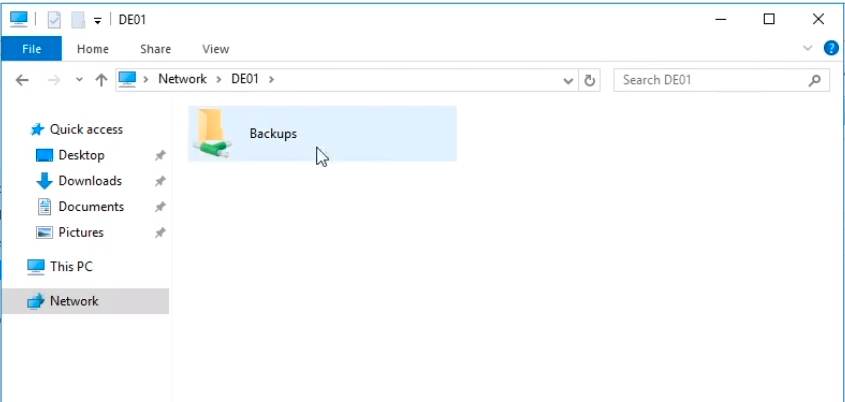
Now, on File Explorer, we can test the new share by typing the name of the server \\DE01\ and pressing Enter. We can see we have a Backups folder.
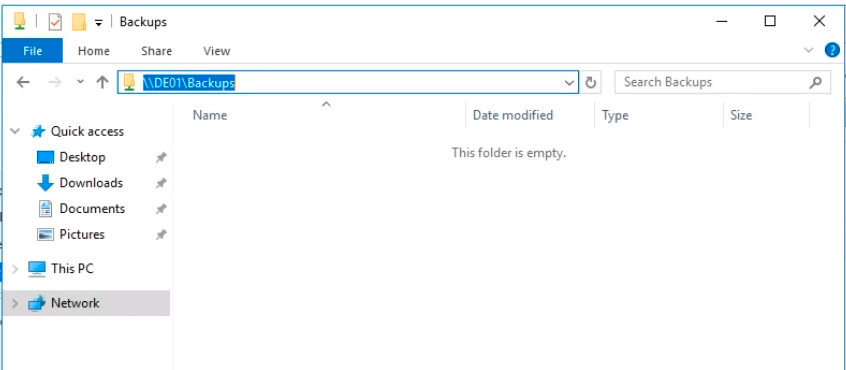
Double click on the Backups folder and copy the address \\DE01\Backups.
Keep in mind that doing this configuration is a bad practice because we are backing up the C:\ drive to the C:\ drive. We are just doing it for the lab purposes. You want to back up on a separate server.
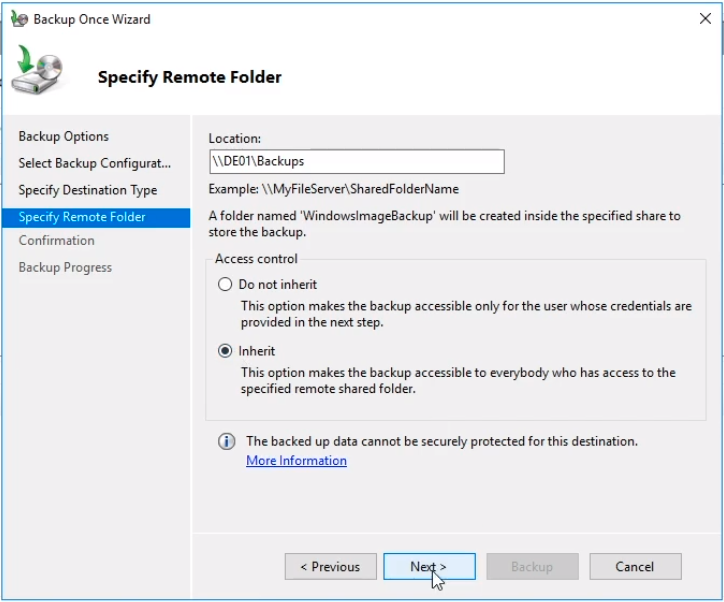
Now, back to the wizard, paste the address \\DE01\Backups and leave the Inherit radio button marked and click on the Next button.
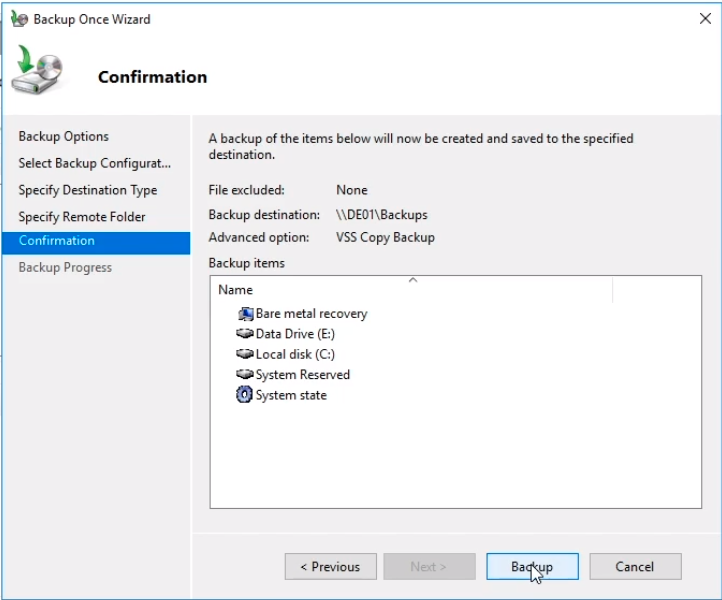
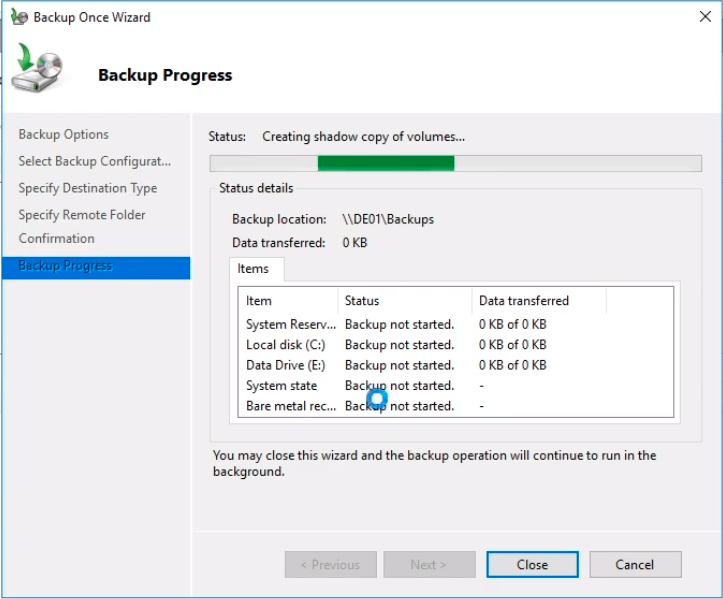
We can see everything that we are about to backup in the Confirmation window. Click Backup to start the One-Time Backup Process.
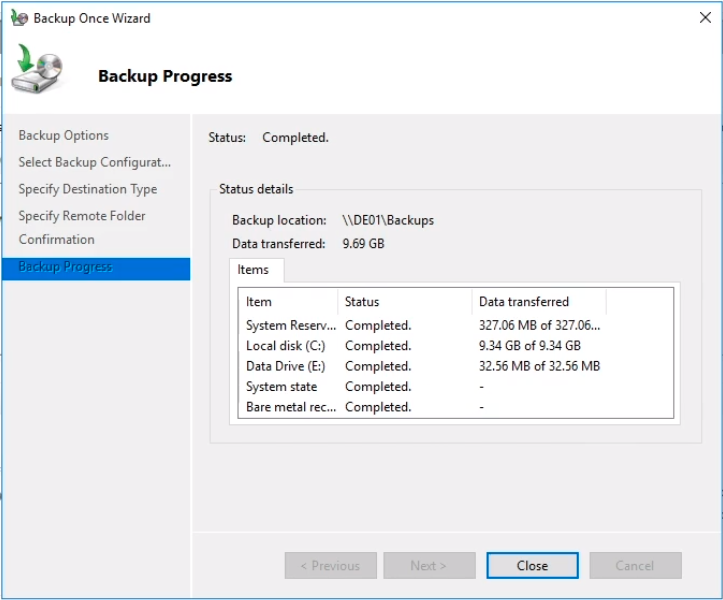
Wait for the backup to finish. You will see the progress and the items being backed up.
Once the backup has been completed you can click the Close button to exit the wizard.
If we check from Windows Explorer under the Backups folder we can see a new folder has been created.
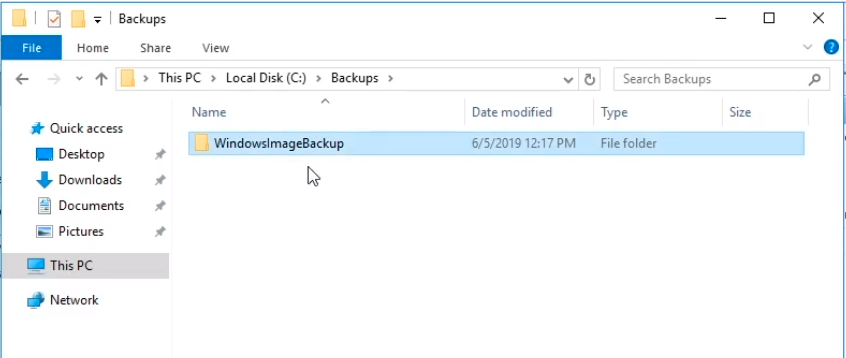
If you double click the folder we should see a DE01 folder and if we right-click and select Properties we will see it consists of 9 GB in size similar to the summary of data backed up on the Backup wizard.
Server Academy Members Only
Sorry, this lesson is only available to Server Academy Full Access members. Become a Full-Access Member now and you’ll get instant access to all of our courses.


