
Creating Scheduled Backups

Full-Access Members Only
Sorry, this lesson is only available to Server Academy Full-Access members. Become a Full-Access member now and get instant access to this and many more premium courses. Click the button below and get instant access now.
Instructions
Q&A (0)
Notes (0)
Resources (0)
Saving Progress...
Resources
There are no resources for this lesson.
Notes can be saved and accessed anywhere in the course. They also double as bookmarks so you can quickly review important lesson material.
In this lesson, we will be creating Scheduled backups with the Windows Server Backup feature.
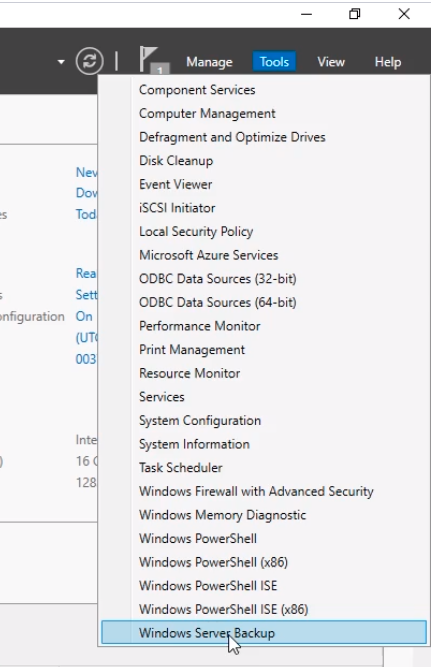
Log into the DE01 server and open the Windows Server Backup Console by selecting Tools and the Windows Server Backup from Server Manager.
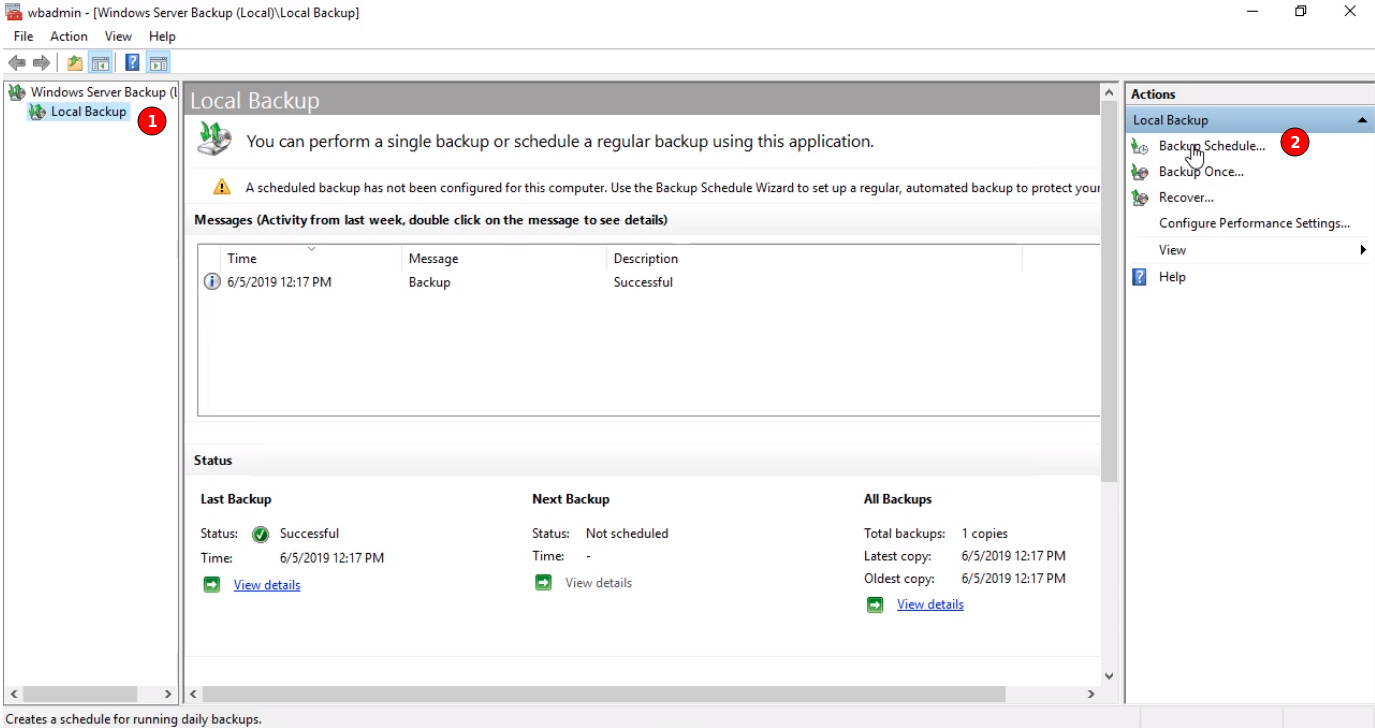
Next, from the Windows Server Backup console click on the left pane on Local Backup (1), and to the right under Actions select Backup Schedule (2).
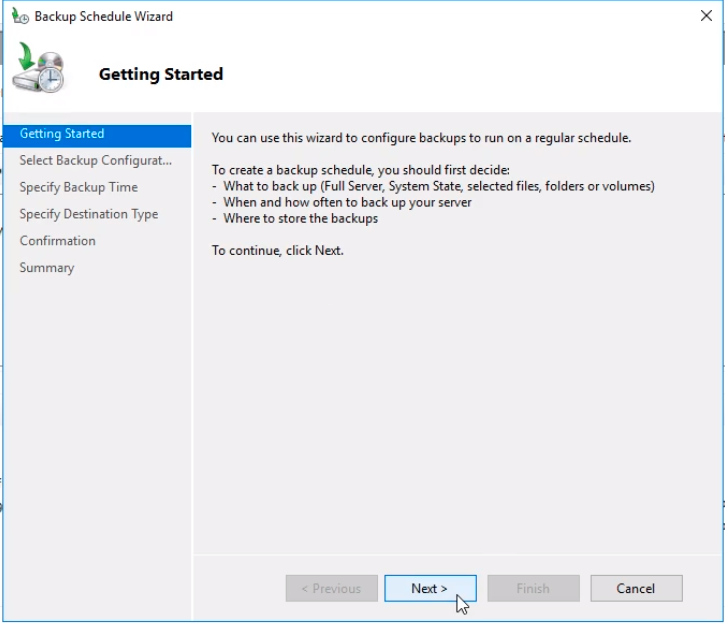
The Backup Schedule Wizard starts so we click on the Next button.
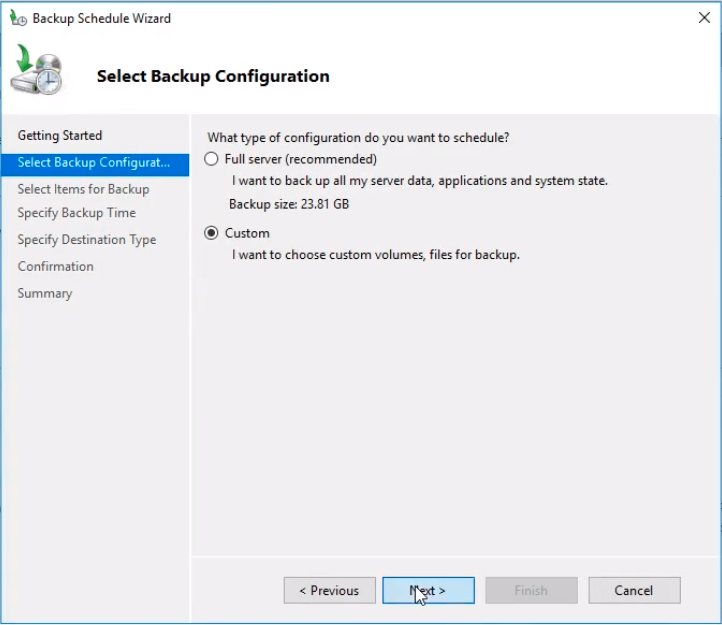
From the next window select this time Custom radio button and click Next.
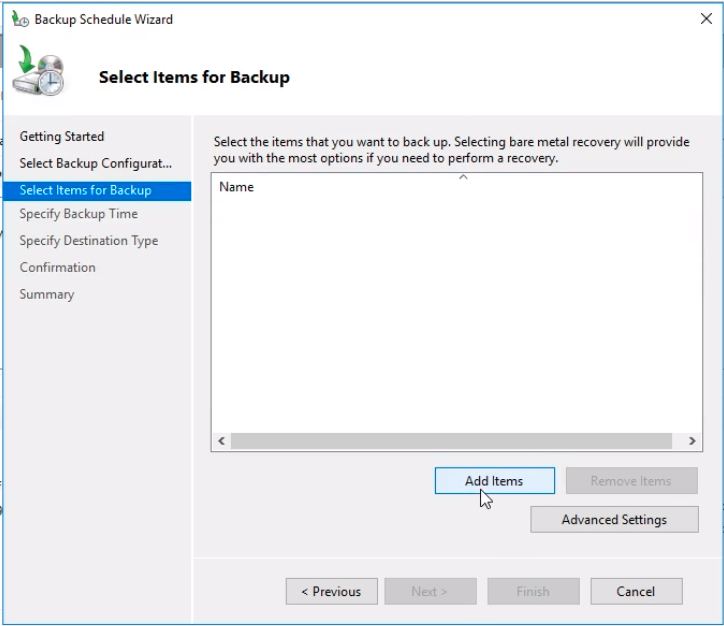
On the Select items for Backup window click the Add Items button to choose exactly what we want to backup.
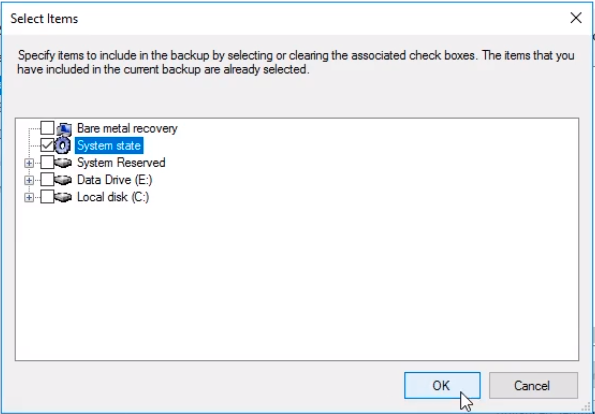
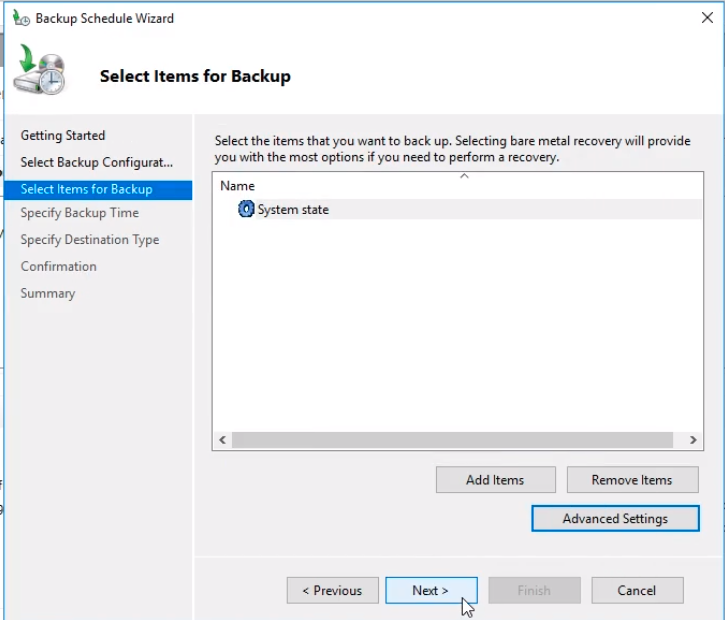
From the Select Items window select System State and click OK.
And click Next to continue the wizard.
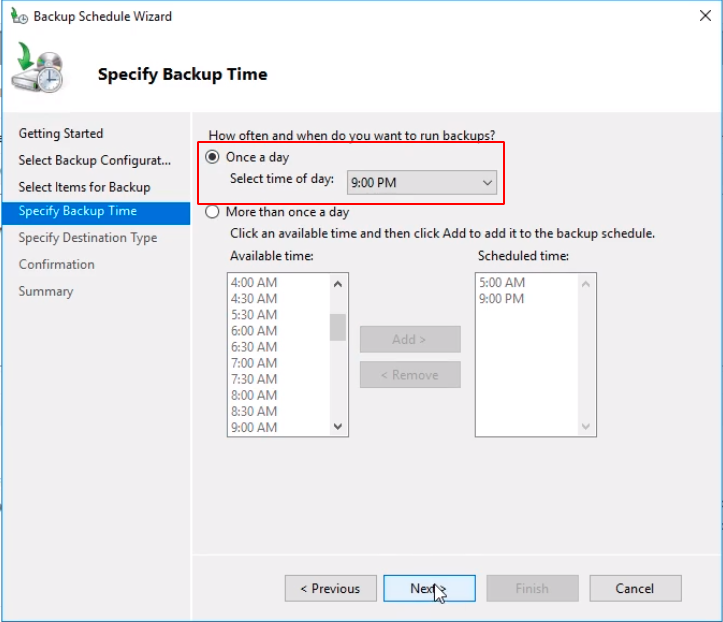
From the Specify Backup Time window, we can choose the times needed for the backup to execute. We choose the Once a day radio button at 9:00 PM. Click Next.
Now, we need to Specify a Destination type. Choose Backup to a shared network folder and click Next to use the same folder be used before on the One-Time Backup lesson.
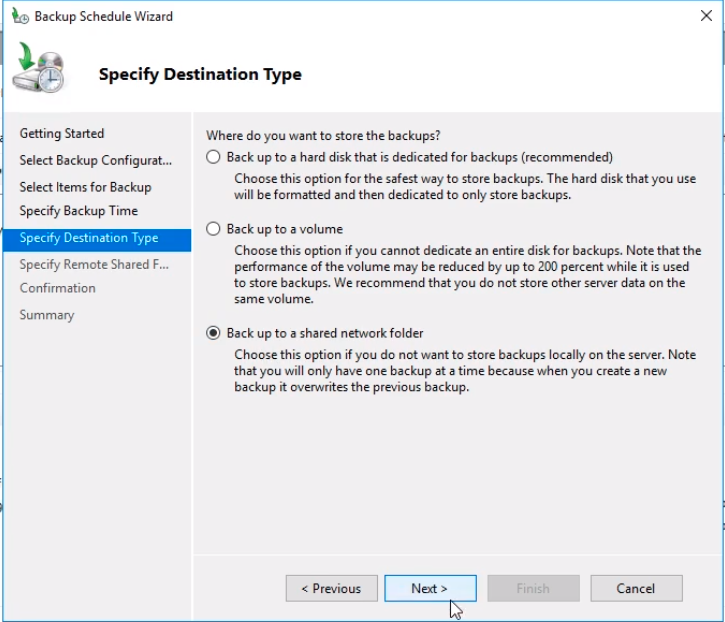
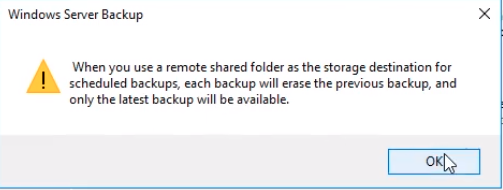
Read the warning message and click OK on the Windows Server Backup warning box.
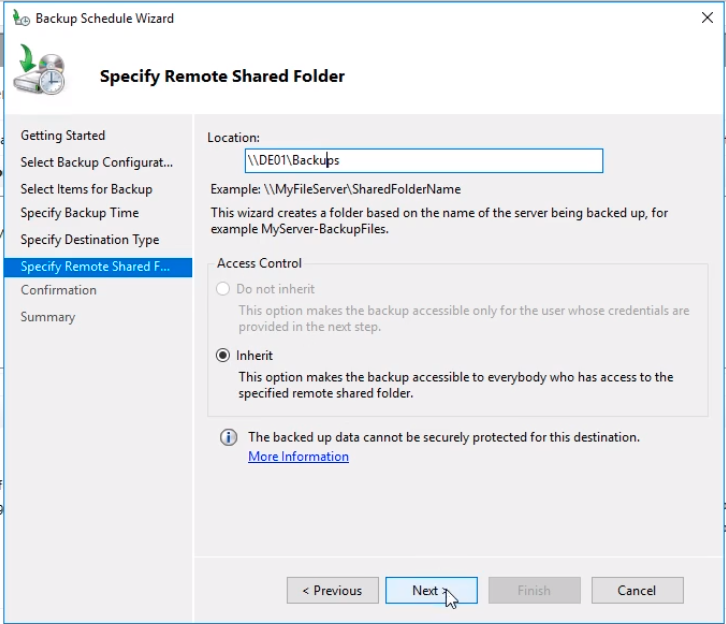
Specify the Remote Shared Folder entering the location \\DE01\Backups and click on the Next button.
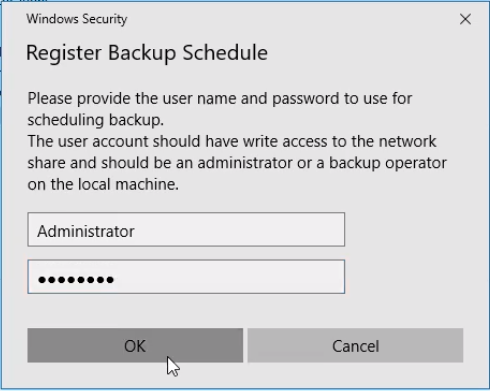
We need to provide a user account that has administrative rights to that location. Enter Administrator and the password and click OK.
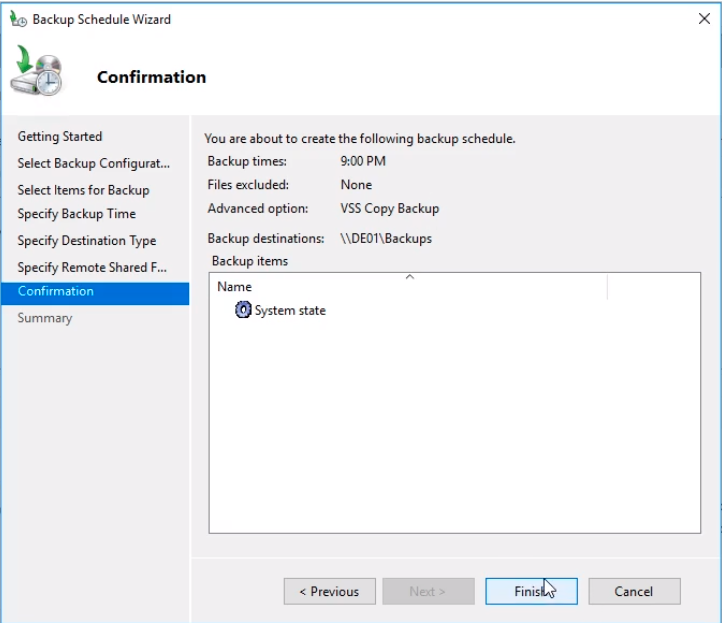
On the Confirmation window click Finish.
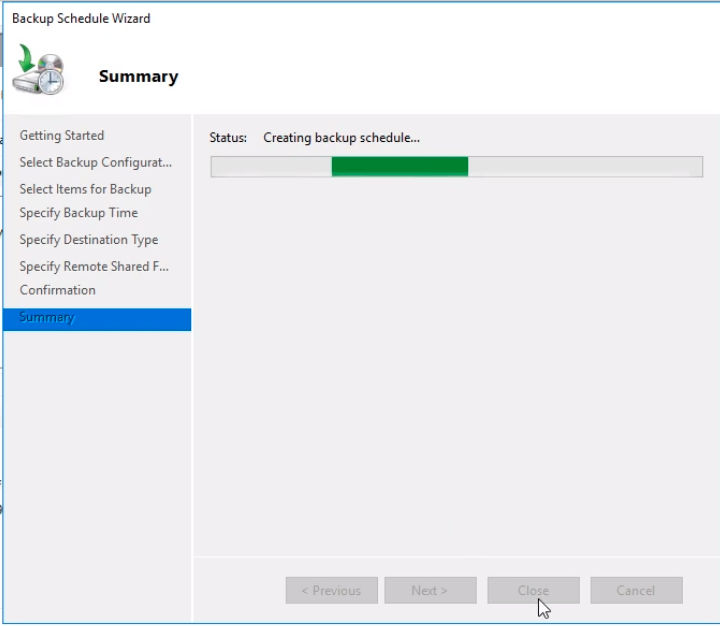
The wizard will start Creating the backup schedule.
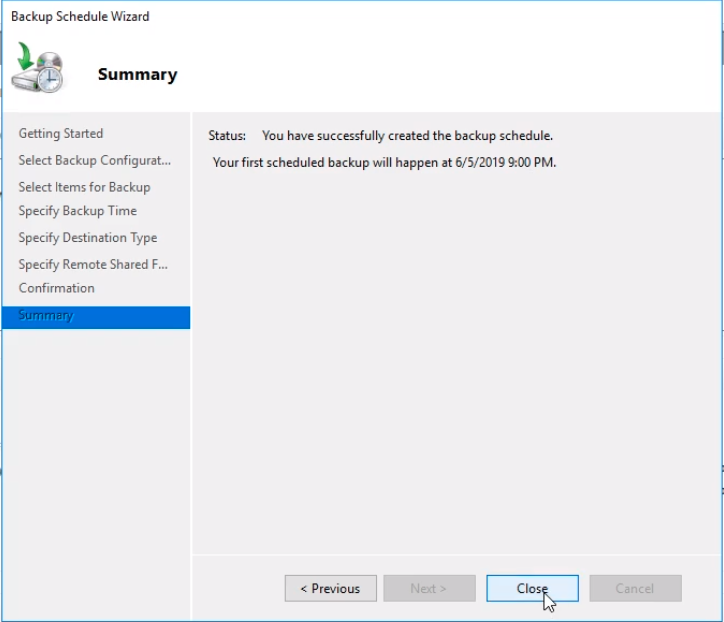
When done we will see that this server will start creating backups every day at 9:00 PM.
Click Close to close the wizard.
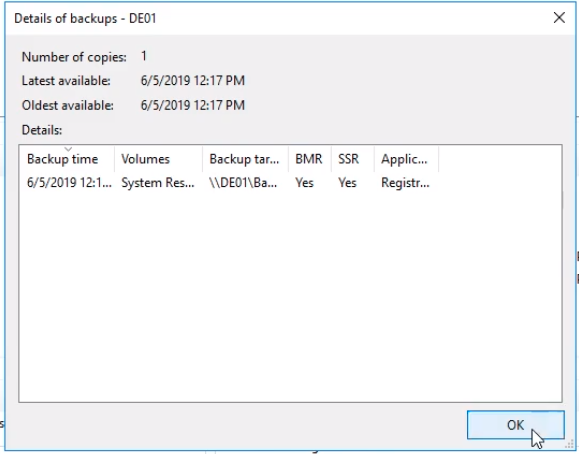
If we notice on the Windows Server Backup console we can see in the middle pane when the backups have been performed when they are scheduled to run, and a summary.
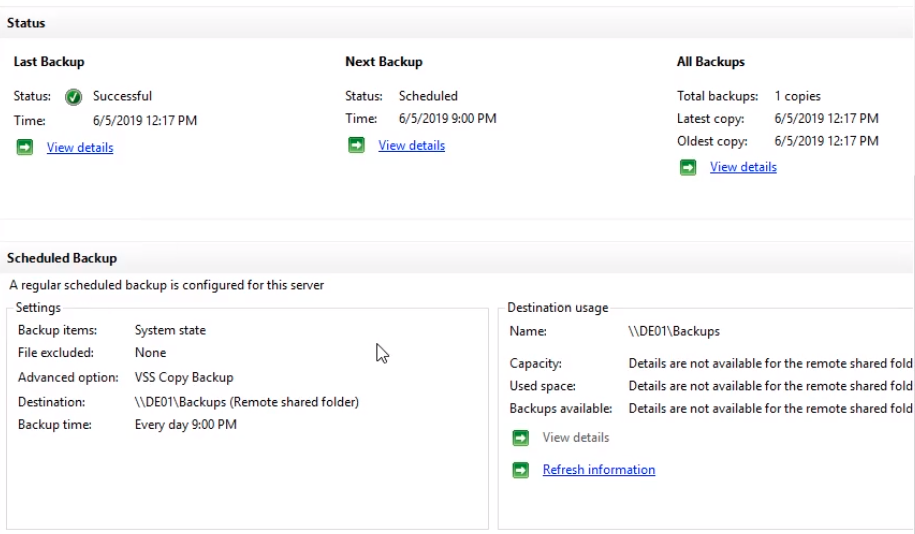
We can click the view details link to see the information.
So that is how you create a Schedule Backup with the Windows Server Backup console.
Server Academy Members Only
Sorry, this lesson is only available to Server Academy Full Access members. Become a Full-Access Member now and you’ll get instant access to all of our courses.


