
Installing Roles and Features on Windows Server Desktop Experience

Full-Access Members Only
Sorry, this lesson is only available to Server Academy Full-Access members. Become a Full-Access member now and get instant access to this and many more premium courses. Click the button below and get instant access now.
Instructions
Q&A (0)
Notes (0)
Resources (0)
Saving Progress...
Resources
There are no resources for this lesson.
Notes can be saved and accessed anywhere in the course. They also double as bookmarks so you can quickly review important lesson material.
In this lesson, you are going to learn how to install Windows Server Roles and Features.
You can think of a Role or Features like a Snap-In or a Module that you add onto your base operating system installation to provide more services to your network. For example, you can install the DNS server role and make this server a DNS server for your network. You can also install the Hyper-V server role and begin managing virtual machines on this server.
So the way we are going to get started is by opening Server Manager and at the top right, we have the Manage menu. Click on it and select Add Roles and Features.
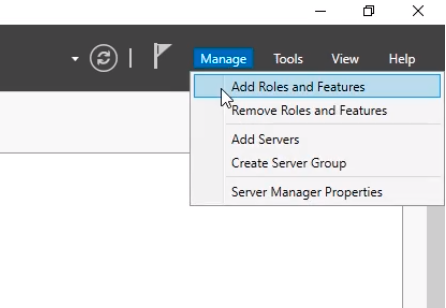
The Add Roles and Features Wizard appear to walk us through the installation of a Role or Feature.
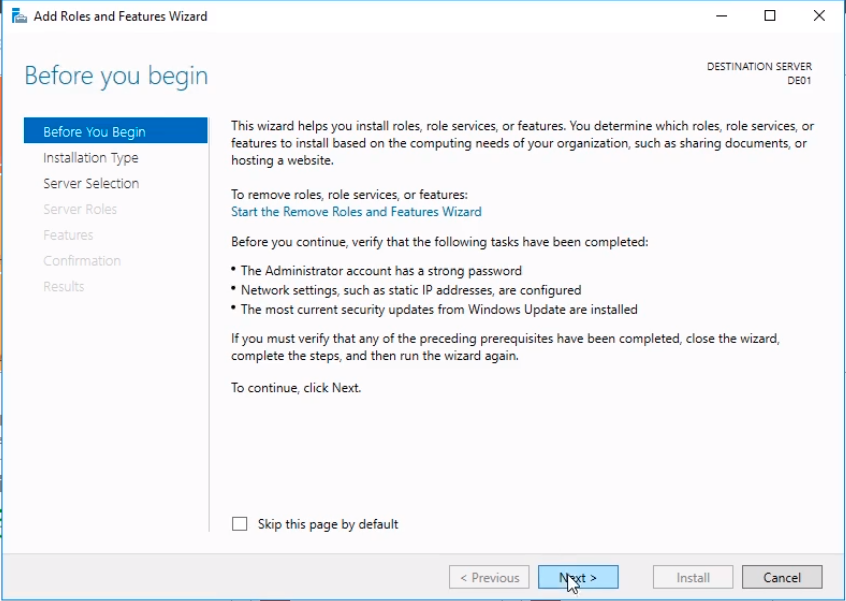
The first window Before you begin gives us information on what we can do with it.
Click Next to begin.
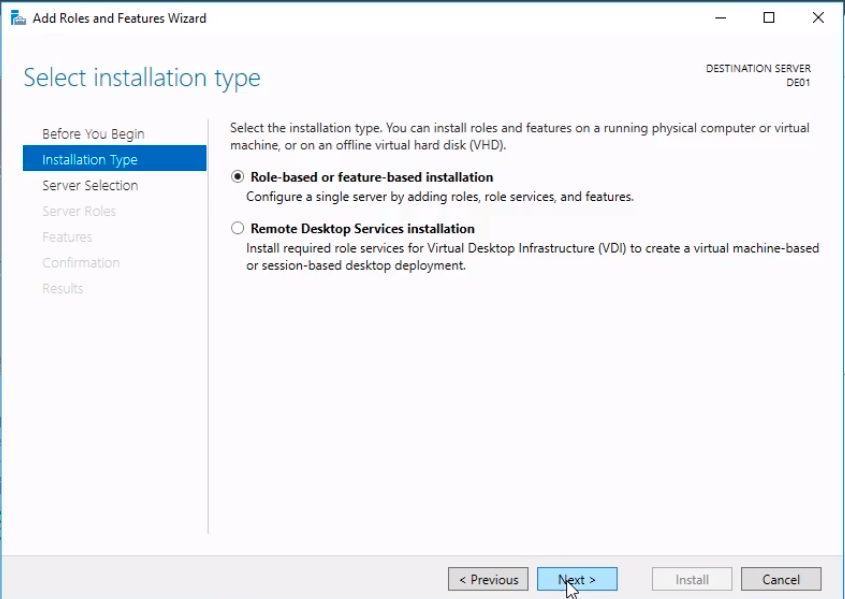
Now, we need to Select the installation type. Here 9 times out of 10 you will be doing a Role-based or feature-based installation.
We can choose Remote Desktop Services installation, and we can set this up for Virtual Desktop Infrastructure which is commonly referred to as VDI. Now, that really goes out of the scope of what we are trying to do in this course so we select the first option Role-based or feature-based installation which is what you will be doing 99 out of 100 times in the IT field.
Click Next to continue.
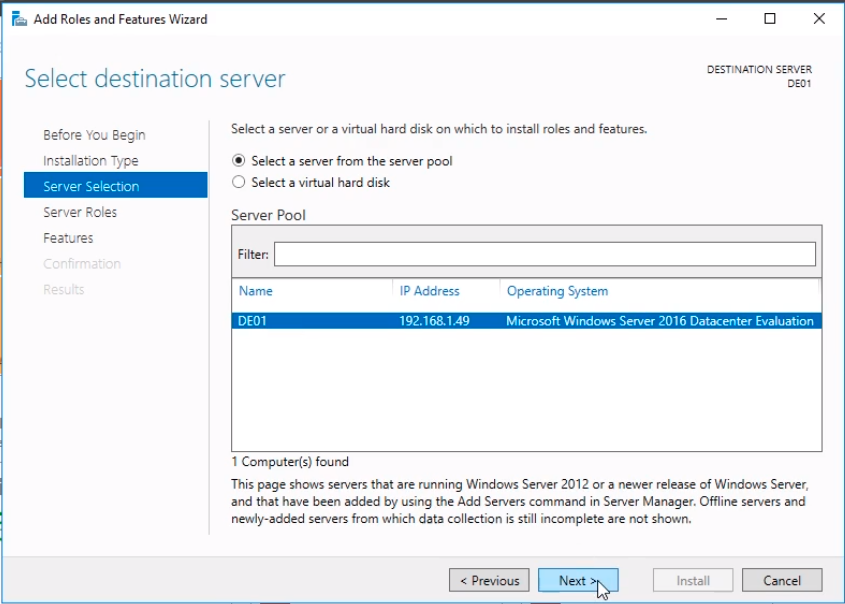
In the Select destination server window, the only option we have is the DE01 on the server list. This is the Desktop Experience server that we are currently running on.
Now, this is what I talked to you about before, that you can add another server, like a Windows Server Core for example as a managed server and we can install Roles and Features on that server from this DE01 server. But since we haven’t set anything like that yet we are going to select DE01 and click Next.
Next, we have a list of all the Server roles that are available for installation. What we are going to do is install the DNS Server Role.
Click the checkbox next to DNS Server.
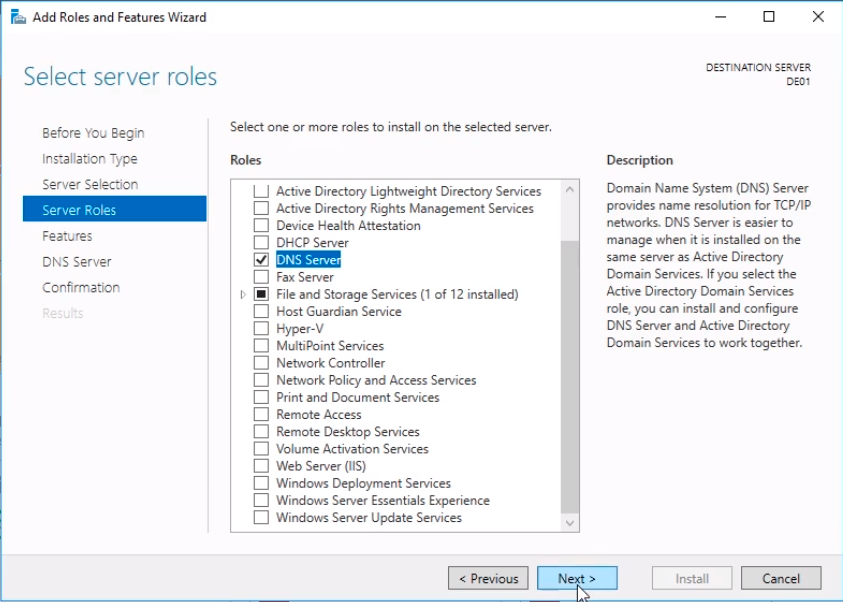
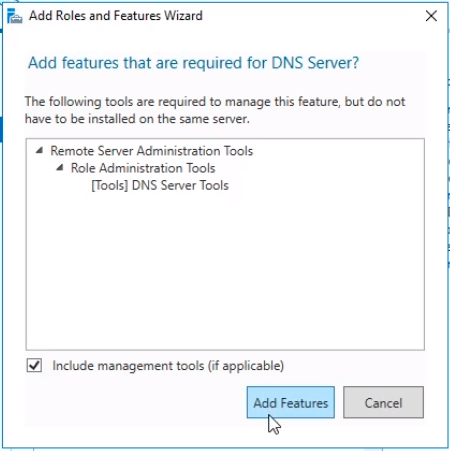
This is going to prompt for a new window that suggests we also need to install these required features. Click Add Features and then Next on the previous windows to continue the wizard.
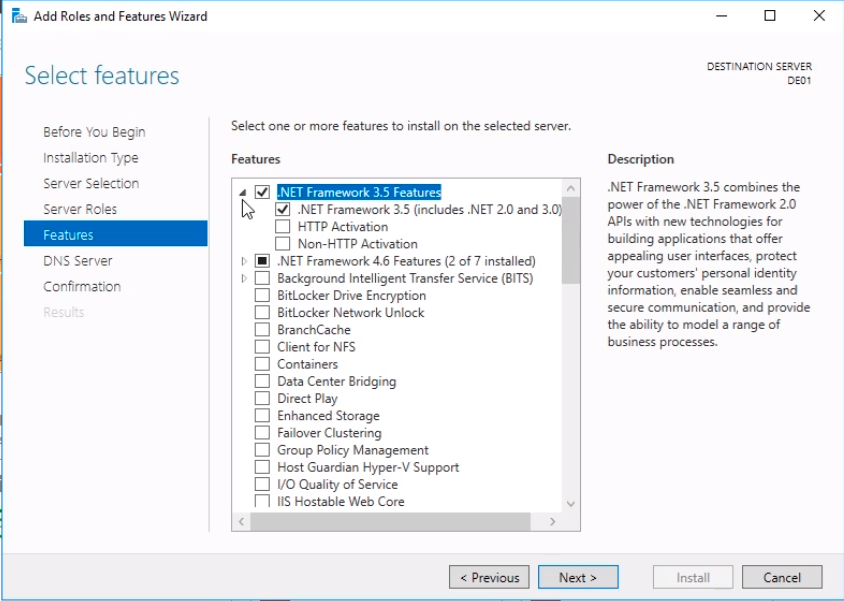
We are brought to the Select Features window.
If we want to install for example .NET Framework 3.5 Features we can click on the checkbox next to it and we can expand the selection and click on additional features if necessary.
Click Next to continue.
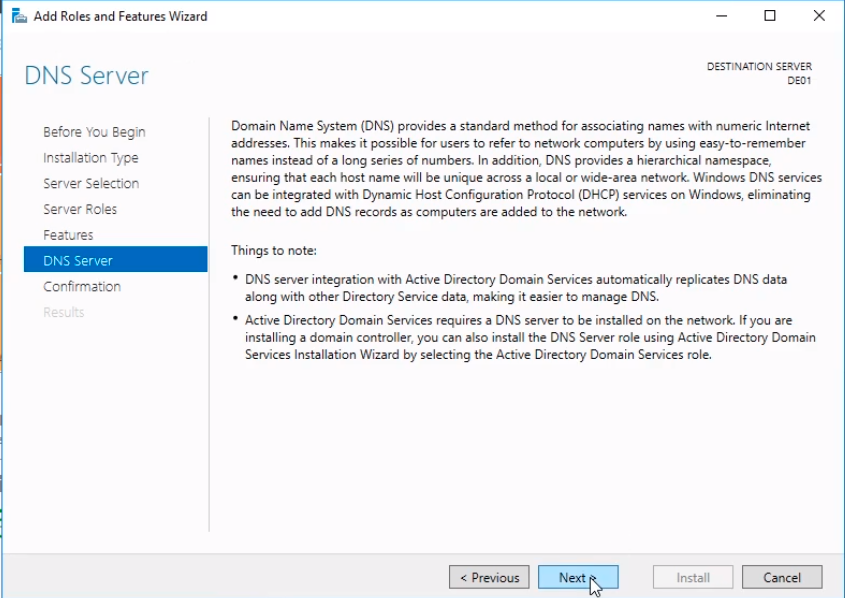
Now, this is the DNS Server window with a basic explanation of the Role we have selected to install.
Click Next.
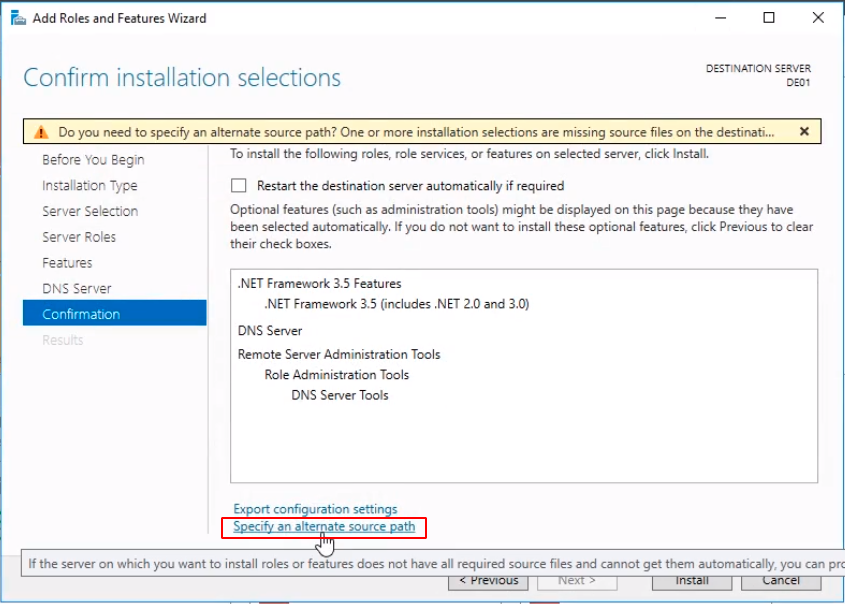
Now, on the Confirm installation selections window, we need to specify an alternate path to an alternate source path. The way we do that is with the installation media.
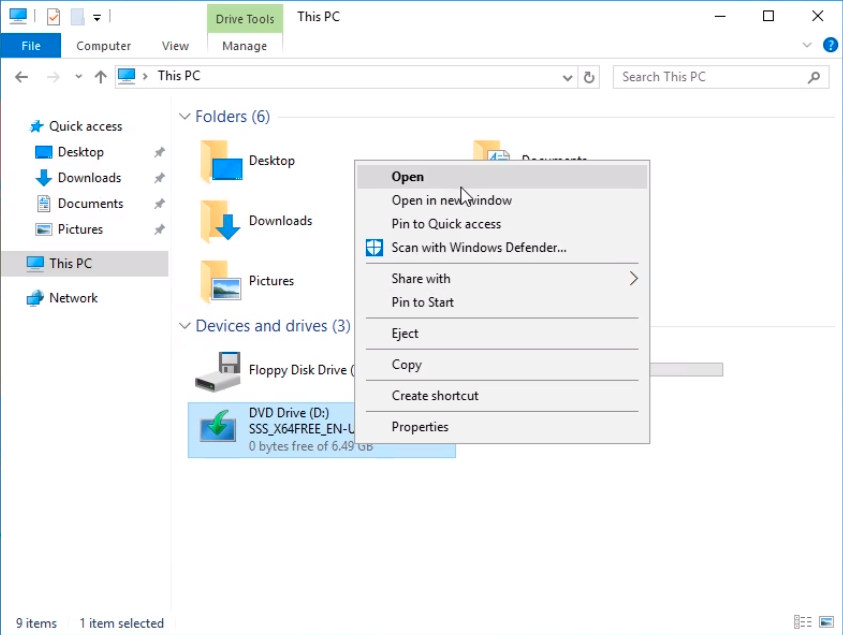
If the ISO is still mounted after installation we can navigate to it by right-clicking it and selecting Open.
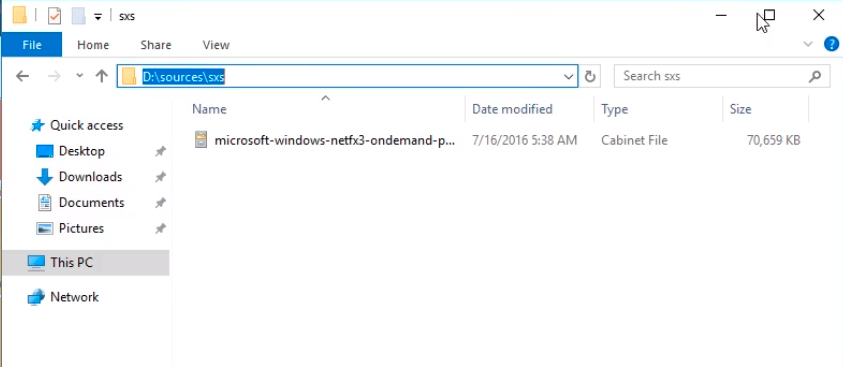
Double-click on the sources folder and double-click on sxs and we copy that path to our clipboard.
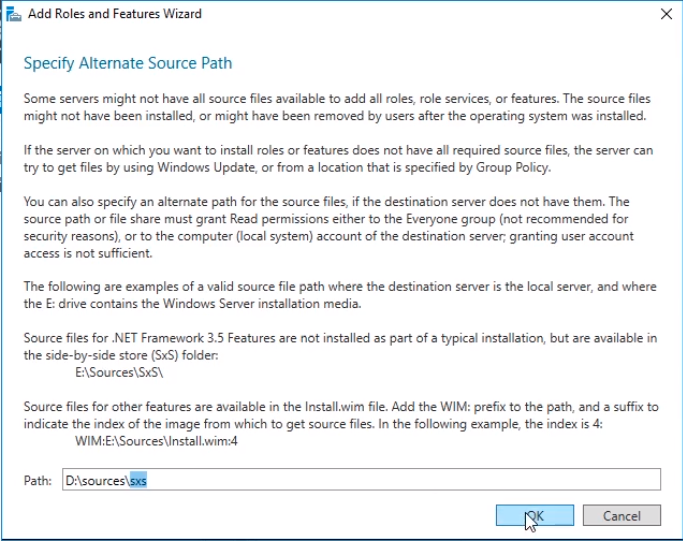
And back to the wizard, we click on Specify an alternate source path.
And specify the Path: D:\sources\sxs and click OK.
Generally, this is not a requirement but since we are installing .NET Framework 3.5 Features those files are not readily available so that’s why we need to specify the source files on the installation media.
Now, click on the Install button to begin the installation.
Server Academy Members Only
Sorry, this lesson is only available to Server Academy Full Access members. Become a Full-Access Member now and you’ll get instant access to all of our courses.


for the ‘specify alternate source path’ will it always popup that error-message? bc like it’s already a windows server vm.. so like putting in another source path for the iso.. is like creating another vm of windows server inside the vm of windows server? or can we just skip that ? (that is saying if we created the server via the vm instead of buying the actual operating system/disk to download the actual vm)
oh, so the source files can also be updated automatically after the server is installed.. but it’s easier to just put in the path to the original iso file so that everything can be updated immediately