Use the OGV Command to Easily View console data!

Full-Access Members Only
Sorry, this lesson is only available to Server Academy Full-Access members. Become a Full-Access member now and get instant access to this and many more premium courses. Click the button below and get instant access now.
Instructions
Q&A (0)
Notes (0)
Resources (0)

Saving Progress...
Resources
There are no resources for this lesson.
Notes can be saved and accessed anywhere in the course. They also double as bookmarks so you can quickly review important lesson material.
In this lecture, you’re going to learn about the Out-GridView or the OGV command within PowerShell. This is a command that sends the output from a command to a grid view where it will provide an interactive table that you can use to filter and manipulate data.
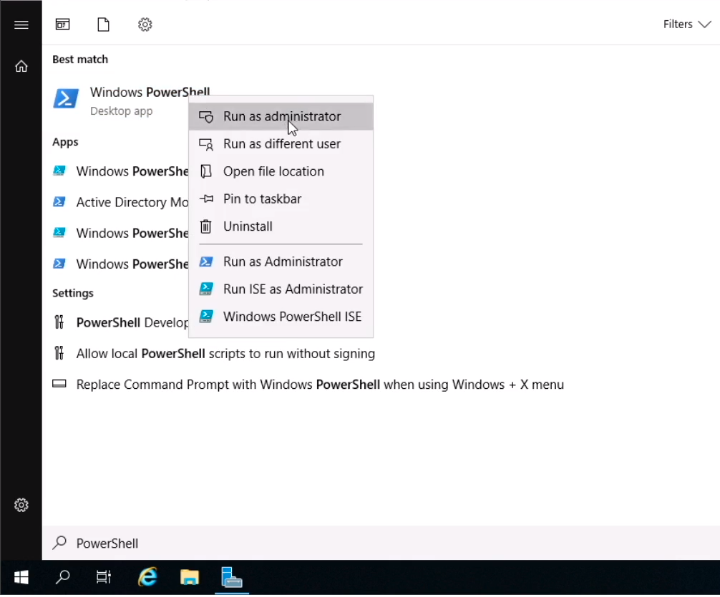
On SADC01 click the start button and type PowerShell. Right-click on the Windows PowerShell icon from the list of applications and select Run as administrator.
We should have the PowerShell window open.
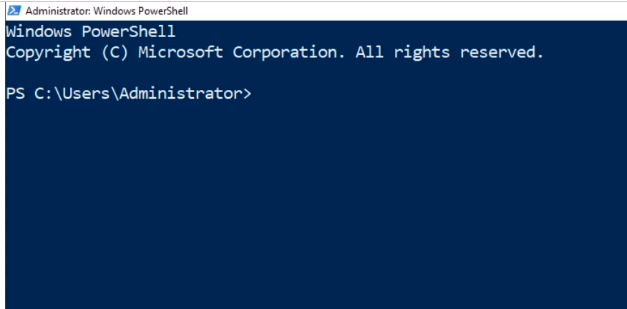
Out-GridView or the OGV command works in Windows 10 and Windows Server, however, we are going to be running some Windows Server-specific commands like Get-WindowsFeature. This will not run on Windows 10.
Type the command Get-WindowsFeature and press Enter.
This will show all the Installed and Available Windows Server Roles that we have in Windows Server.
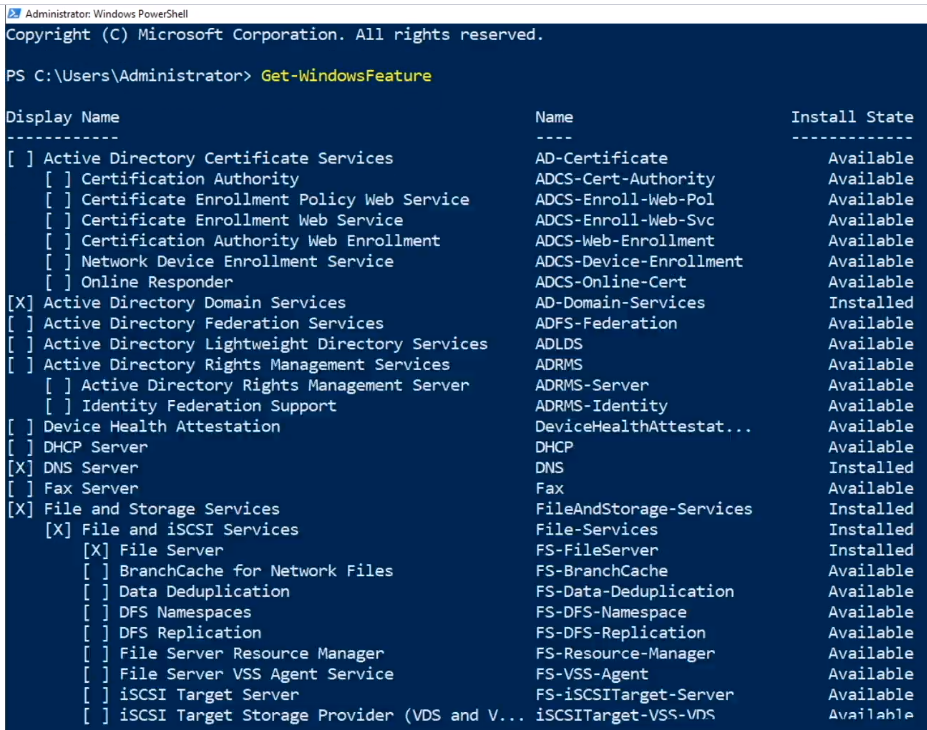
There’s a better way to look at all this data. If we want to filter for something we have to type Get-WindowsFeature -Name MSQ for example. QUickly, you will notice that it is not that easy to work with these filters.
Let’s pipe the command to Out-GridView. Type Get-WindowsFeature | ogv and press Enter.
The previous command will make a new window popup appear with the output of Get-WindowsFeature as we can see here:
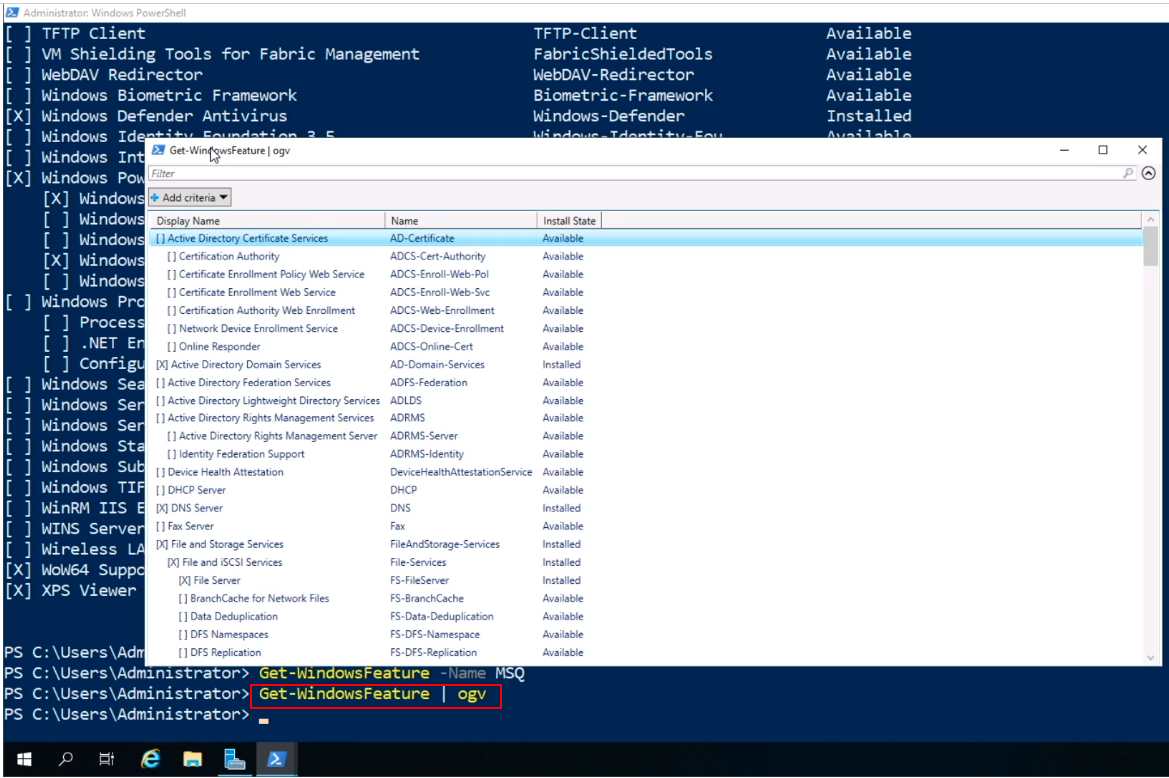
This is the same exact data as we had before in PowerShell, however it is an interactive table.
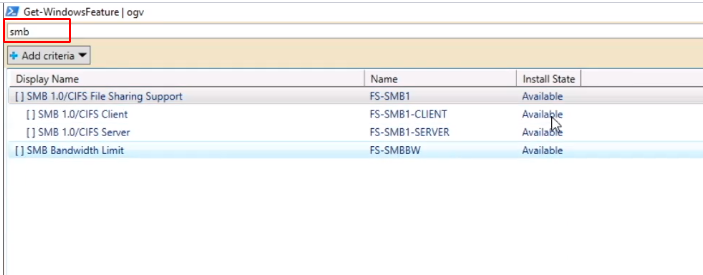
Let’s say we want to find the feature for SMB. In the filter textbox, we type the word smb and it will filter down to the Roles and Features that include that search filter.
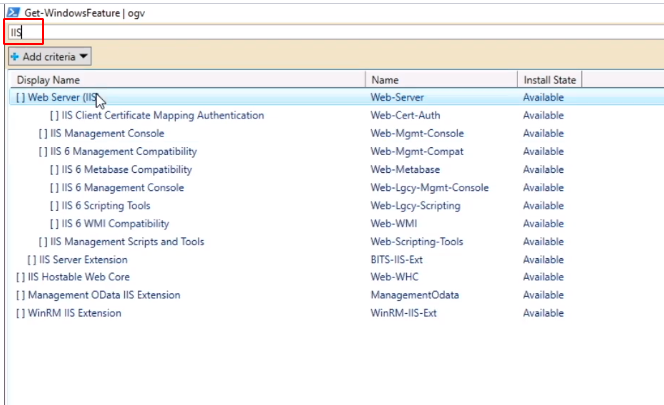
We can perform a search for IIS to see if it is Installed or Available.
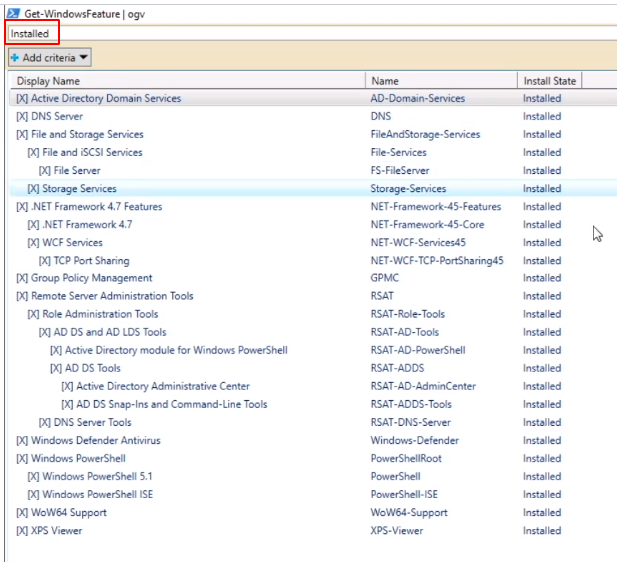
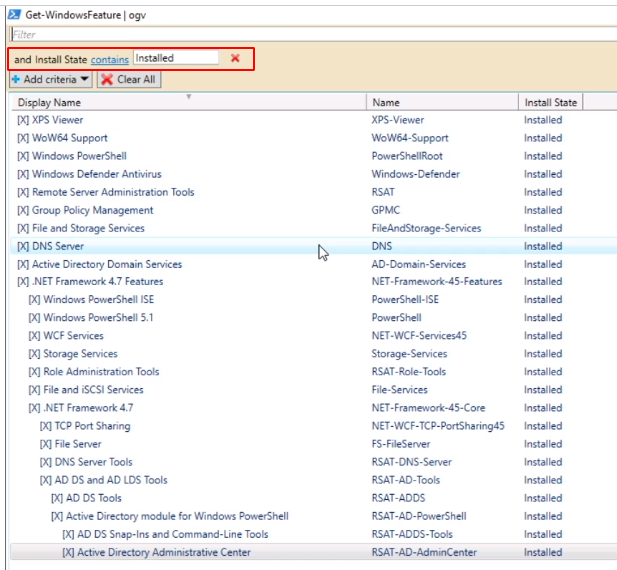
Also, we can search for just the Installed Roles and Features by typing the word installed.
We can perform some more searches by adding criteria. Click on the Add criteria drop-down list to see the options.
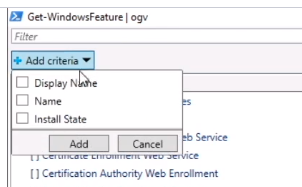
We can select the checkbox Install State and click the Add button
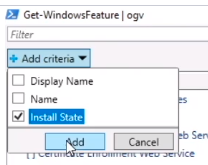
Next, type the word installed.
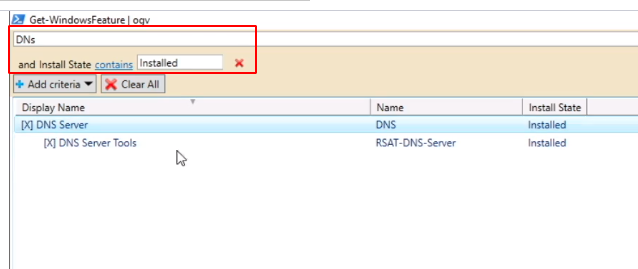
We can combine the criteria by typing on the Filter text box DNS.
We can close the window and return to PowerShell by typing some other commands.
Type Get-Module and press Enter.

We can pipe it to OGV so let’s type Get-Module | ogv and press Enter.

We see we get the same exact output in a New Window.
We will focus on the ExportedCommands column to the right.
Close the window and type Get-Module | Select-Object ExportedCommands and press Enter to select just that column.

We can output the command to OGV but we will see the same result and that’s not what we want.
Now, what we want to do is type the following command outputting the result to OGV. Type Get-Module | Select-Object -ExpandProperty ExportedCommands | OGV and press Enter.
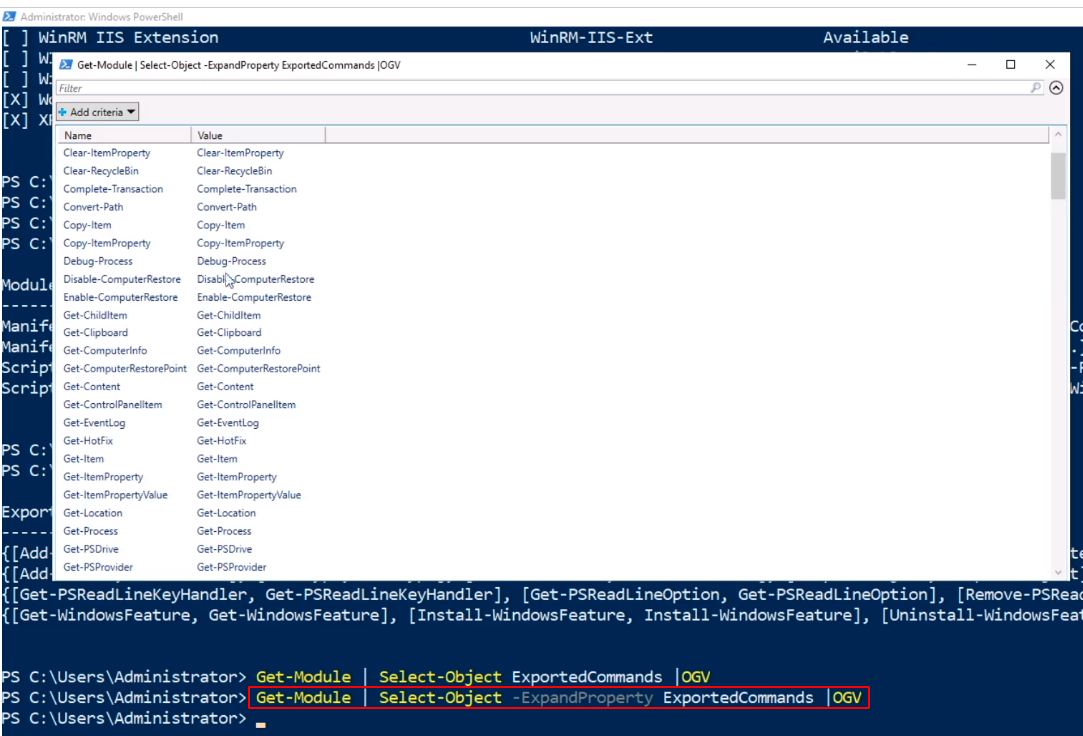
That is how you can use the OGV to find, view, and filter your PowerShell data.
You can do this with any command even the ones that don’t make sense like ipconfig | ogv
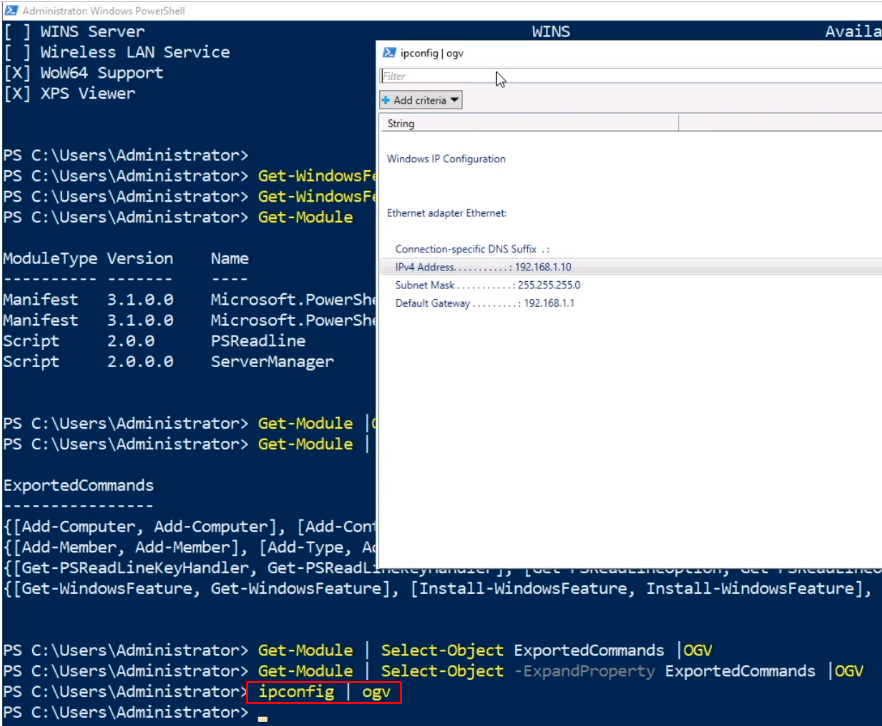
Now, it does not work really well when you use string-type objects, but you can still filter the information.
So again, you can use the OGV command on just about anything, but on some, it might not work like when you type Write-Host “Test” | ogv, but there’s no reason why you want to do that.
That is how you use the OGV Command to Easily View console data.

Server Academy Members Only
Sorry, this lesson is only available to Server Academy Full Access members. Become a Full-Access Member now and you’ll get instant access to all of our courses.


The videos are excellent, but it would be nice if we could spin up a lab directly from any given lecture so that we can follow along.
Hi Christian Sanchez
 Paul Hill
Thank you for the feedback. We will review your suggestion with
Ricardo
I love this idea… Let me think about how we can implement it.