Installing Windows Server

Full-Access Members Only
Sorry, this lesson is only available to Server Academy Full-Access members. Become a Full-Access member now and get instant access to this and many more premium courses. Click the button below and get instant access now.
Instructions
Q&A (0)
Notes (0)
Resources (0)

Saving Progress...
Resources
There are no resources for this lesson.
Notes can be saved and accessed anywhere in the course. They also double as bookmarks so you can quickly review important lesson material.
In this lecture, we are going to install Windows Server 2019.
So, the first thing we are going to do is open VirtualBox. Here I have IPDC01. What I am going to do is right-click on it and choose Settings.
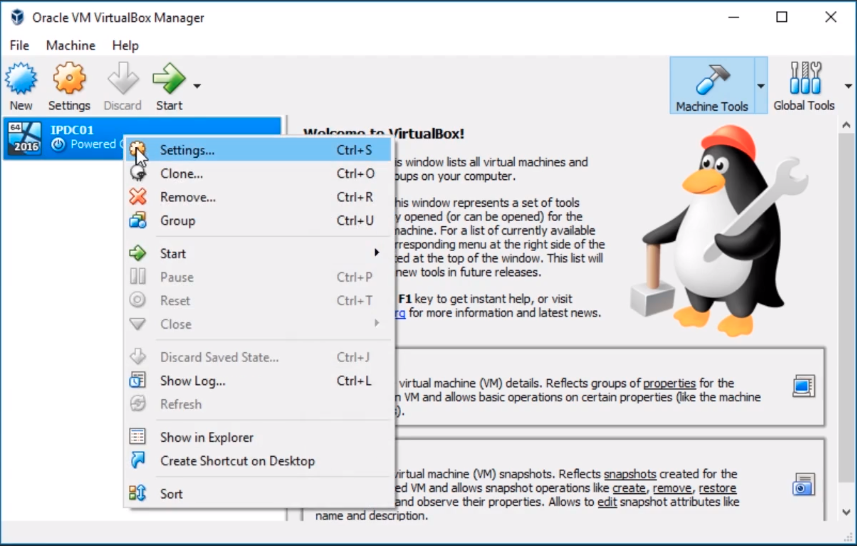
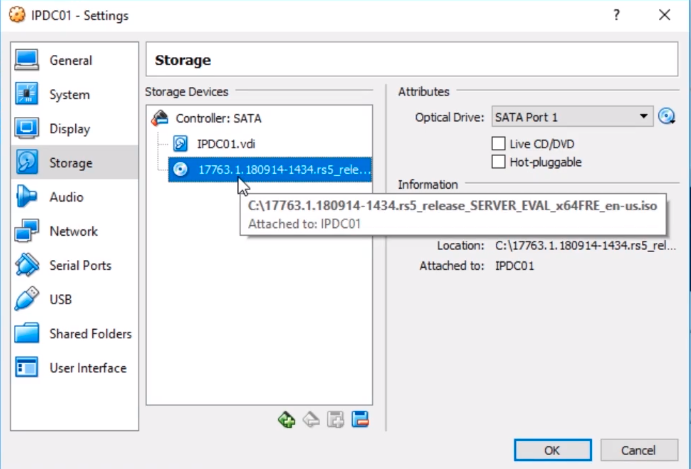
And, we are going to go to Storage and verify that the ISO is mounted.
Also, under Network, I can see I have Server2019Lab under the Nat Network and it is mounted to the correct Nat Network.
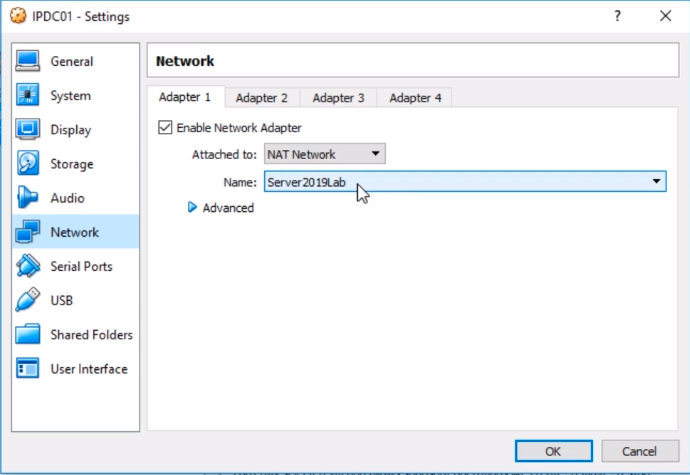
So, no matter what virtualization technology you’re using, it’s important for you to mount the ISO, and then it’s attached to the right Nat Network that will give it Internet connectivity.
Now, if you are installing Server 2019 on a physical server you can burn this ISO to a DVD, insert the DVD into the server, and then boot to that DVD. That’s another way you could do it. Hyper-V, VMWare, all have their different ways to mount the ISO directly to the VMs.
So, once you do that, all we need to do is power on the Virtual Machine. We can do that by clicking on the Start button.
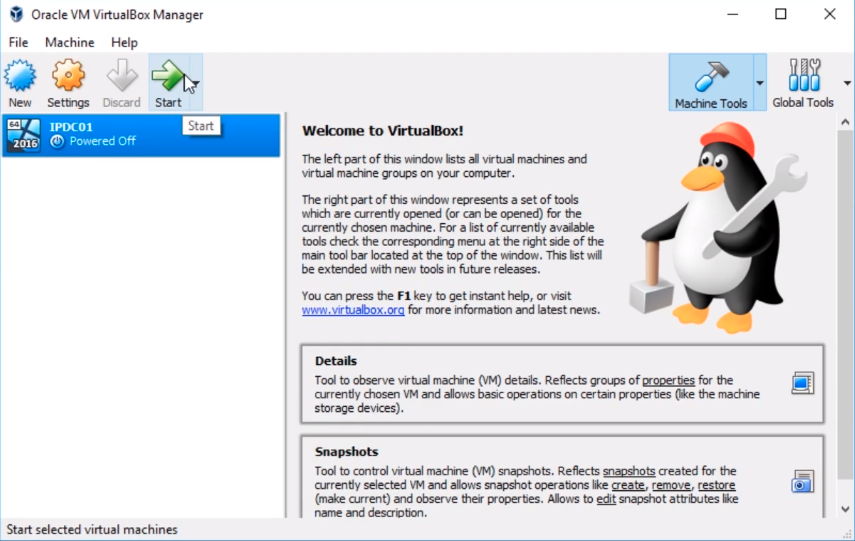
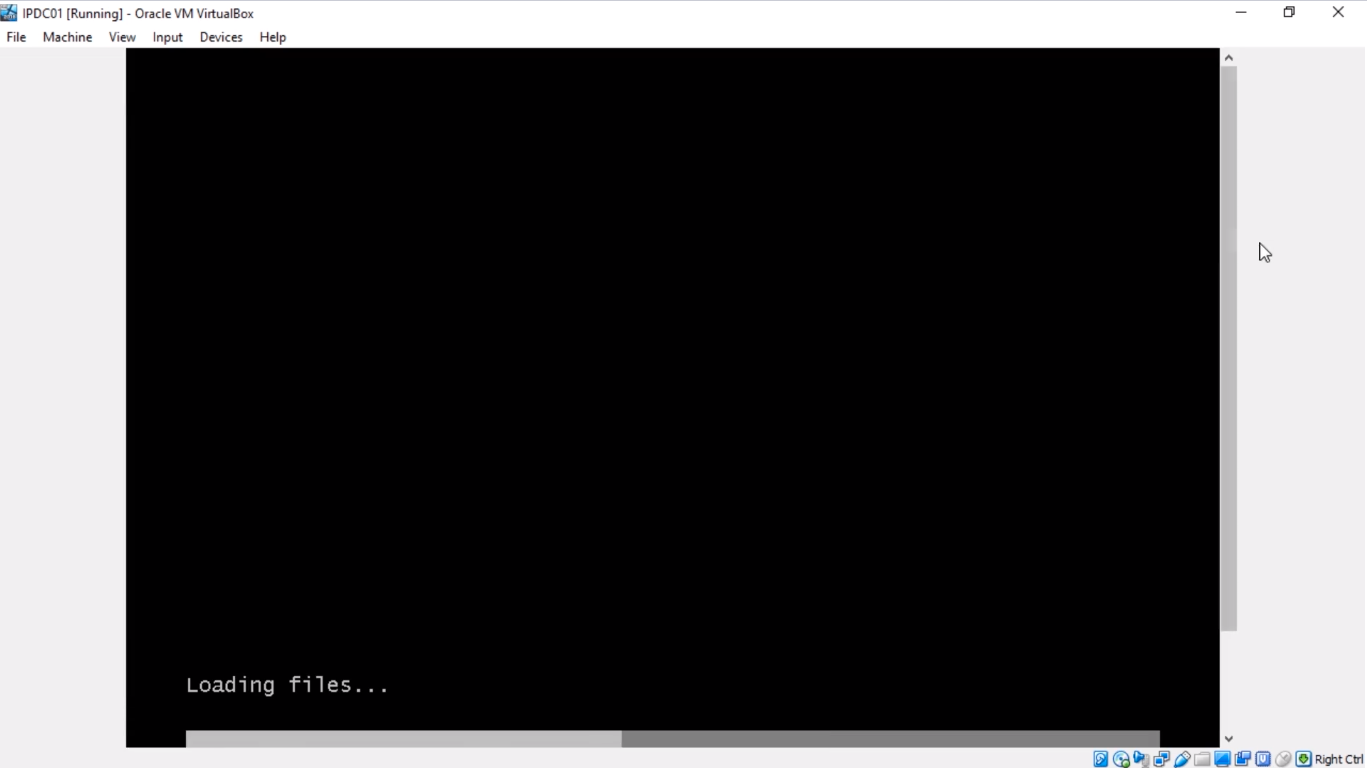
And, the VM will begin to Power On, and we can see one thing right away and that is that the screen is in a little bit different screen resolution than my monitor. We will fix that once the operating system is installed so that it uses dynamic resolution.
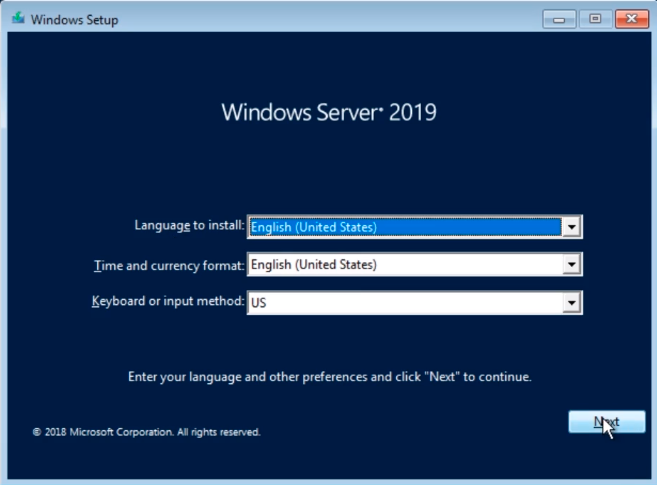
What we need to do now is click Next. If you need to choose a different language you can do that by clicking the drop-down.
Time and Currency format you can also do that here. 9 times out of 10 these are just going to be right just out by default settings.
If you are using a different keyboard input method, you definitely want to make sure you choose the appropriate one.
And, I am going to click Install now.
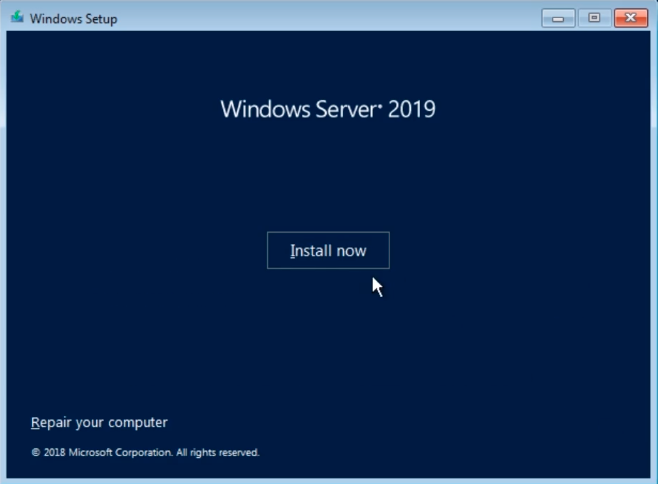
So, what’s going to happen is it’s going to do some background processing before it brings us to the next few screens we will make a few more screen configuration changes or just configuration preferences, and then we will make some configuration preferences, and then we will be able to begin the install.
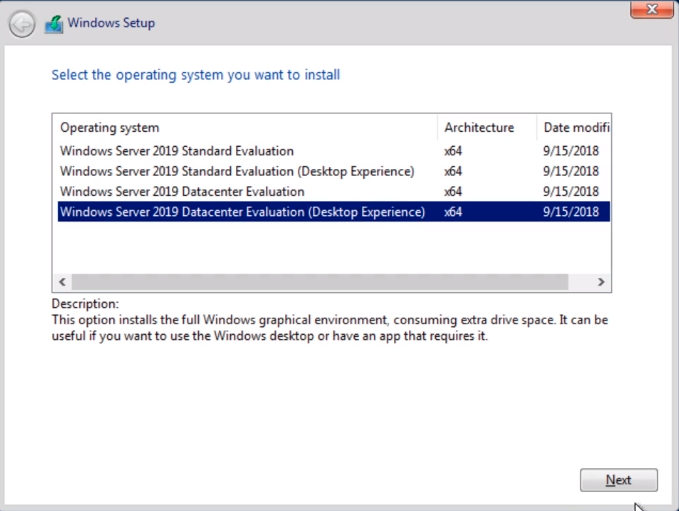
So, on this screen, what we need to do is choose the edition that we want to install. Now, you’ll notice that you do not see Windows Server Essentials, and that’s because that is a separate download.
So, when we download this ISO we can only install Standard or Datacenter Editions. So, the important thing to keep in mind is that we want to choose a Desktop Experience, and not because it's better than the Core experience which is the Datacenter or Standard. It’s just that in this particular lecture I want you to install the Desktop Experience.
So, what you want to do is choose Standard or Datacenter Desktop Experience Editions. I recommend Datacenter unless you have a license for Standard that’s fine, but if you choose Datacenter Edition you are going to get Server Core which when you boot it up you are going to have a command prompt, and you will need to do everything with commands, and there’s also restricted usability on some server roles that you cannot install on Server Core and is going to be managed from another server that has the Desktop Experience. So, I am going to choose Windows Server 2019 Datacenter Evaluation (Desktop Experience) and click Next.
On this screen, we need to accept the License Terms. Read the license and click I accept the license terms and click Next.

Server Academy Members Only
Sorry, this lesson is only available to Server Academy Full Access members. Become a Full-Access Member now and you’ll get instant access to all of our courses.


