0%

0/1 Lessons

Course Introduction

• 1min

0 / 1 lessons complete

Getting Started with Active Directory Domain Services

• 52min

0 / 6 lessons complete

Introduction to Active Directory Users & Computers

• 1hr 27min

0 / 10 lessons complete

Adding a Second Domain Controller

• 1hr 31min

0 / 7 lessons complete

Active Directory Backups

• 1hr 24min

0 / 5 lessons complete

How to Administrate Active Directory with Windows PowerShell

• 1hr 58min

0 / 7 lessons complete

Administrating AD SS (Active Directory Sites and Services)

• 1hr 3min

0 / 5 lessons complete

Active Directory Trusts

• 54min

0 / 5 lessons complete

Modifying the Active Directory Schema

• 43min

0 / 3 lessons complete

Course Conclusion

• 2min

0 / 1 lessons complete

Add Custom Attributes to Active Directory Users

Instructions

Q&A (0)

Notes (0)

Resources (0)

Saving Progress...

Resources

There are no resources for this lesson.

Notes can be saved and accessed anywhere in the course. They also double as bookmarks so you can quickly review important lesson material.

Create note

In this lecture you will learn how you can add custom attributes  to your Active Directory user accounts. We are going to add an “extensionAttribute1” attribute to the user class of AD.

IMPORTANT: Once you add one attribute you will need to wait until your other Active Directory servers replicate before you can add another - so I recommend that you add all the attributes you want in one run before restarting the ADDS server role.

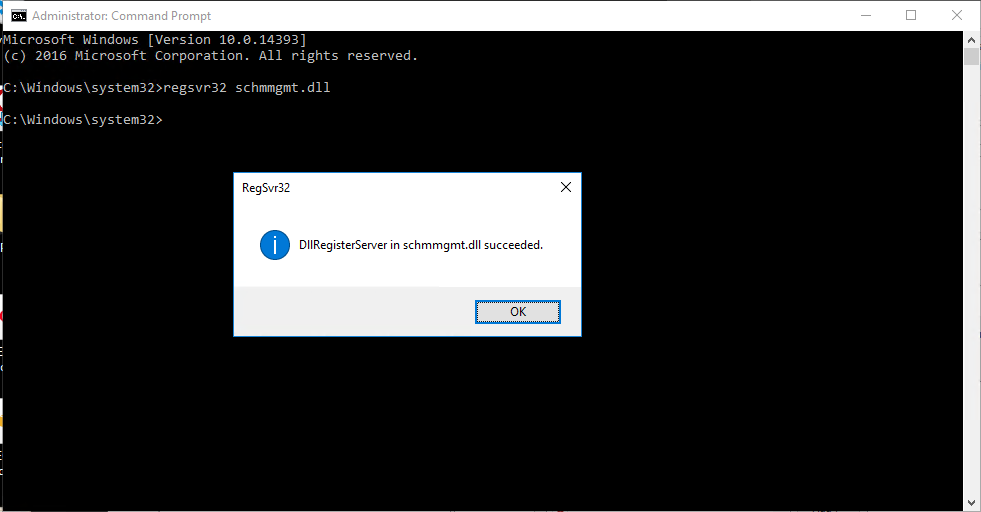
To get started, let’s open Command Prompt and run the following command:

Regsvr32 schmmgmt.dll

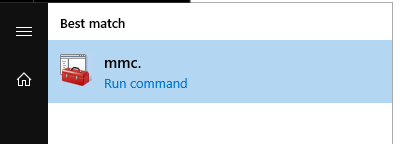
Next find and launch MMC.msc:

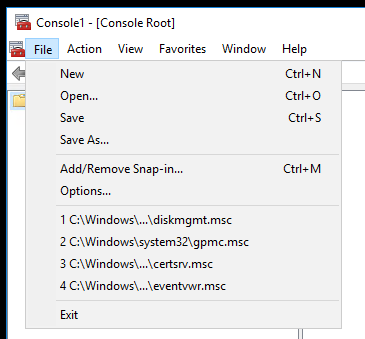
Click File > Add/Remove Snapin:

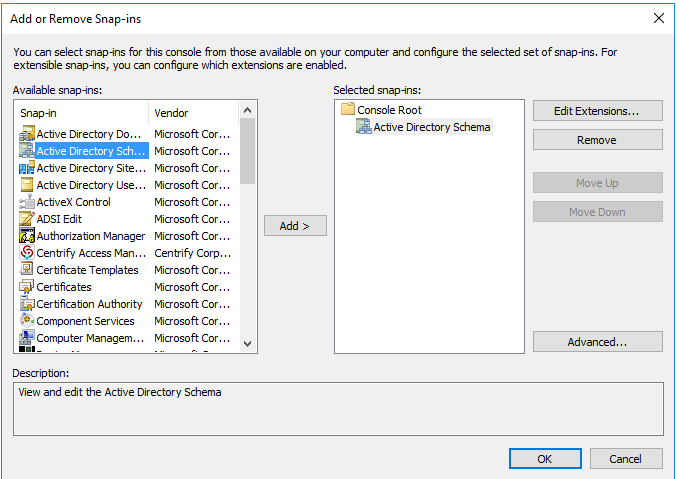
Add the Active Directory Schema snap-in, click Add, then click OK.

Click Attributes, then right-click and select Create Attribute:

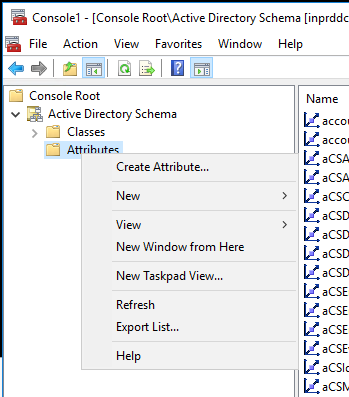
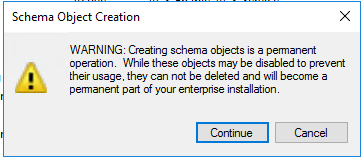
Acknowledge the Schema Object Creation alert by clicking Continue.

Type in the Common Name you want to use:

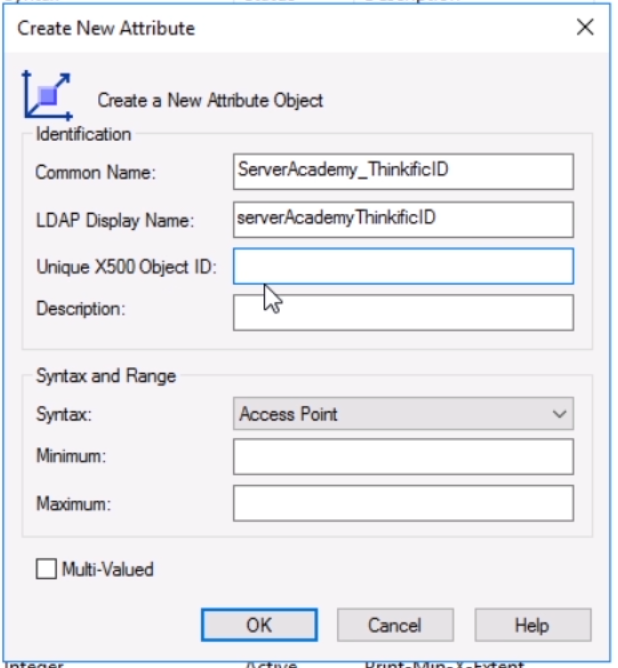
Next, we need to generate a unique code for Unique X500 Object ID. Thankfully we can run the following PowerShell script to generate the code:

#--- 

$Prefix="1.2.840.113556.1.8000.2554" 

$GUID=[System.Guid]::NewGuid().ToString() 

$Parts=@() 

$Parts+=[UInt64]::Parse($guid.SubString(0,4),"AllowHexSpecifier") 

$Parts+=[UInt64]::Parse($guid.SubString(4,4),"AllowHexSpecifier") 

$Parts+=[UInt64]::Parse($guid.SubString(9,4),"AllowHexSpecifier") 

$Parts+=[UInt64]::Parse($guid.SubString(14,4),"AllowHexSpecifier") 

$Parts+=[UInt64]::Parse($guid.SubString(19,4),"AllowHexSpecifier") 

$Parts+=[UInt64]::Parse($guid.SubString(24,6),"AllowHexSpecifier") 

$Parts+=[UInt64]::Parse($guid.SubString(30,6),"AllowHexSpecifier") 

$OID=[String]::Format("{0}.{1}.{2}.{3}.{4}.{5}.{6}.{7}",$prefix,$Parts[0],$Parts[1],$Parts[2],$Parts[3],$Parts[4],$Parts[5],$Parts[6]) 

$oid 

#---

Add the new Object ID to the Create New Attribute window:

Now click OK to create the attribute. Now we need to add the new attribute to the user class. Click the Classes folder:

Then scroll down to the User class. Right click then select Properties:

Click the Attributes tab, then select Add

Locate the new attribute you want to add and select OK:

Now you will see the new attribute in the list:

Click Apply, then OK.

Before these changes will take effect, you need to restart the Active Directory Domain Services service. Search for and launch the Services console:

Right click Active Directory Domain Services and select Restart:

You will also need to restart the dependent services as well:

Now we can confirm the changes in Active Directory. If the console was open while you created the new attributes you will need to close and reopen before attempting to view the new attributes. Once you open the console, make sure you enable Advanced Features by clicking View > Advanced Features:

Now navigate to a test user (don’t use the search feature), right click the user and select Properties. Click the Attribute Editor tab and locate the new attribute:

Now if we try to immediately go back to the Active Directory Schema console and try to add another attribute, we will get this error:

This means that we need to wait for replication to complete before we can add more attributes. You can force replication by running the repadmin /syncall /AdeP command, but even after running this command you will need to wait a bit for replication to successfully complete.

You can monitor the status of your AD replication by running the following command:

repadmin /replsummary

You can also view the data in PowerShell with the command below:

Get-ADUser -identity paul.hill -Properties serverAcademyThinkificID

Server Academy Members Only

Sorry, this lesson is only available to Server Academy Full Access members. Become a Full-Access Member now and you’ll get instant access to all of our courses.

3 2 votes
Lesson Rating
Subscribe
Notify of
profile avatar
6 Comments
Oldest
Newest Most Voted
Inline Feedbacks
View all comments

profile avatar
sharim(@sharim)
Member
1 year ago

Why do I have DN value and String Value when I open up attribute editor in AD? I need it to just have value so I can type in the number. I can’t get passed this and I feel like I am doing it right. Help please

profile avatar
Ricardo P(@ricardop)
Admin
Reply to  sharim
1 year ago

Hi profile avatar Shari Morse

Change the Syntax value from Access Point to Unicode String when creating the new attribute.

Ricardo

profile avatar
Jason Campbell(@jasonc)
Member
7 months ago

I’ve added the serverAcademyID attribute and populated it with the required input value, however, the lap doesn’t seem to be able to pick this up when attempting to score the lab result. Any ideas?

profile avatar
Ricardo P(@ricardop)
Admin
Reply to  Jason Campbell
7 months ago

Hi profile avatar Jason Campbell

Maybe the name of the value ServerAcademyID and the value 215873 need to match. The user also needs to be paul.hill.
Other than that it should work.

Ricardo

profile avatar
arashs(@arashs)
Member
Reply to  Jason Campbell
2 months ago

Remove the space after the value.

profile avatar
robbw(@robbw)
Member
6 months ago

Make sure your attribute is saved as INTEGER during the lab portion!