Installing Windows Server
In this lesson, you will learn how to install Windows Server. Now, for this lesson, I have chosen to install Windows Server 2016, but the process is nearly identical for all the versions that we have talked about previously.
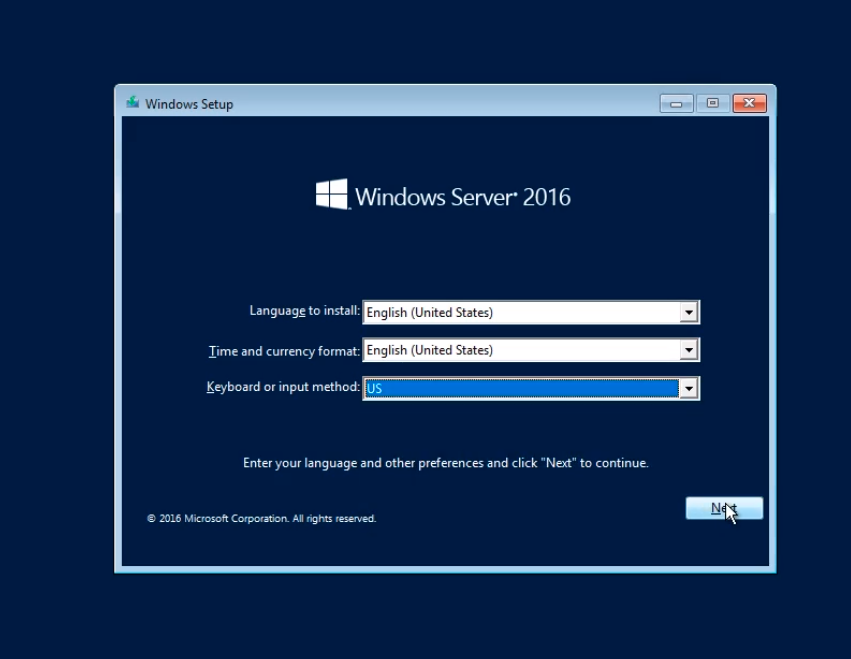
After booting up the virtual machine from the ISO image, the first thing we are going to make sure is properly selected is the Language to install, and is set to English (United States). Next, we have Time and Currency format, again we leave it set to English (United States). And, the Keyboard or input method is set to the US. Click Next to start the installation.
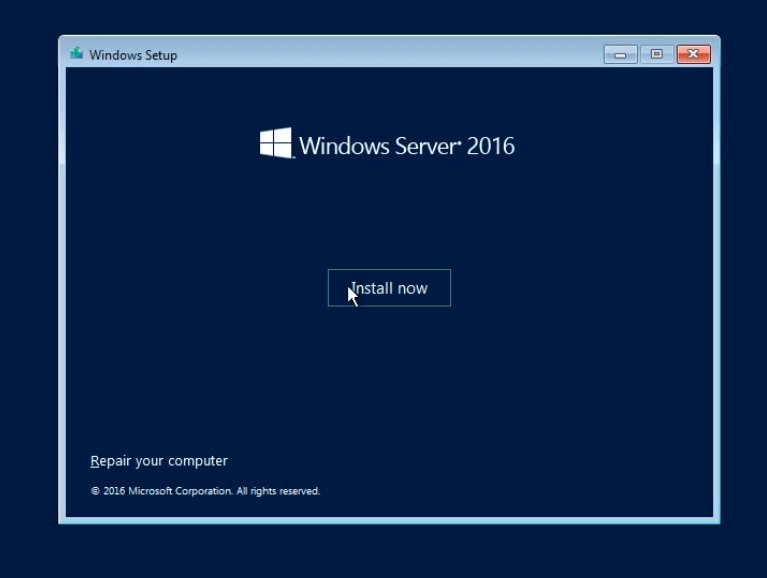
On the next screen, we just need to choose the Install now button.
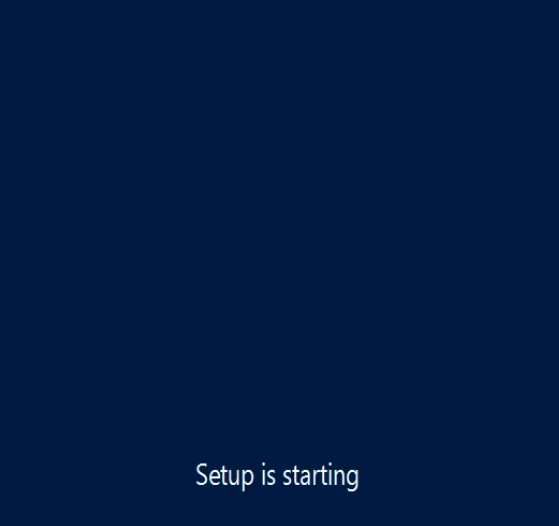
Wait for a few seconds while the install begins.
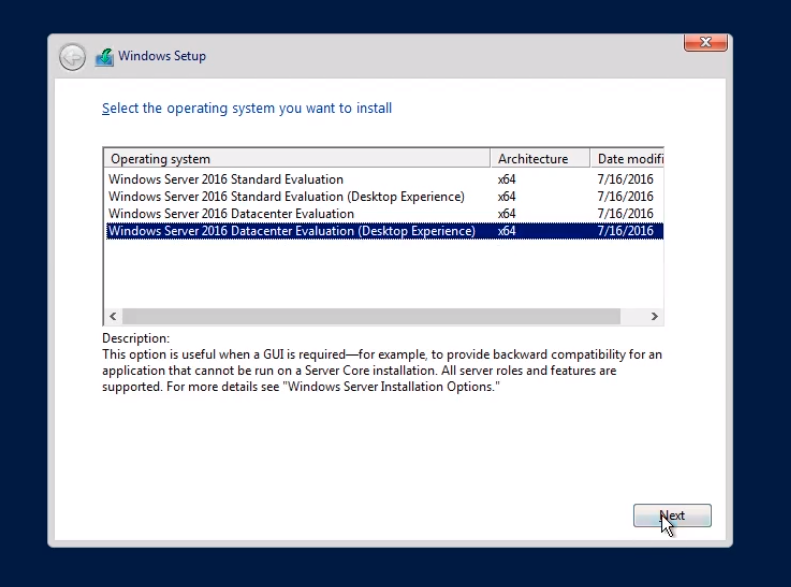
At this point, we need to choose the version of Windows Server that we want to install. Now, here we have the Standard Evaluation, Standard Evaluation (Desktop Experience), Datacenter Evaluation, and Datacenter Evaluation (Desktop Experience).
A lot of times the version you choose depends on what kind of license you have. If you do this in a lab environment, you can just choose the Datacenter Evaluation. The options Datacenter Evaluation and Datacenter Evaluation (Desktop Experience) depends if you want the Server Core or the Full Desktop GUI.
In my particular case, I want to have the Datacenter Evaluation (Desktop Experience) so we choose that option and click on Next.
Accept the License Terms after reading all the text and click on Next.
![](https://zrftqtvkikjkbtkfalgp.supabase.co/storage/v1/object/public/lesson-image…
No comments yet. Add the first comment to start the discussion.