Configuring Windows Server Desktop Experience
In this lesson, you will learn how to complete a basic configuration for Windows Server.
This is something that you will do after you install Windows Server. What we are basically going to do is rename the computer and we are going to configure a static IP Address.
Now, there could be more things you want to do, like run Windows Updates, join it to an Active Directory Domain, etc.
After installing Windows Server we are brought to the Windows Desktop and Server Manager will show up by default.

If Server Manager did not start by default you can always open it by clicking on Start and selecting Server Manager.

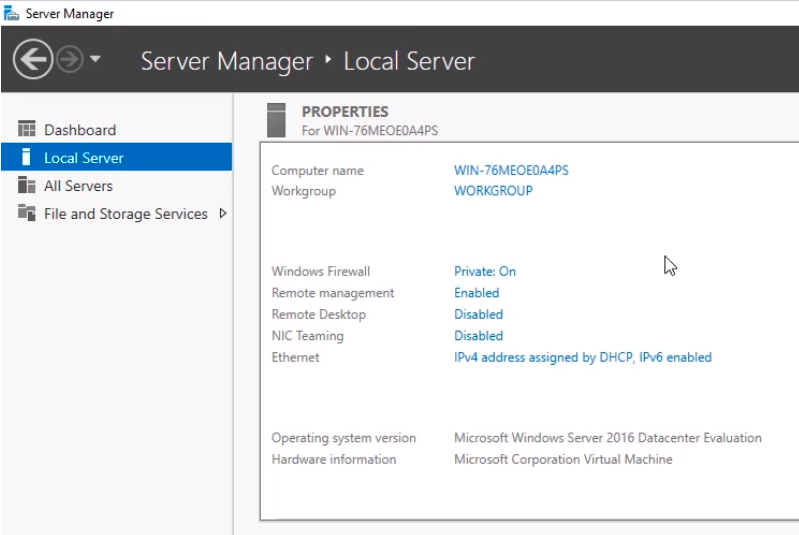
To start, click on the Local Server tab to the left of the window. Local Server manages just this server.
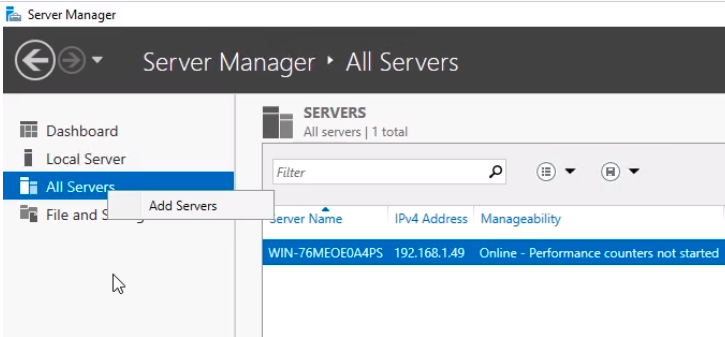
The other options are All Servers and File and Storage Services.
If we click on All Servers we can Add a Server to manage it remotely. Currently, we just have our local server on the list.
File and Storage Services is where we can administer our Volumes, Disks, and Storage Pools.

Back to the Local Server tab, we can see we have in the middle pane the Properties of the server we are logged into like Computer Name, Workgroup, Windows Firewall, and a bunch of other high-level information.
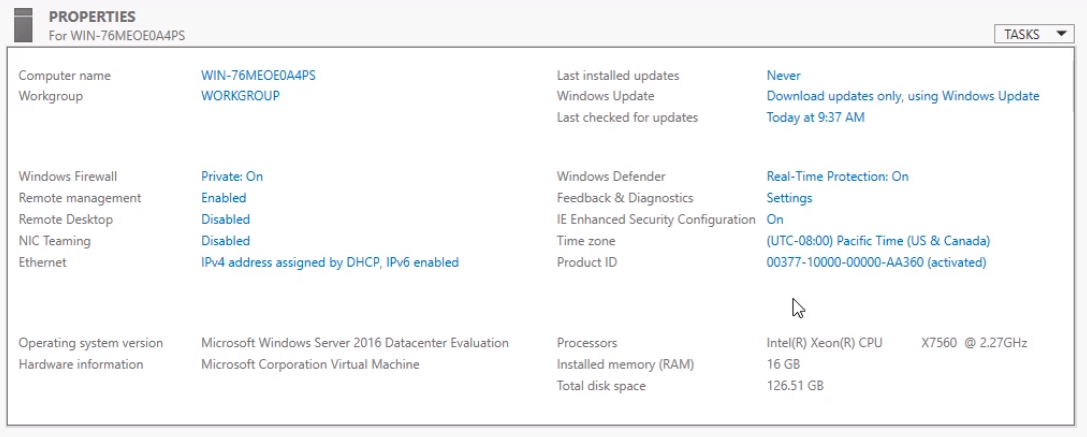
Click on IE Enhanced Security Configuration.
No comments yet. Add the first comment to start the discussion.