Installing Roles and Features on Windows Server Core
In this lesson, you are going to learn how to install Windows Server Roles and Features on Windows Server Core Edition.
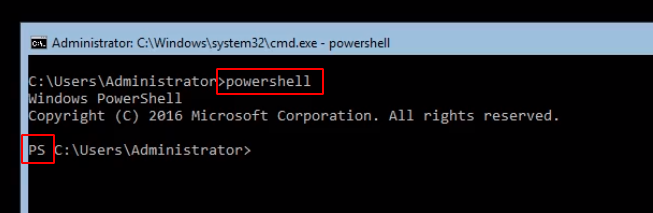
I am logged into the server and the first thing we are going to do here is make sure this one is active.
Type powershell in the Command Prompt window. This will launch the PowerShell command line.
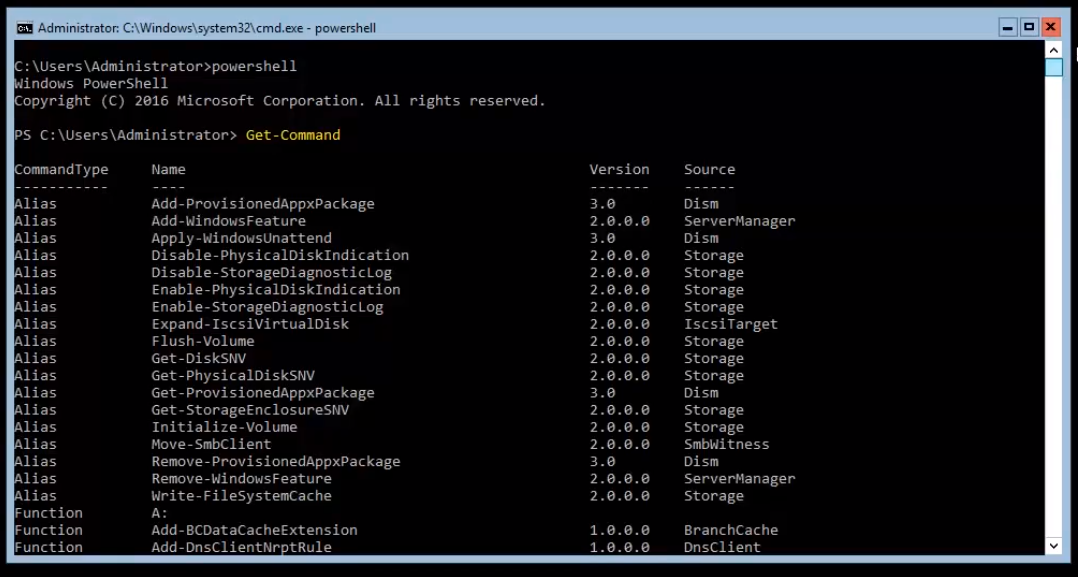
Now, when we want to install Windows Roles and Features through PowerShell, generally you will not know all the commands, but there’s a couple of things you should remember.
The first command I want you to memorize is Get-Command and press Enter. That is going to list all the available PowerShell commands that we have.
There’s a lot of commands we can use.
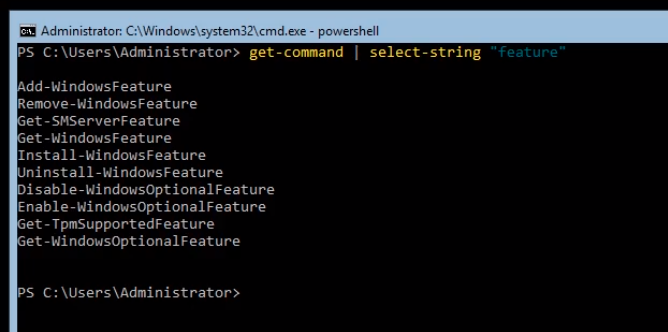
We can type Get-Command | Select-String “feature”. This will list all the same commands as before but will select and display the ones that have the word “feature”.
We can see a couple of commands like Add-WindowsFeature, Uninstall-WindowsFeature, etc. Now, Install-WindowsFeature has replaced Add-WindowsFeature.
Now, the next thing I want you to memorize is how to use the commands that we find. We can type Get-Help Install-WindowsFeature and press Enter.
This gives us the basic syntax of the command.
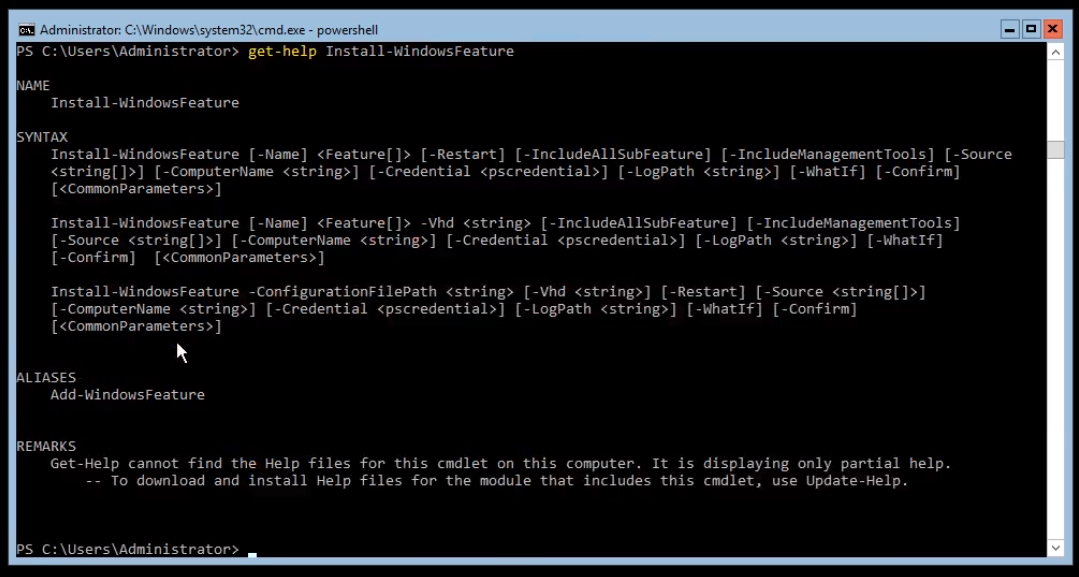
Now, one thing to point out is that we are not getting the entire help file, to do that we need to type the command Update-Help.
Now, let’s type Get-WindowsFeature and press Enter. This is going to return all the information about what server roles and features are installed. You will also notice that all of these are combined into one result.…
No comments yet. Add the first comment to start the discussion.