
Installing Windows Server Part 1 and 2
Instructions
Q&A (0)
Notes (0)
Resources (0)
Saving Progress...
Resources
There are no resources for this lesson.
Notes can be saved and accessed anywhere in the course. They also double as bookmarks so you can quickly review important lesson material.
In this lecture, I am going to be showing you how to install Windows Server 2016.
Now, I am going to be installing Windows Server 2016 on my IPDC01 Server and my IPWSUS01 Server, but I am going to be showing you the process for one of the VMs as it’s exactly the same until we get to the part where we are configuring the servers.
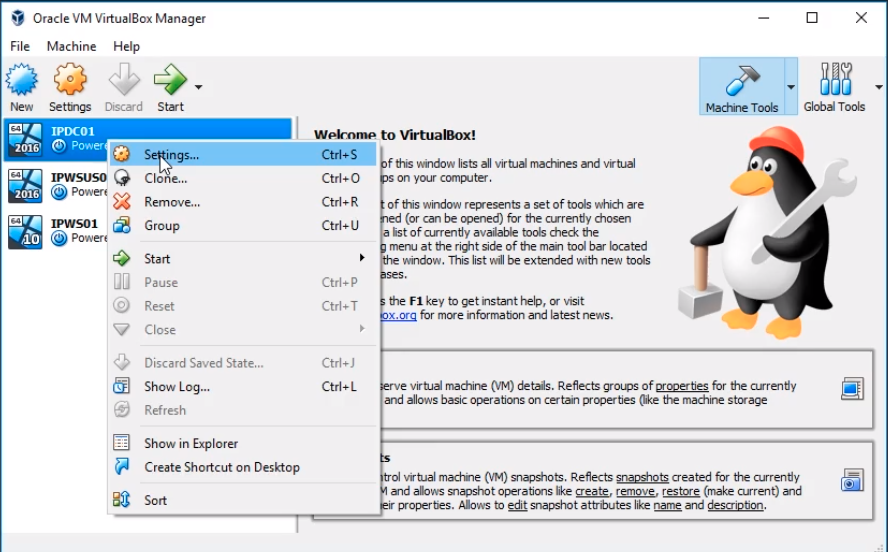
So, what we need to do is right-click on IPDC01 and select Settings...
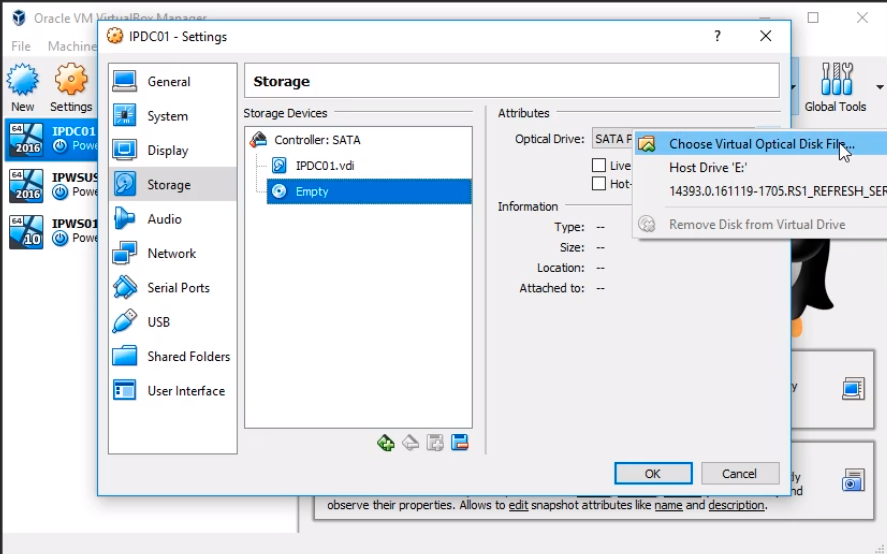
Next, we are going to go to the Storage tab. Here we are going to select the Disk icon where it says Empty and to the left, we click on the Disc to show the options. Select Choose Virtual Optical Disc File...
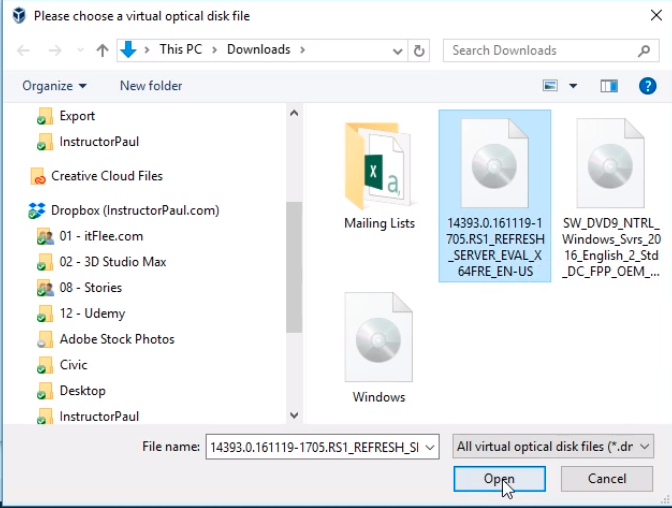
Now, I am going to navigate to the folder location of the ISO file and select the Windows Server 2016 file and click the Open button.
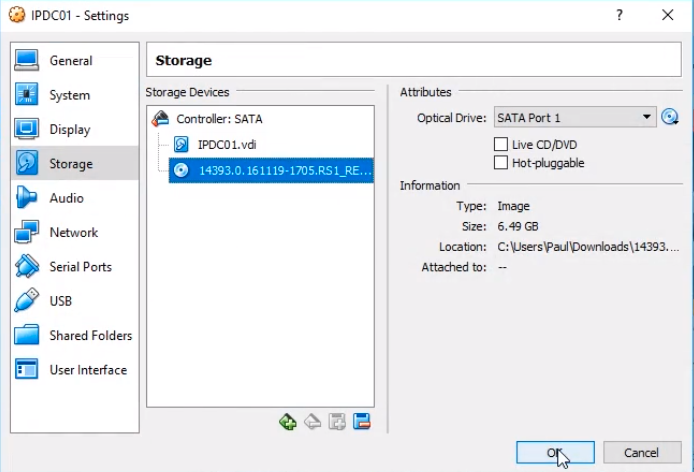
Now I am done with that and we can see the ISO file has been mounted under Storage Devices. Click OK to close IPDC01 Settings.
Repeat the same process of mounting the ISO file on IPWSUS01 Server.
Now, we are ready to launch the installation on IPDC01 Server. Note that the process of installation goes really slow if you attempt to run it on both VMs at the same time. I recommend you run one at a time.
Select IPDC01 and click on the Green Arrow to start the Virtual Machine.

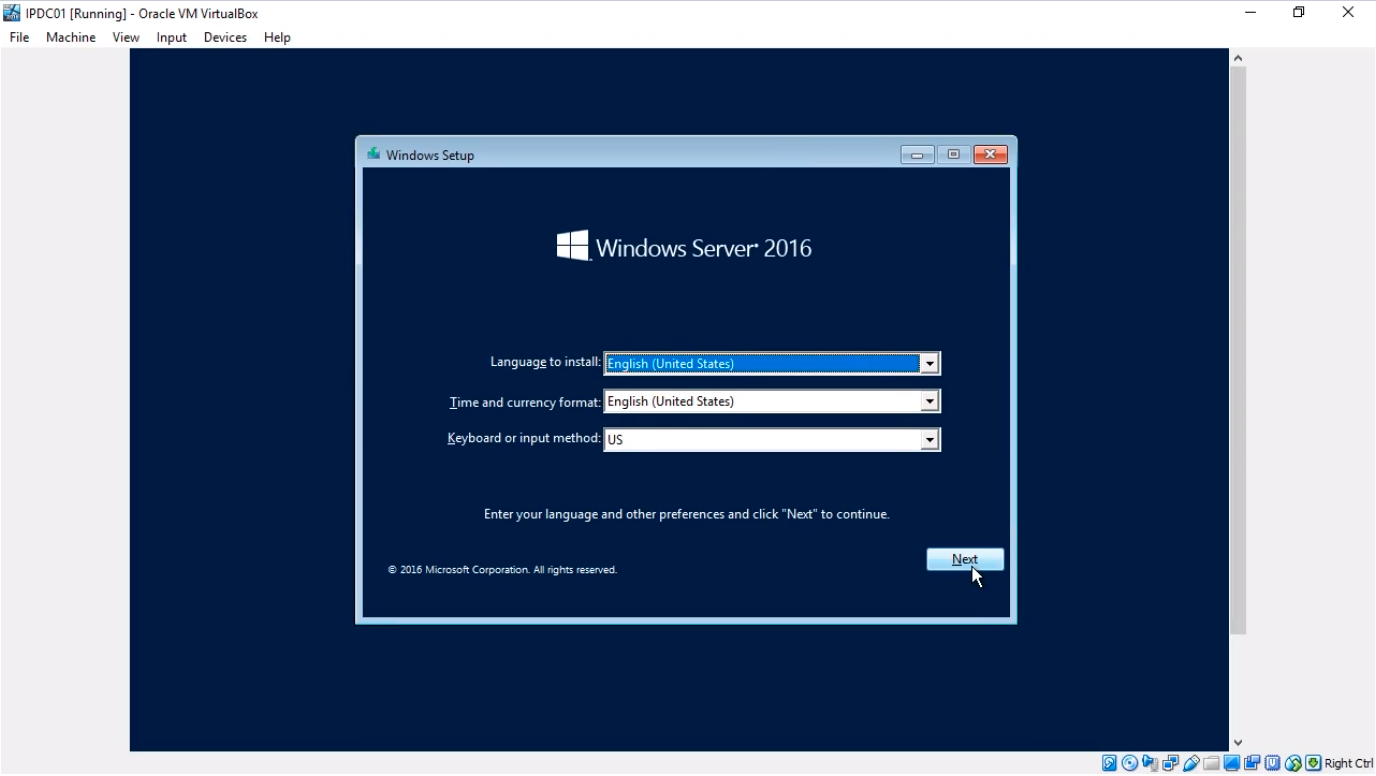
This first part is going to be exactly the same for both servers all the way up until we rename the computers. Click Next to start the installation wizard.
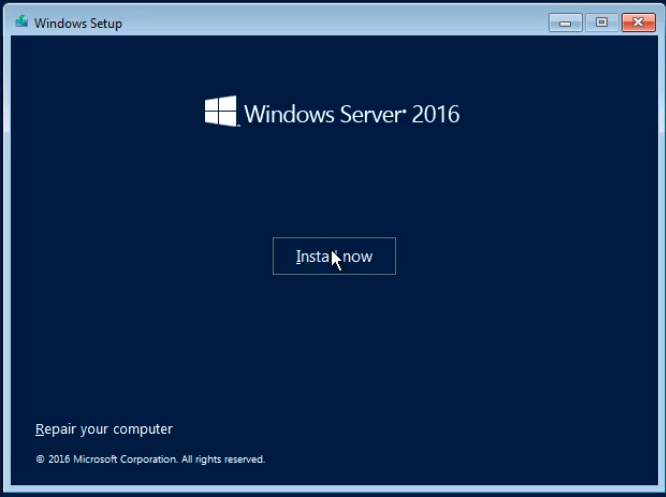
Click the Install now button.
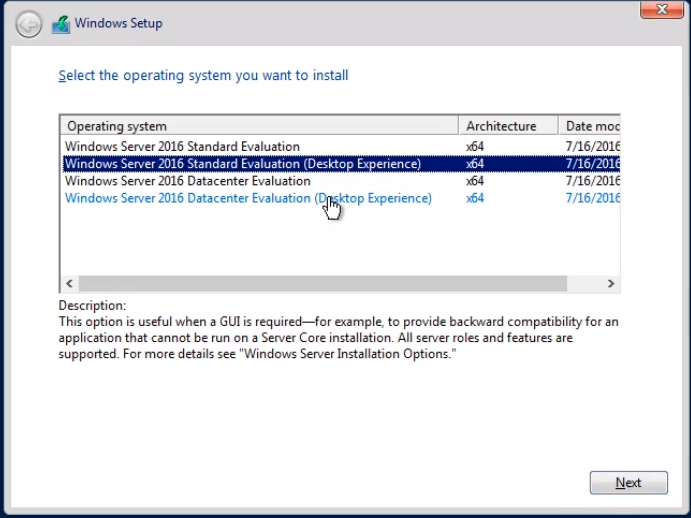
Now we need to choose which Operating System we want to install. We can choose the Standard Evaluation, the Desktop Experience Standard version or the Datacenter, or the Datacenter Desktop.
Now the Desktop Experience is what you are using Windows 10. It allows you to have the Start menu, it allows you to have buttons to click on, etc. If you choose the Datacenter or the Standard evaluation then you are going to get a command line Operating System that is more similar to a Linux than to Windows.
You can choose either one just make sure you choose the Desktop Experience.
What I am going to choose is Windows Server 2016 Standard Evaluation (Desktop Experience). Click Next to continue.
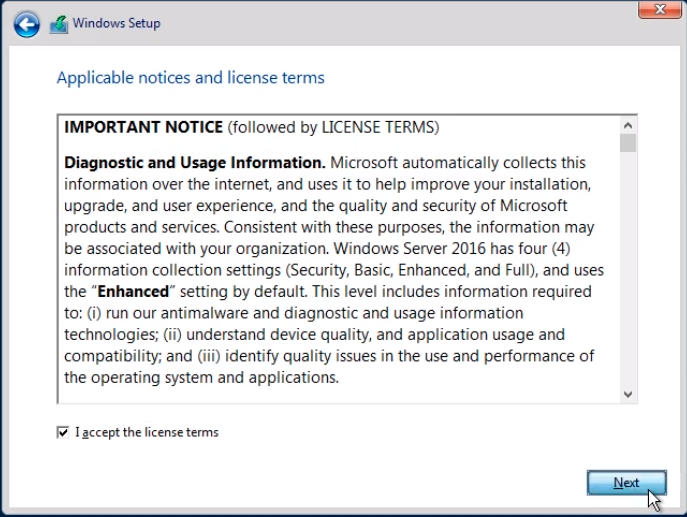
I am going to accept the license terms and click Next.
We need to choose a Custom Install option. We can’t choose Upgrade because we don’t have Windows Server 2012 or an already existing Operating System installed so Custom means we are installing on a fresh or a blank formatted hard drive.
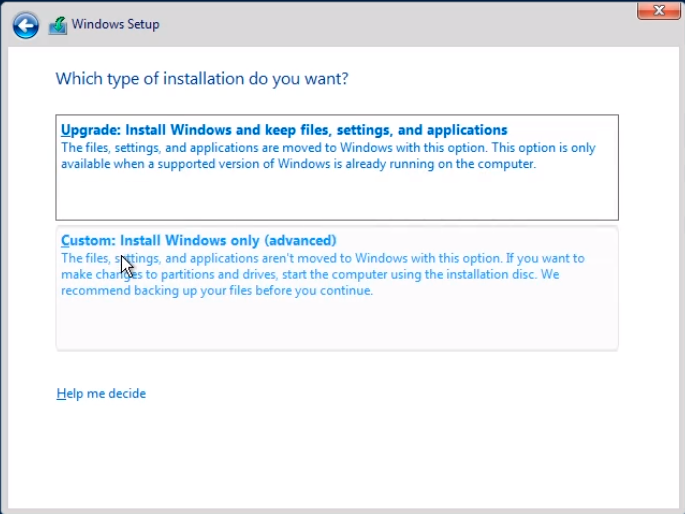
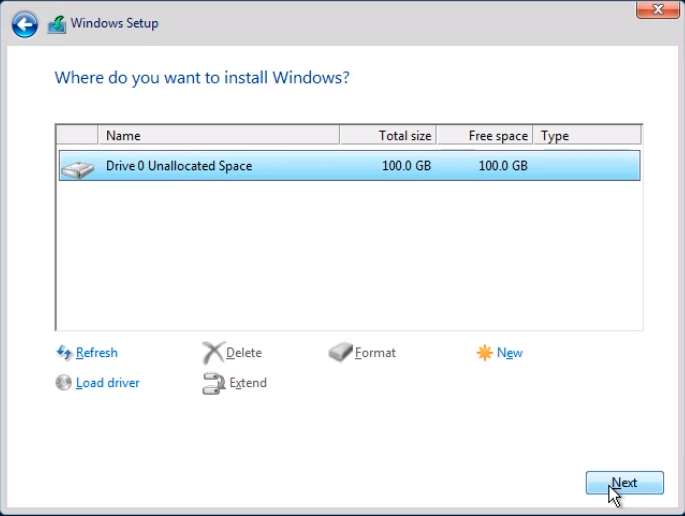
We have Drive 0 Unallocated Space selected. We could create partitions if we like to but I have no need to do that so I am just going to click on Next.
And the Installation Begins.

These parts so far that we have gone through are going to be exactly the same for IPDC01 and IPWSUS01. But again, I recommend that you let one server finish the installation before going back and doing it on the other one as I’ve noticed, even though I have a pretty fast computer when I run these side by side it really slows down the install. It’s taken me about an hour before to run two installations at one time, whereas just running one at a time will take me 15 minutes.
So, now at this point, we just need to wait.
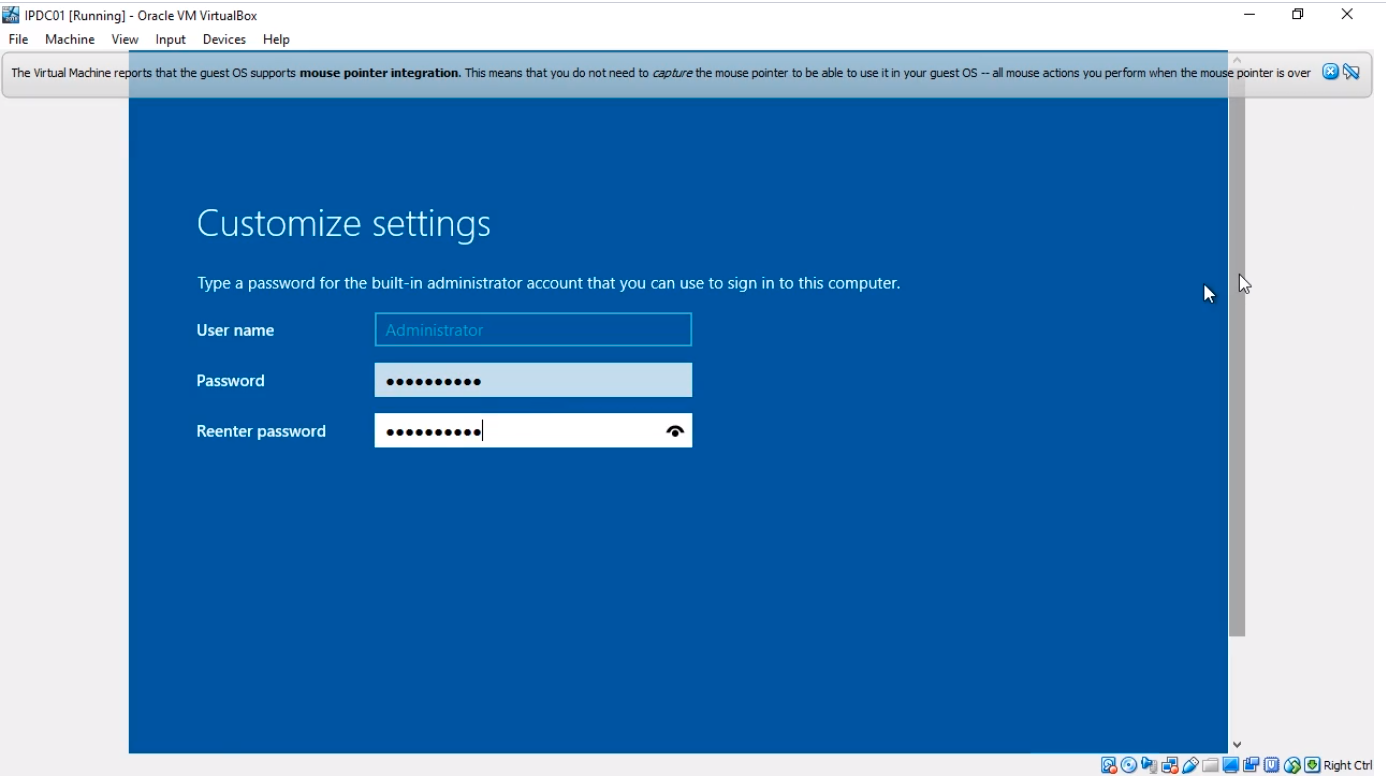
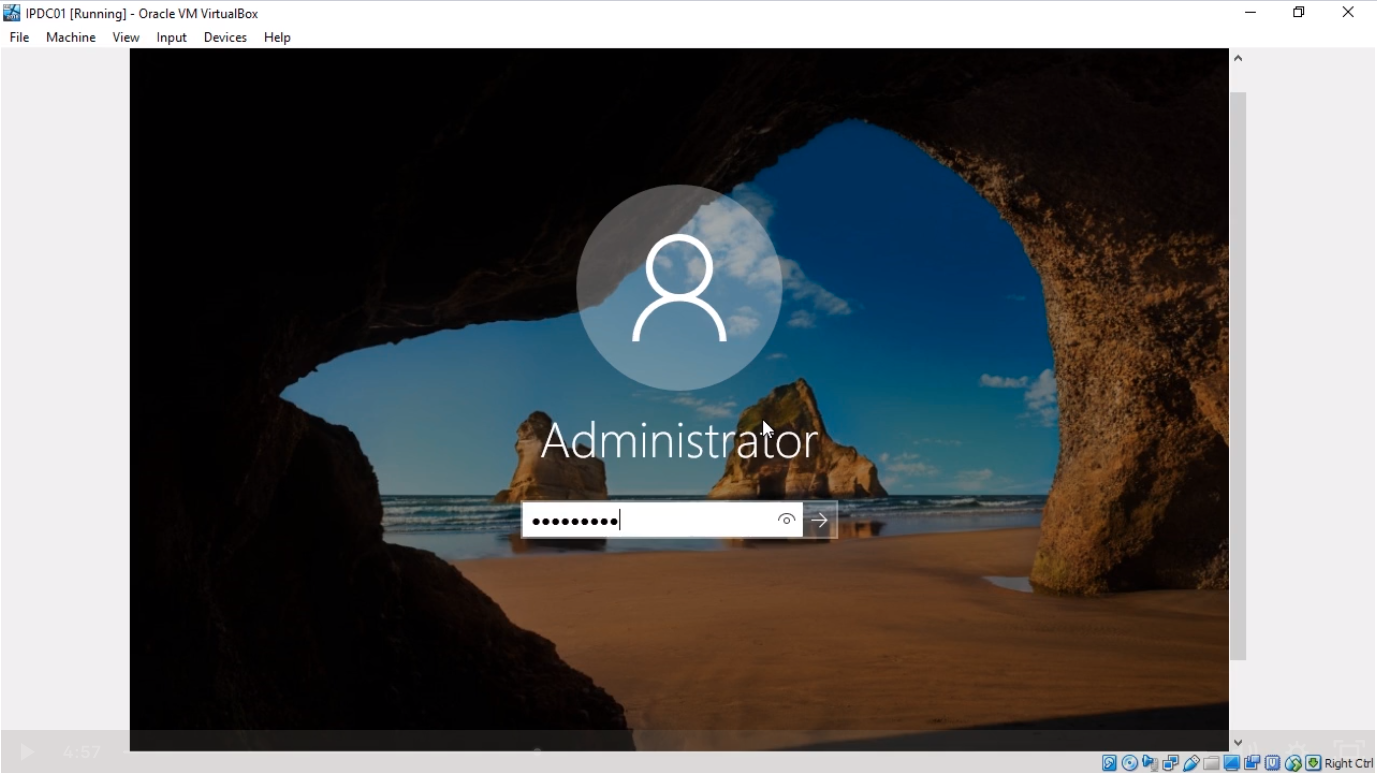
At this part of the installation, we need to create the Administrator password for our Account. I am going to go ahead and type in a password now, and I am going to go ahead and use the same password on both servers just to keep things simple.
Repeat the same steps on IPWSUS01 until you get to the login screen.
So, now we are at the login screen.
Click on the Virtual Machine menu Input > Keyboard > Insert Ctrl+Alt+Del.
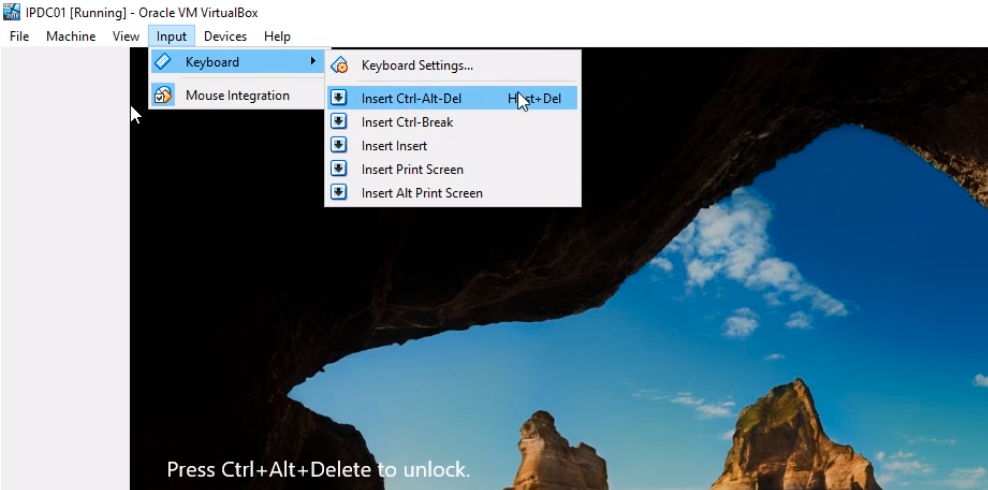
That unlocks the screen and prompts us to type our password which we just created. Type the password and press Enter.
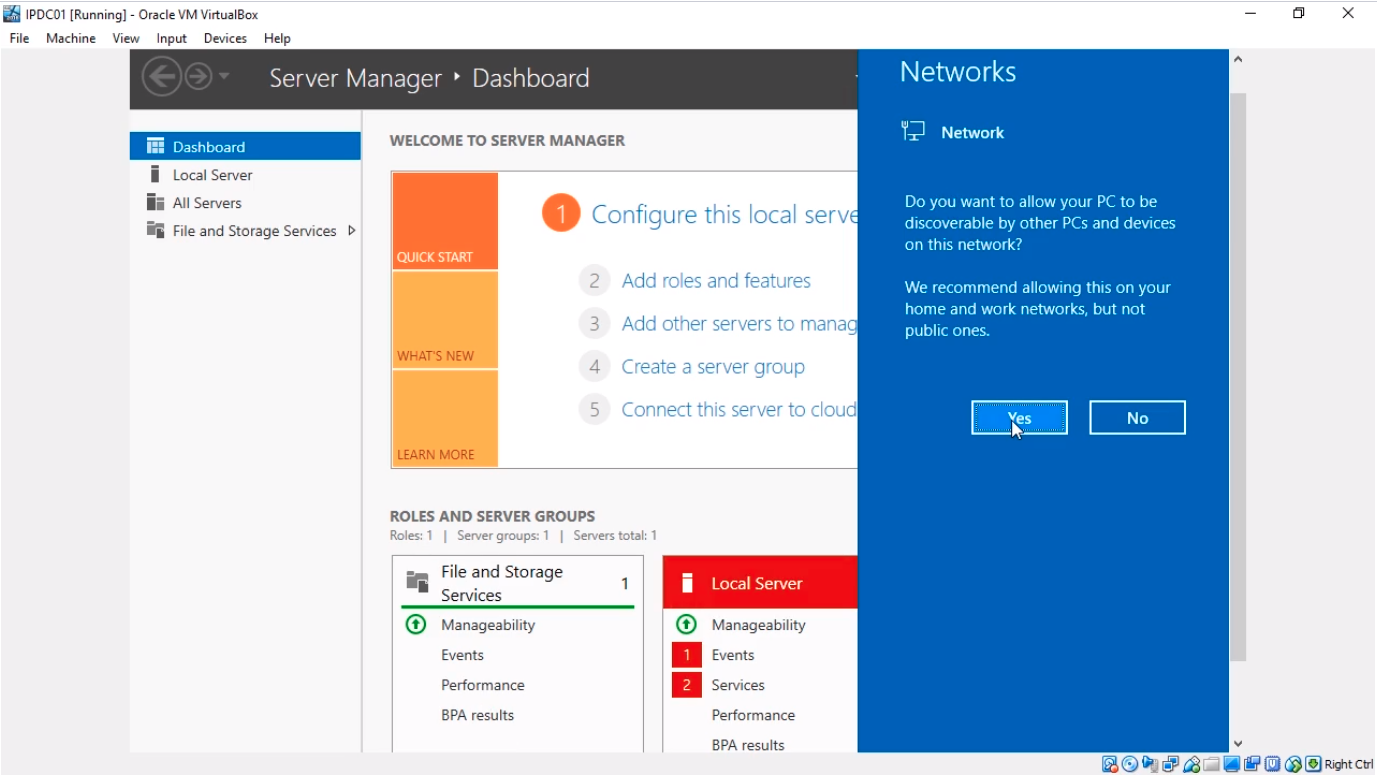
Now it loads the Desktop for us. We see a Networks window that pops up. I am going to click on Yes. You can choose Yes or No depending on your personal preference.
Now, the first thing we are going to do here is on the Virtual Machine menu under Devices select Insert Guest Additions CD image...

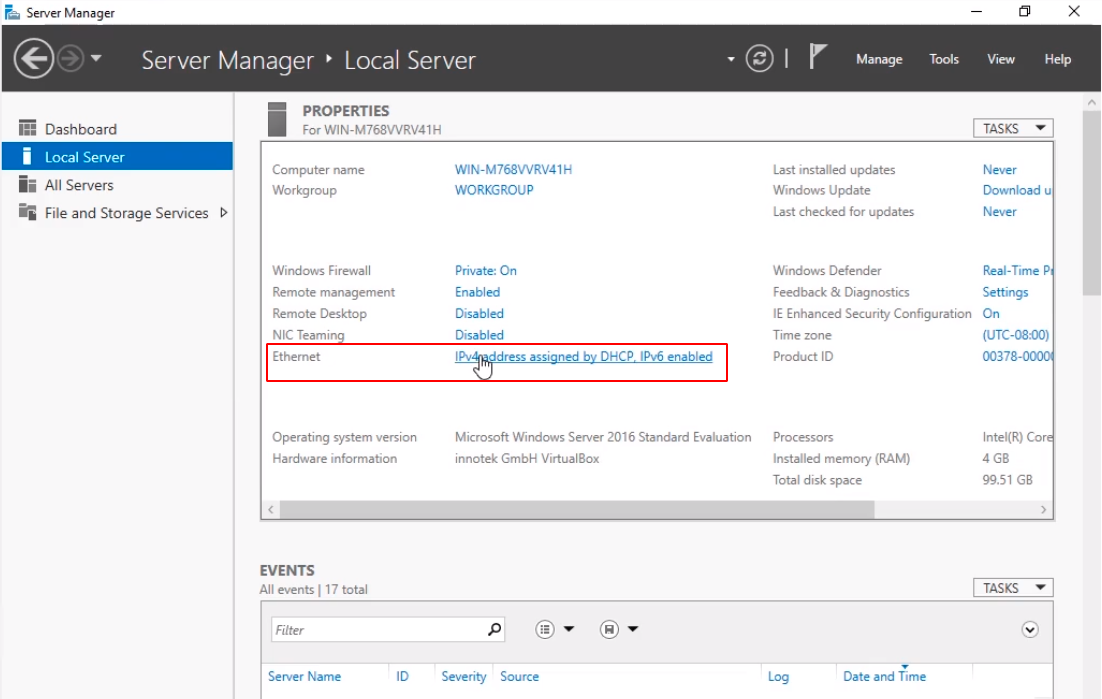
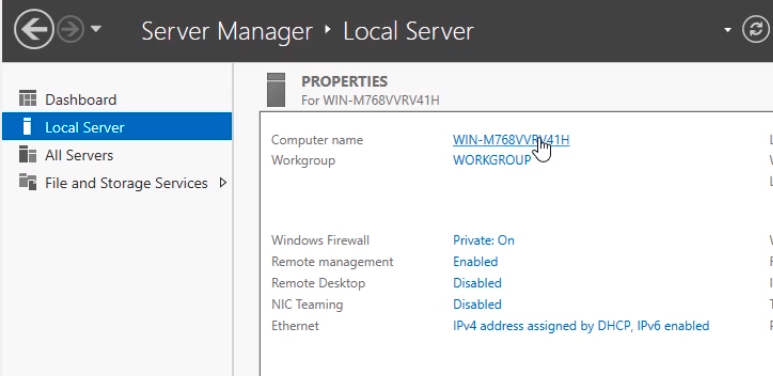
Now, click on Local Server from the option in the left pane and click on the Ethernet hyperlink in the center pane.
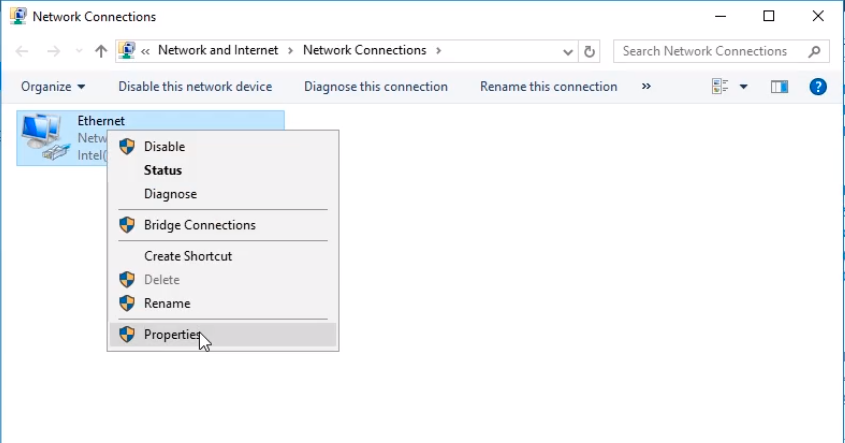
Right-click Ethernet and choose Properties.
Uncheck Internet Protocol Version 6 (TCP/IPv6) and choose Internet Protocol Version 4 (TCP/IPv4) and click on the Properties button.
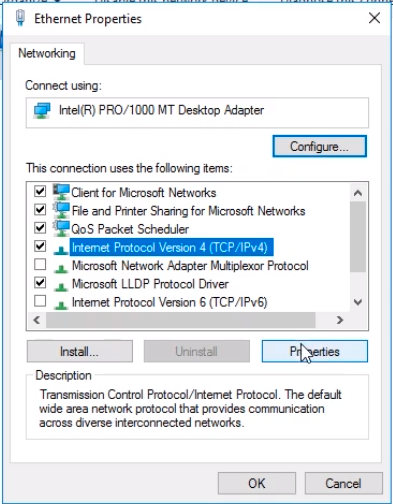
What we need to do here is choose to Use the following IP Address and we are going to set this to an IP Address that is on our Subnet. Now, if you remember we are using the 10.0.2.0/24 subnet so I am going to assign a Static IP from the subnet like 10.0.2.10. It will automatically populate the Subnet Mask for us 255.0.0.0. For the Default Gateway, we are going to type 10.0.2.1.
For our Preferred DNS Server, we set it to 10.0.2.10 which is our local server. It is not a DNS Server yet but it would be once we promote it to a Domain Controller. For the Alternate DNS Server, we enter the Google DNS Server IP 8.8.8.8.
Click OK and click Close on the previous window.

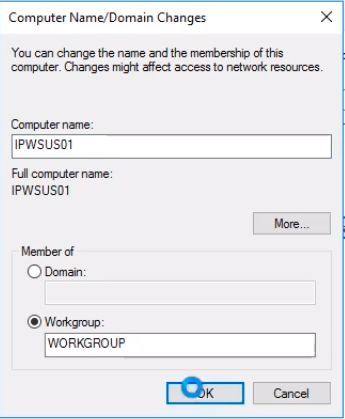
Next, we are going to rename the server. Click the link next to the Computer name in Server Manager.
Click on the Change button.
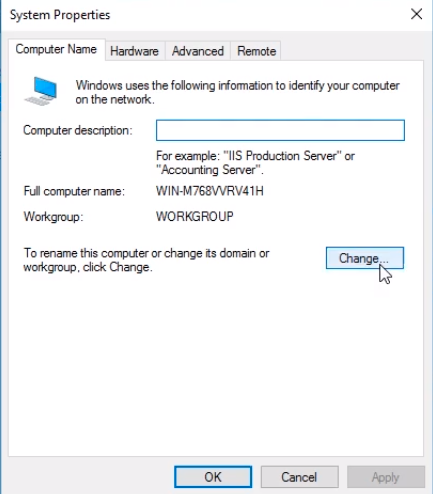
Change the name to IPDC01 and click OK.
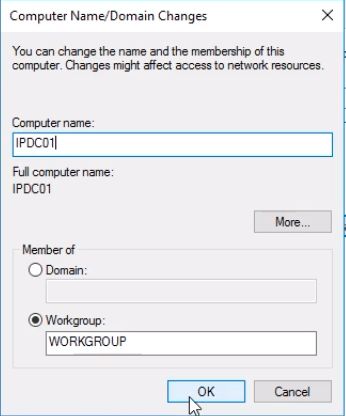
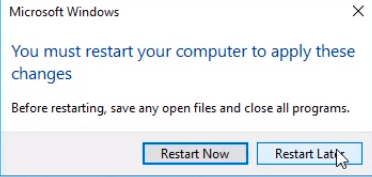
Because we are changing the name a popup shows up that we need to restart the computer to apply the name change. Click OK and Close on the previous window.
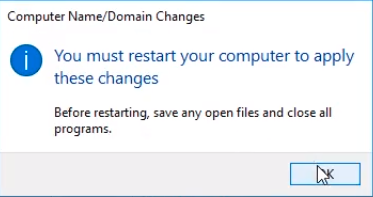
And on the next pop up I’ll choose Restart Later.
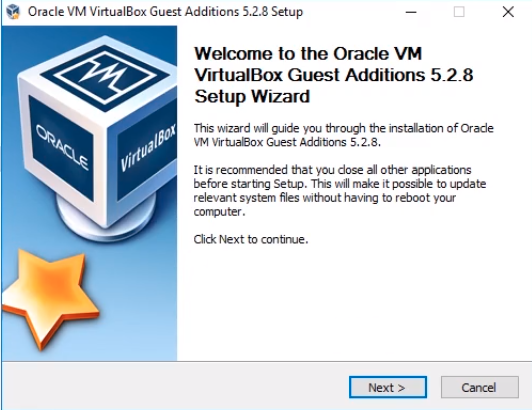
So the last thing we want to do is install the VirtualBox Guest Additions.
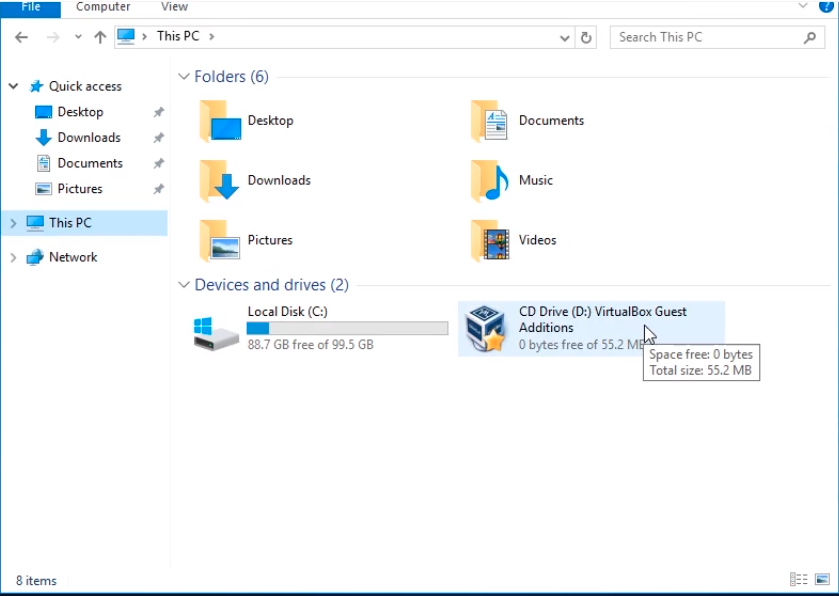
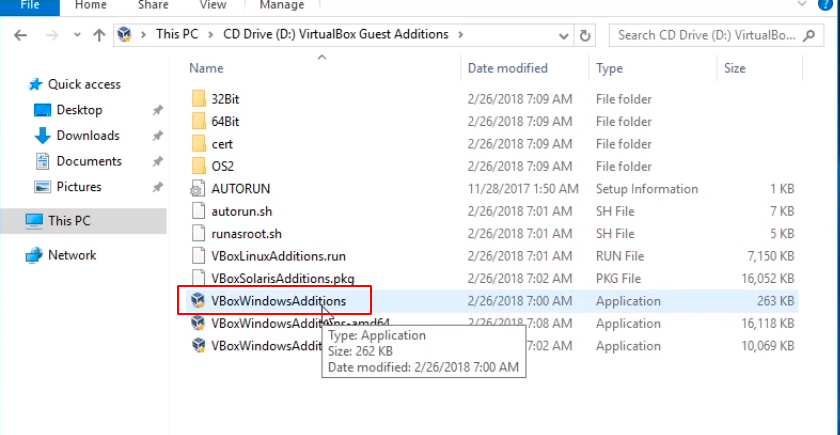
Open File Explorer and navigate to This PC. Here we can see in our CD Drive the VirtualBox Guest Additions. Double-click to open it.
Double click now on VBoxWindowsAdditions.
The wizard for installing the VirtualBox Guest Additions pops up.
This is something that you need to do when you are setting up your lab and is only for VirtualBox VMs.
What it does for us is things like dynamic screen resolution where the VM screen resolution will match the size of the Virtual Machine box eliminating the need of using the scroll bars.
Click Next.
Click Next.
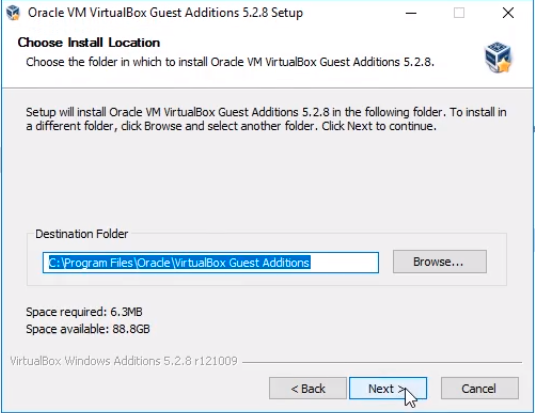
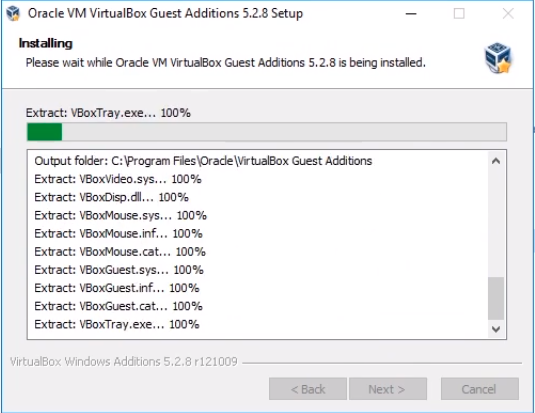
Click Install.

It begins the installation.
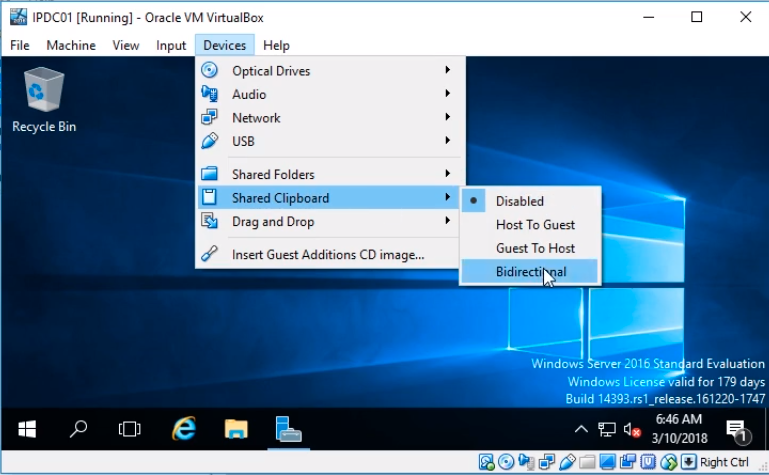
It also allows you to use a shared clipboard which allows you to copy between your host computer and your VM which is very useful. So, overall installing this is a good thing to do on all of your VMs that you are running with VirtualBox.
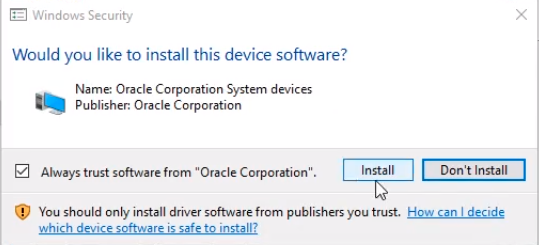
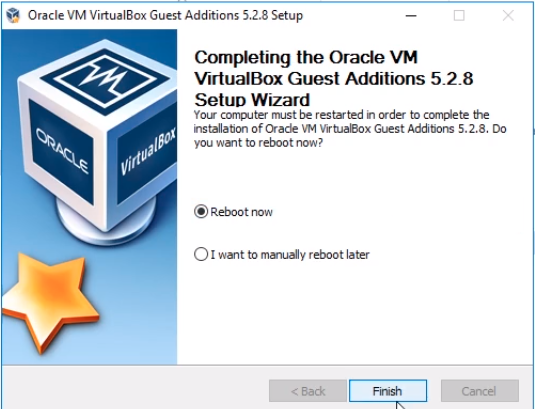
You will get to a popup window if you would like to install software from Oracle Corporation. Click on Install.
Now we are asked if we want to reboot now or reboot later. I am going to choose Reboot now and click on Finish.
And that’s all we have to do for this configuration of IPDC01.
Repeat the steps on IPWSUS01 Virtual Machine. There are some differences we are going to configure for this Server.
For the Ethernet properties we are going to choose the following:
Assign the Static IP Address of 10.0.2.11. For the Subnet Mask, it will auto-populate 255.0.0.0, and for the Default Gateway, we are going to use 10.0.2.1.
For the Preferred DNS Server enter 10.0.2.10. Remember that right now it is not a DNS Server but soon it will be promoted to a Domain Controller and DNS Server. For the Alternate DNS Server, we are going to set the Google IP Address of 8.8.8.8.
Click OK and Close.
Change the Computer name to IPWSUS01.
Install the VirtualBox Guest Additions following the same steps as we did for IPDC01. After installing the Guest Additions, reboot the VM.
To set the Copy and Paste feature from the Host to the VM and vice versa click on the Virtual Machine menu on Devices > Shared Clipboard > Bidirectional.
That’s all we need to do in this lecture.


