
Creating an Downstream WSUS Server

Full-Access Members Only
Sorry, this lesson is only available to Server Academy Full-Access members. Become a Full-Access member now and get instant access to this and many more premium courses. Click the button below and get instant access now.
Instructions
Q&A (0)
Notes (0)
Resources (0)
Saving Progress...
Resources
There are no resources for this lesson.
Notes can be saved and accessed anywhere in the course. They also double as bookmarks so you can quickly review important lesson material.
In this lecture, I am going to show you how you can set up a Downstream WSUS Server and we can use our first WSUS Server as an Upstream server.
This is commonly done when you have two different sites that you are trying to connect to and manage with your WSUS environment.
So if I had one site in New York and another site in Washington DC I wouldn’t want my Washington DC computers to be downloading updates from New York when I can set up a server in Washington DC that will update these computers there.
I am logged in to my IPWSUS02 server joined to my instructorpaul.com domain with IP Address 10.0.2.12 with no server roles installed yet.
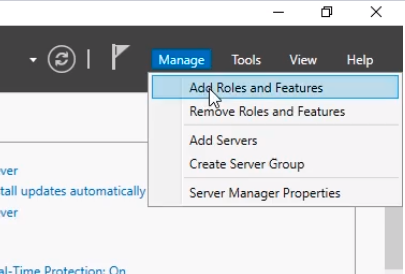
From Server Manager click Manage > Add Roles and Features. We are going to install the WSUS role.
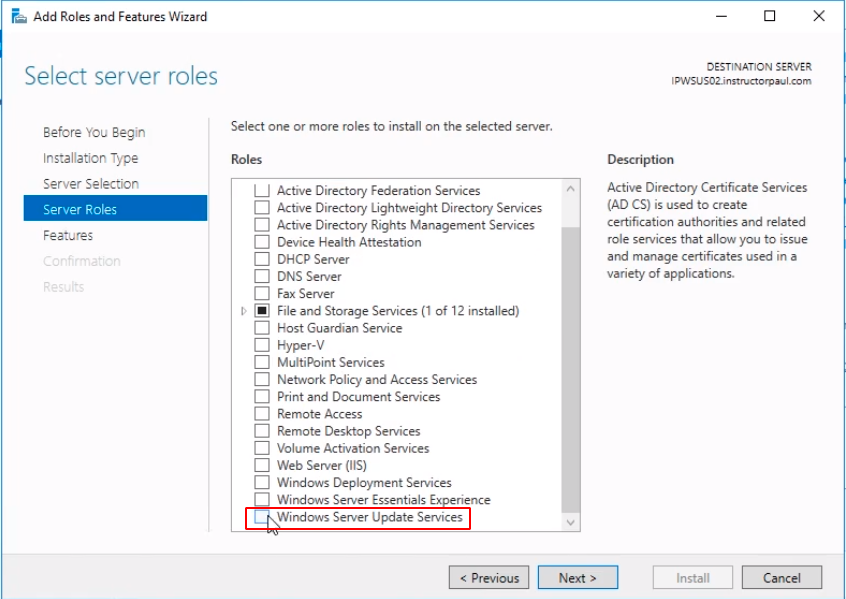
Navigate through the wizard clicking the Next button until you get to the Select server roles window.
Select the Windows Server Update Services check box.
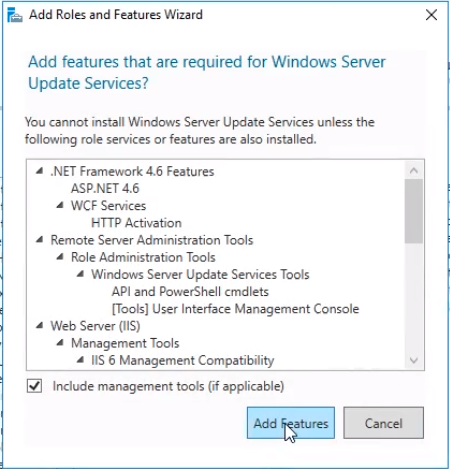
Click on the Add Features button to add all the needed features.
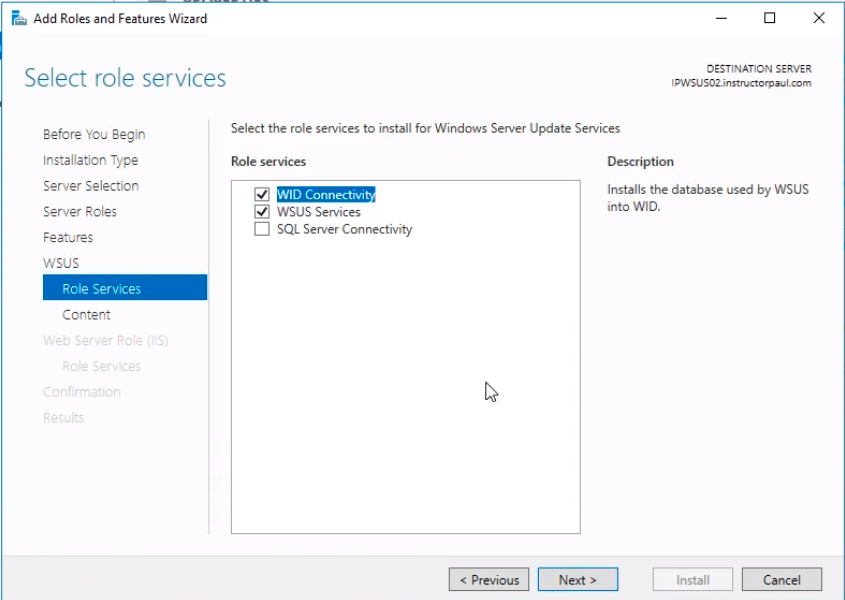
Click the Next button multiple times until we get to the Select role services. Here we leave the first two checkboxes checked as default for WID Connectivity and WSUS Services and click Next.
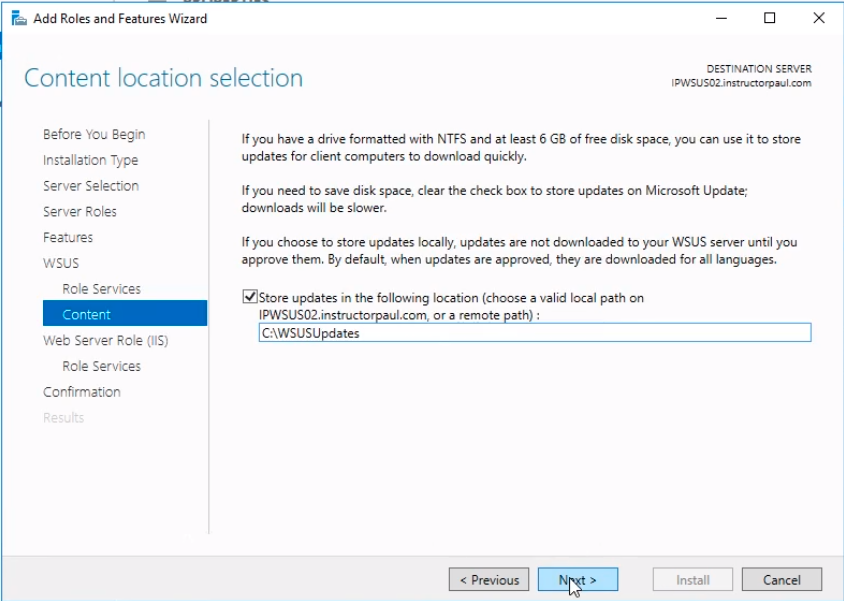
In the Content location selection window, we are going to choose the local path to store the database typing C:\WSUSUpdates and click on Next.
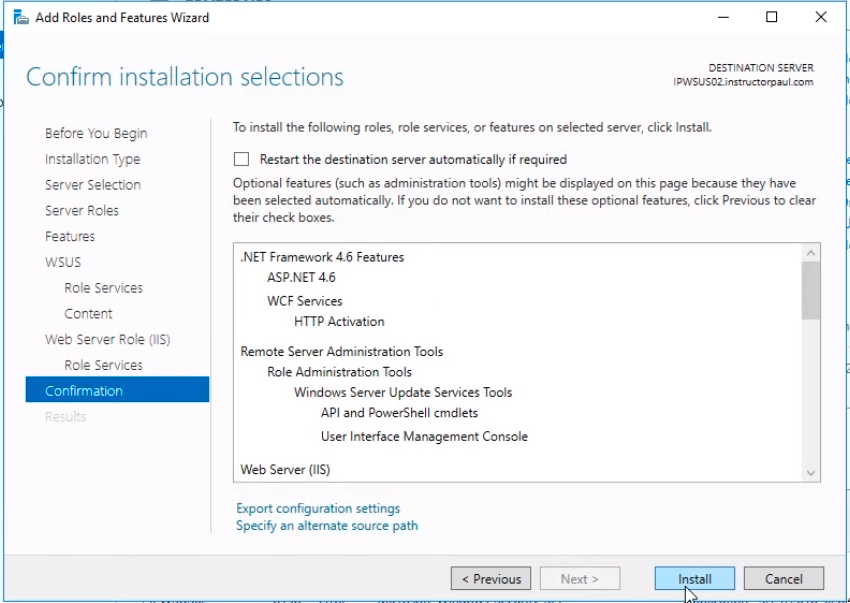
Click Next again multiple times until you get to the Confirm installation selections and click the Install button.
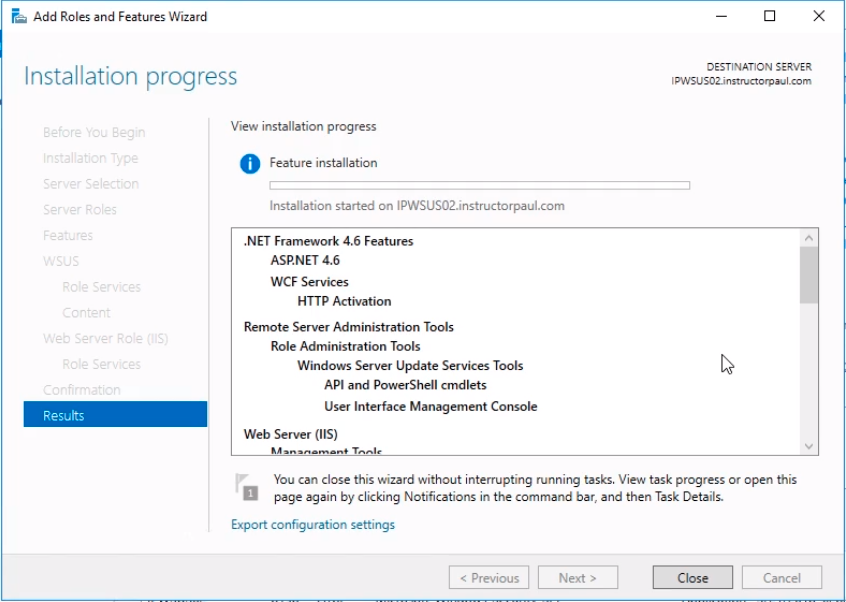
The installation will begin. It might take around 20 minutes to complete.
When the installation completes click the Close button.
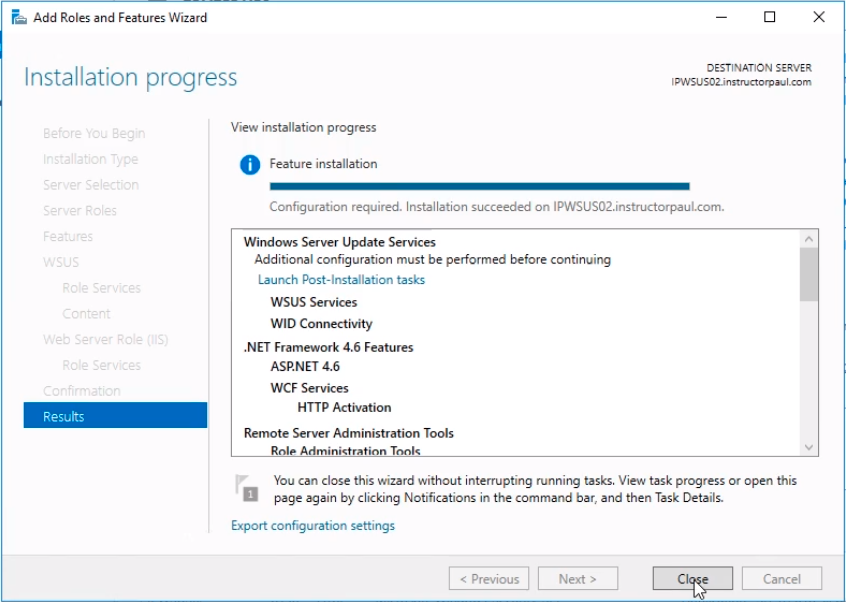
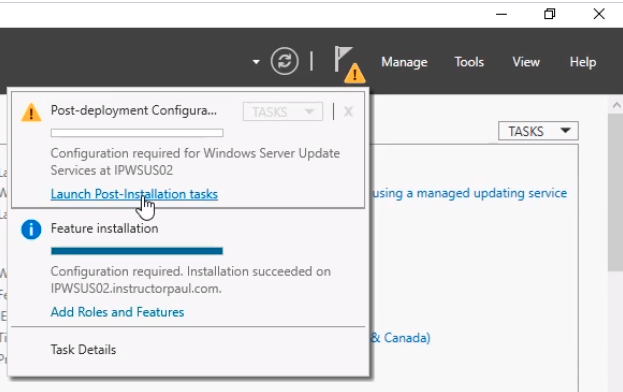
Now, click on the Flag up on Server Manager and click the link to Launch Port-Installation tasks. This might take a little while so let’s wait for it to finish.
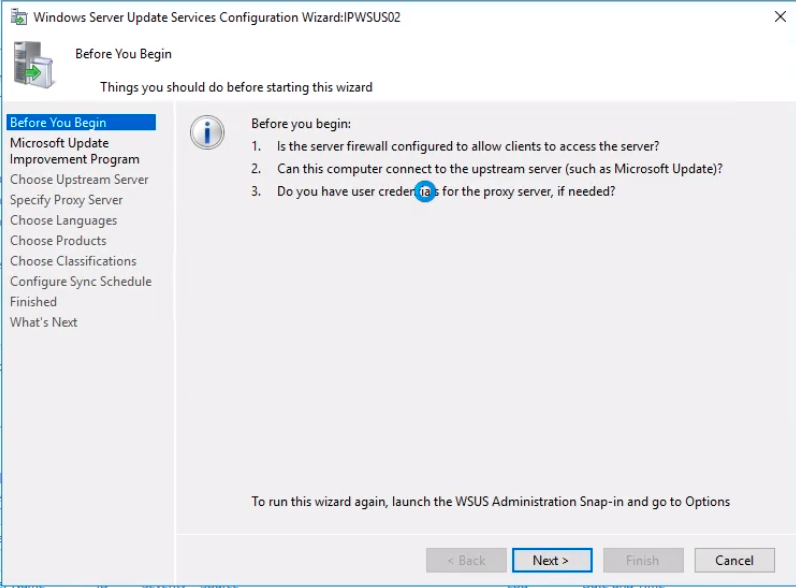
When the configuration completes click on Tools > Windows Server Update Services.

This should initiate the initial configuration of our WSUS server. Click Next to continue.
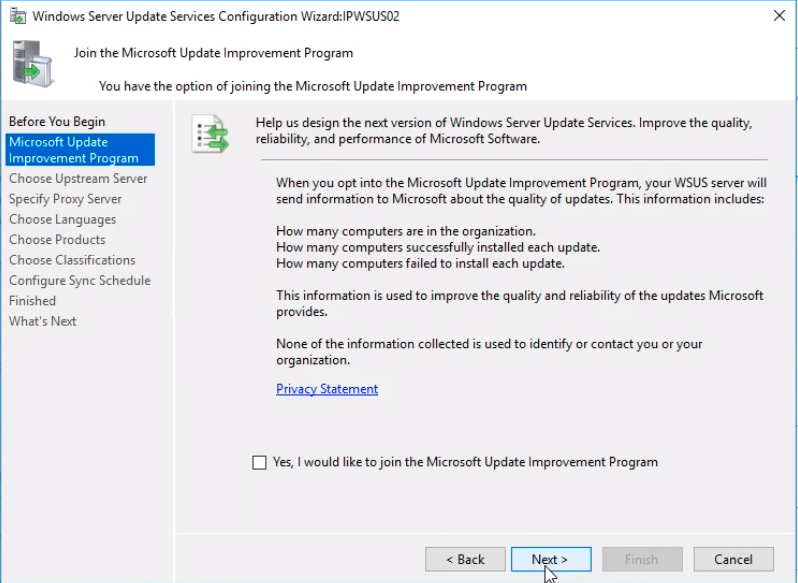
Uncheck the checkbox Yes, I would like to join the Microsoft Update Improvement Program and click Next to continue.
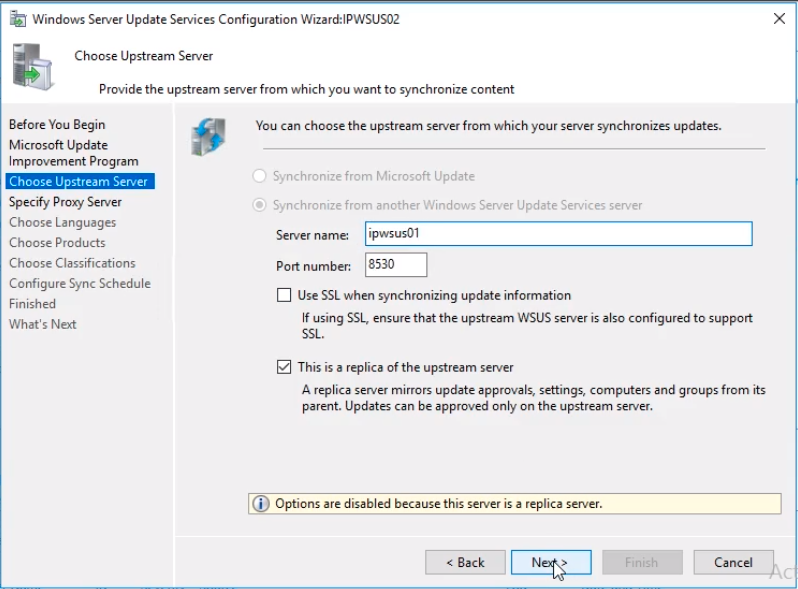
Now, instead of choosing Synchronize from Microsoft Update as we did before since this is a Downstream server, we will choose the radio button Synchronize from another Windows Server Update Services server.
Type ipwsus01 for the server name and port 8530. Also, we will check the checkbox for This is a replica of the upstream server.
We are choosing these options since we don’t have SSL so port 8530 is like port 80 with no SSL and ipwsus01 will be our upstream server.
Since we are not managing directly ipwsus02 we are marking this as a replica server so that updates are approved in ipwsus01. We are not going to do anything from this server. We are trying to make this server sort of a read-only server closest to our target computers. Changes to ipwsus01 server will replicate to ipwsus02 server.
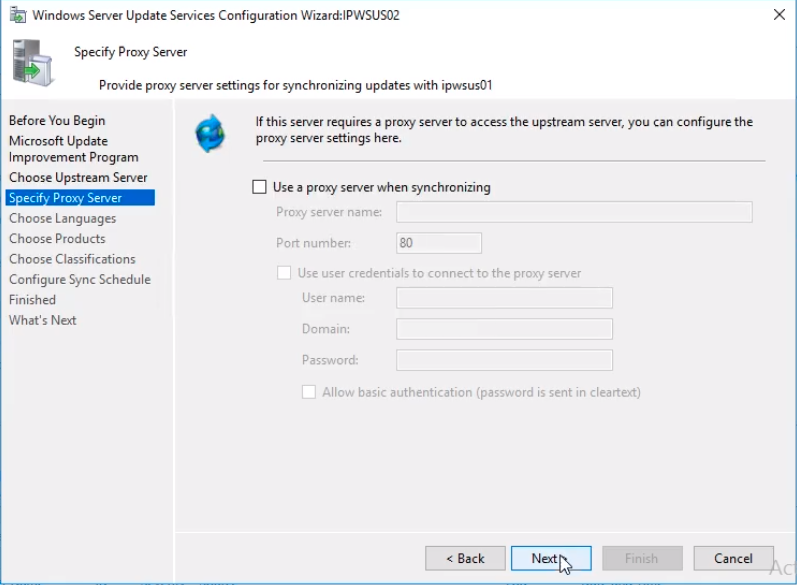
Since we are not using a Proxy we click Next.
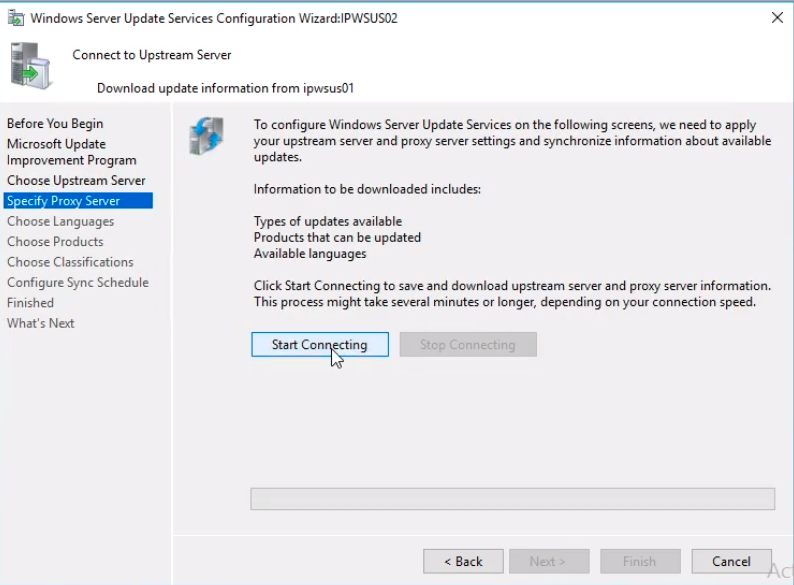
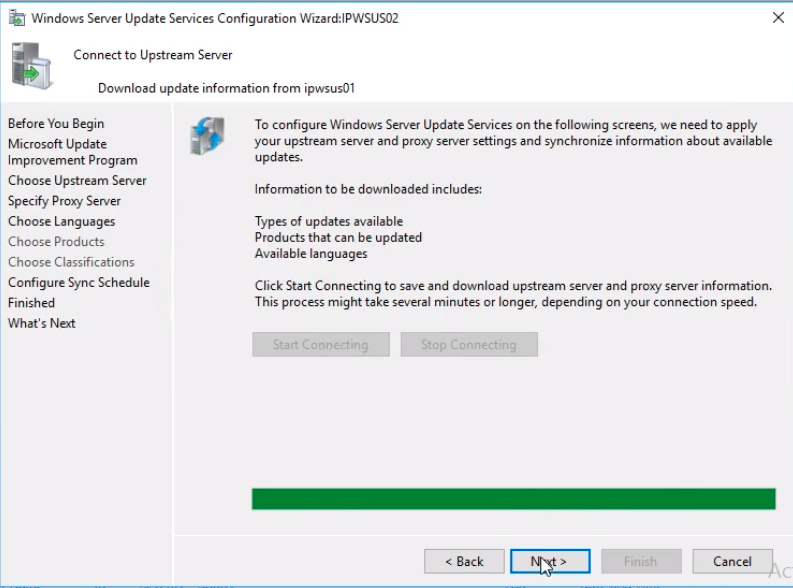
Click on the Start Connecting button. We are going to wait and see if this server is connecting to ipwsus01 server.
Once complete click Next.
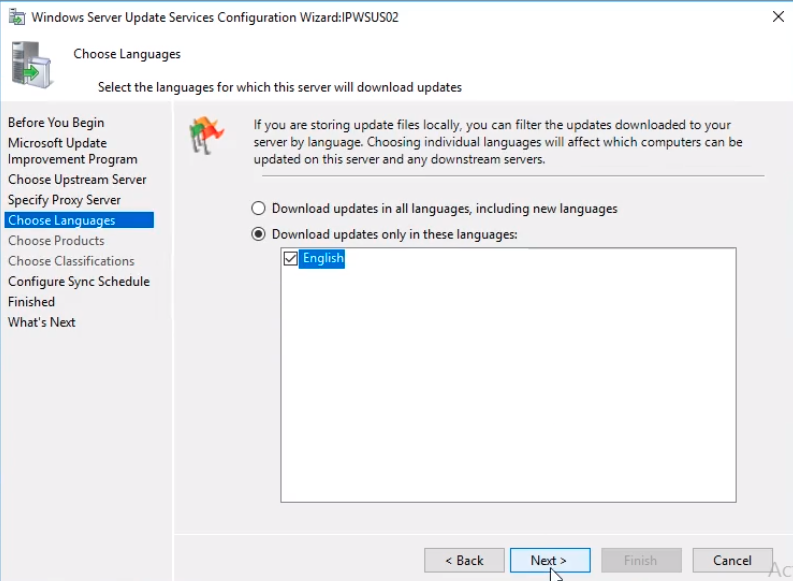
Under the Choose Languages, we only have English available, and that is because that’s what we chose on ipwsus01. Click Next to continue.
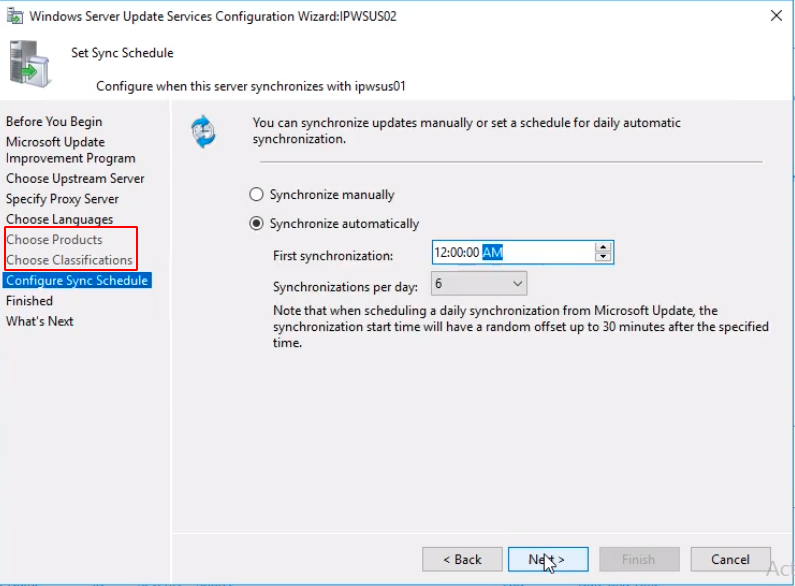
You’ll notice that the wizard skips Choose Products and Choose Classifications screens and that’s because this is a replica server.
Choose the Synchronize automatically radio button and set a time for the First synchronization like 12:00:00 AM and click Next.
We will click on the Begin initial synchronization check box and click Next.
Server Academy Members Only
Sorry, this lesson is only available to Server Academy Full Access members. Become a Full-Access Member now and you’ll get instant access to all of our courses.


