
Installing VirtualBox and Creating Our VMS and Virtual Network
Instructions
Q&A (0)
Notes (0)
Resources (0)
Saving Progress...
Resources
There are no resources for this lesson.
Notes can be saved and accessed anywhere in the course. They also double as bookmarks so you can quickly review important lesson material.
In this lecture, we are going to be installing VirtualBox, and we are going to be creating our Virtual Machines and our Virtual Network.
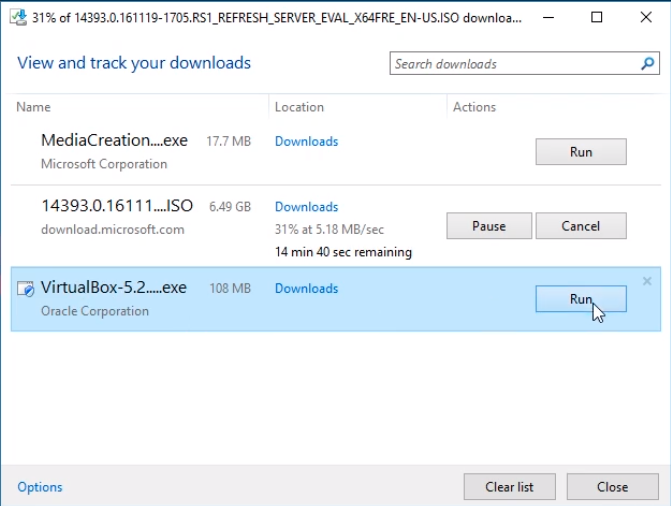
Checking the downloads, we see our Windows Server 2016 is still downloading and that’s fine. We are going to open our VirtualBox installation file here by clicking Run.
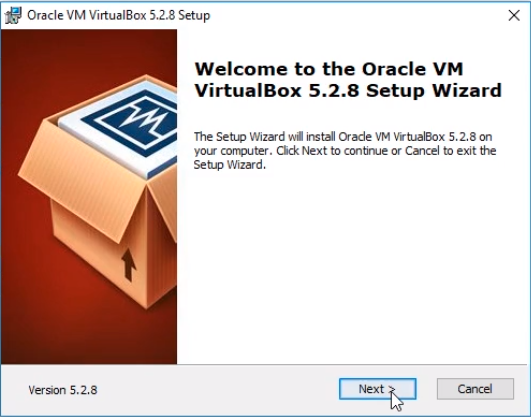
Here’s the installation window so we are going to click Next to start the VirtualBox installation.
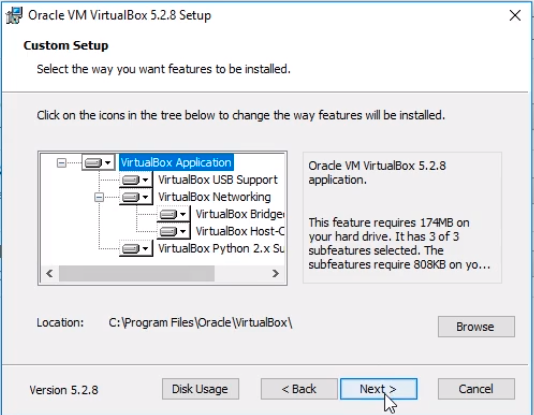
Here, I am going to leave all the defaults and just click Next.
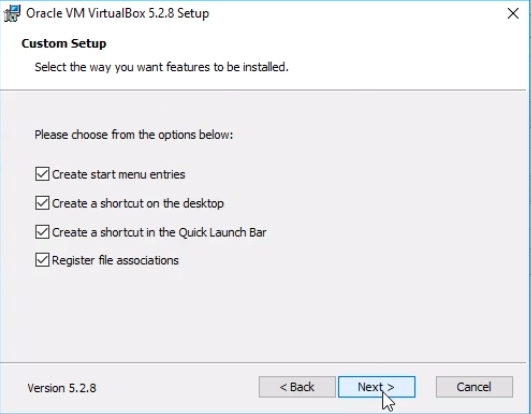
Click Next again.
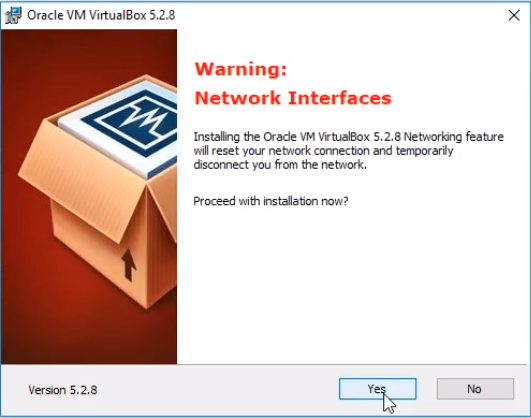
Click Yes on the Warning: Network Interfaces window.
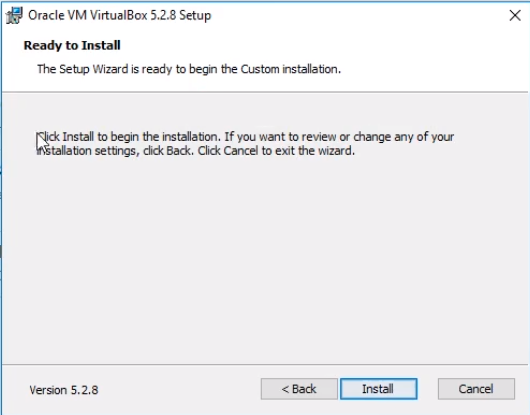
Now, click on Install to begin the VirtualBox installation.
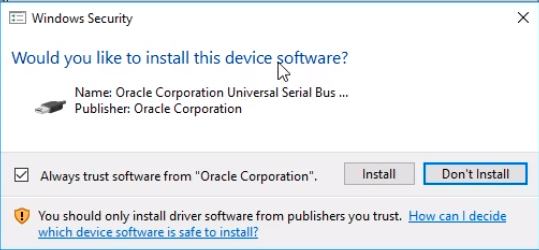
You will be asked if You would like to install this software. Click on Install and leave the option checked for Always trust software from “Oracle Corporation”.
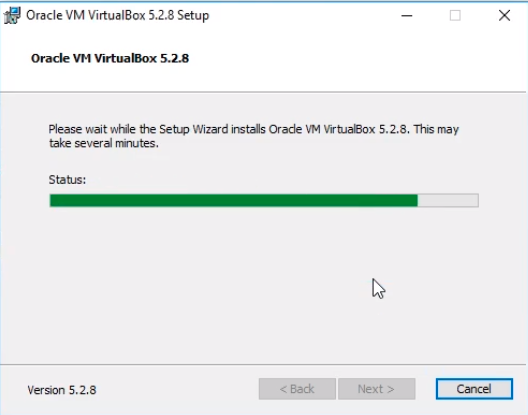
The VirtualBox installation will continue.
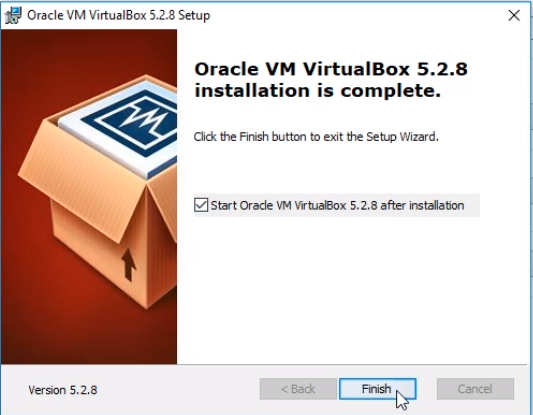
Click on Finish and leave the option checked to Start Oracle VM VirtualBox.
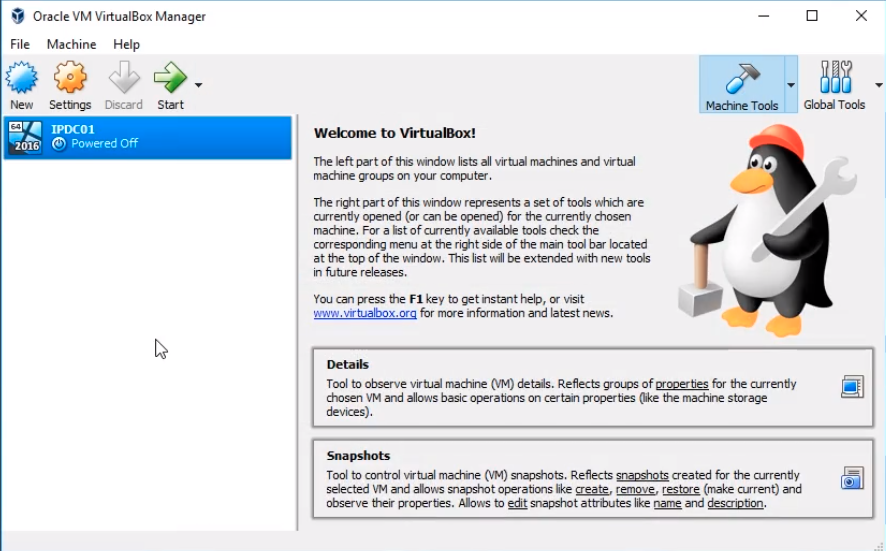
Great! Now we have VirtualBox installed.
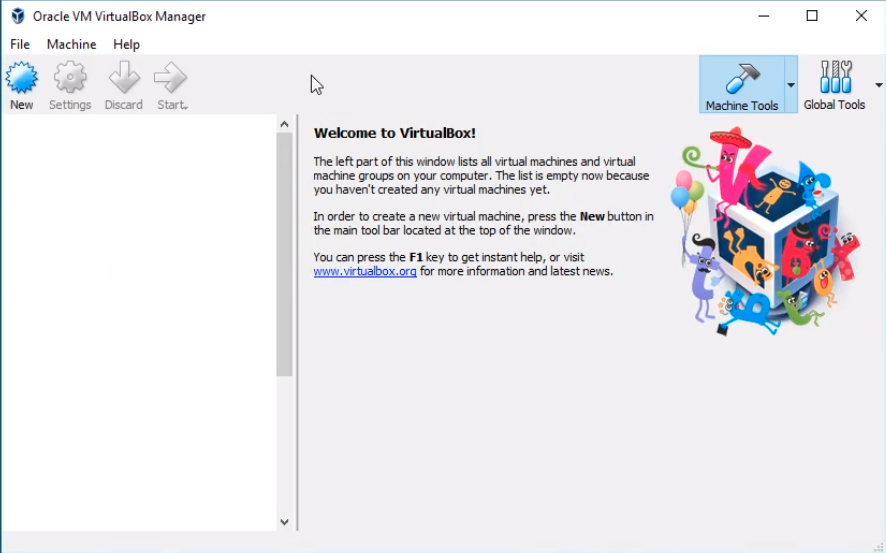
Now, what we need to do is create a couple of Virtual Machines and a Virtual Network. Click on File > Preferences...

We are going to start by creating the Virtual Network. Click on the Network tab to the left. On the right-hand side of the window click on the green plus icon to add a new NAT network.
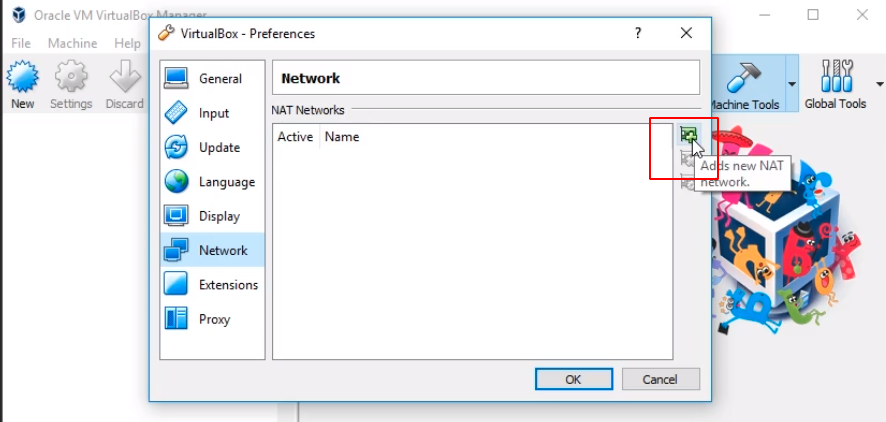
Double-click on the new entry that gets created to modify its properties.
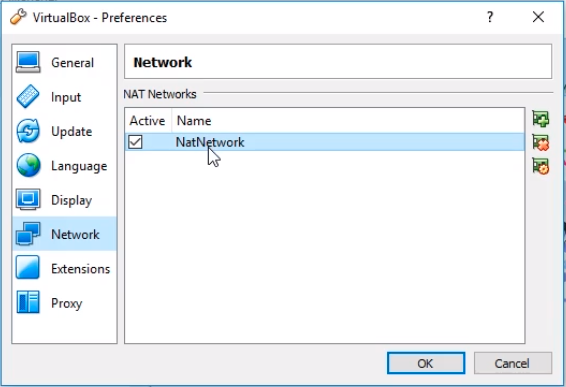
You now can see the default options of the NatNetwork. I am going to leave all these options at the default.
We are using the 10.0.2.0/24 and the DHCP Options enabled.
That’s all we need to create the NatNetwork so we click on OK.

Just as a side note. The NatNetwork allows you to create a network for our Virtual Machines so that our Virtual Machines can communicate with each other but they also have a NATed connection to the Internet. So they will have Internet connectivity and will be able to communicate with each other.
Now, That doesn’t mean that on your Host computer, which is the computer where we installed VirtualBox, it doesn't mean that you’ll be able to communicate with your VMs from your Host computer, just keep that in mind it's only VM to VM and VM to the Internet.
So what we are going to do now is click on the New button to create a new Virtual Machine.
I like to use Expert Mode so I’ll click the Expert Mode button.
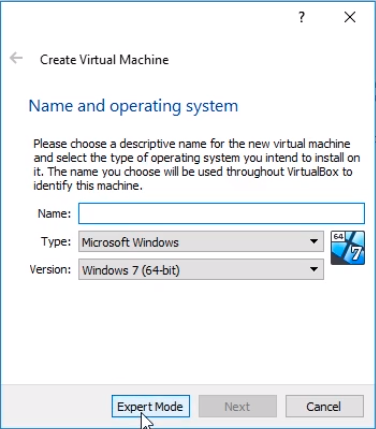
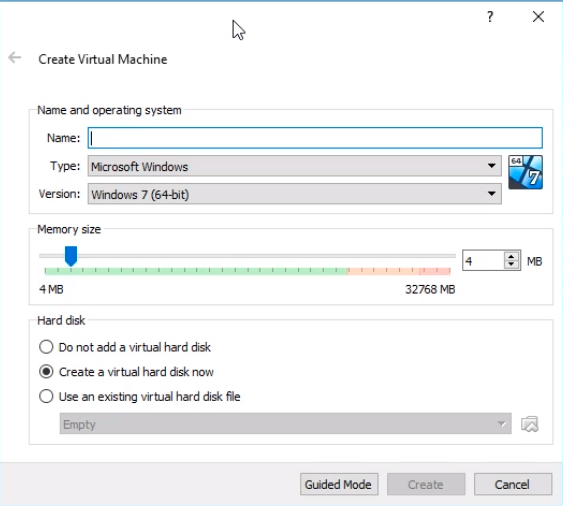
All it does is it gives you the same options, but it allows you to do the same with fewer screens and fewer pages.
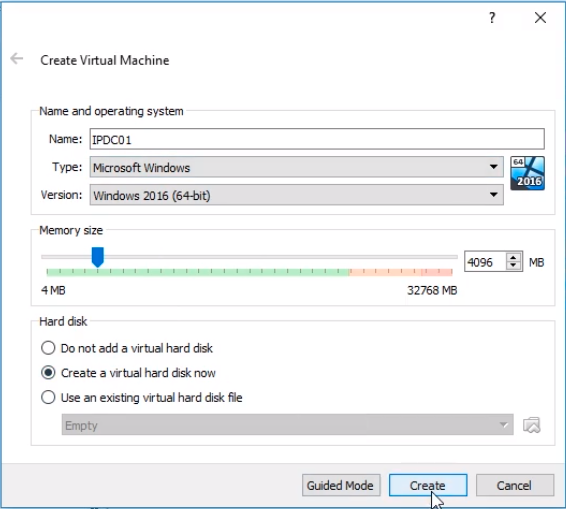
We are going to type a Name for the Virtual Machine. I am going to call this IPDC01. IP is going to stand for Instructor Paul and DC stands for Domain Controller and 01 since it is my first Domain Controller.
For the Type choose Microsoft Windows and for the Version choose Windows 2016 (64-bit). If you don’t see 2016, or you only see 32-bit options, that means you either need to enable Virtualization in your BIOS or you are not using a 64-bit Operating System or a 64-bit version of Windows. I will have a troubleshooting section or resources attached to this article that will show you how to enable that virtualization in your BIOS if that is your case.
I am going to set the Ram at 4 GB or 4096 MB.
For Hard disk, I am going to leave the default option of Create a virtual hard disk now.
Click the Create button.
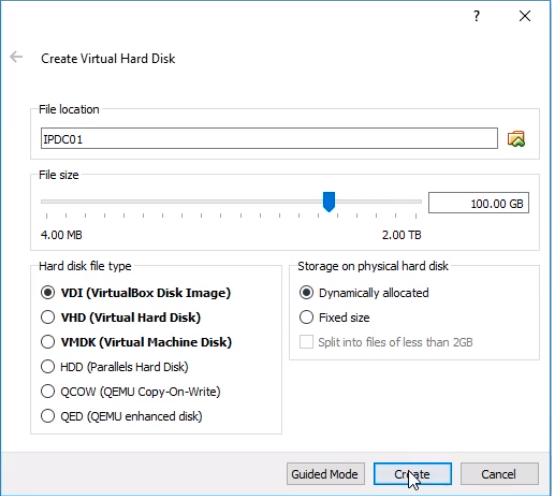
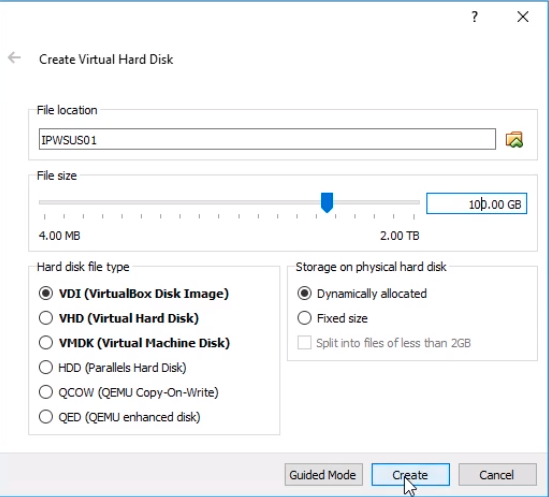
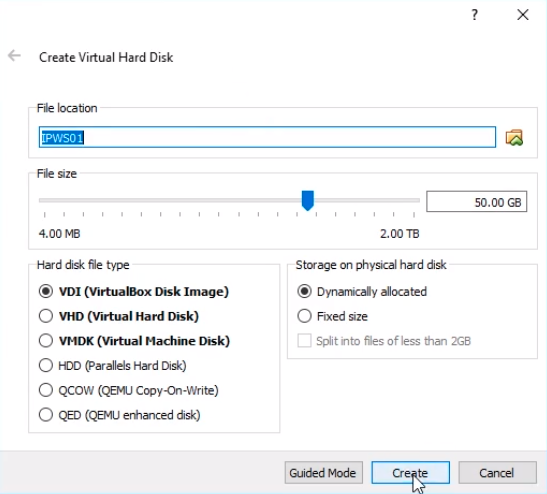
The Create Virtual Hard Disk window pops up.
Now we choose the Hard Disk name and the File location that we want to go with this Virtual Machine. I am going to leave the default of IPDC01 and for the Size, I am going to set it to 100 GB.
For the Hard disk file type, I am going to leave the default of VDI. Different formats would work with different virtualization technologies. So if we want to bring this into VMWare later we can choose VMDK, but this is not something we are going to deal with in this course since we are creating a little lab environment.
Under Storage on a physical hard disk, we choose Dynamically allocated which means that the hard drive will not be 100 GB in size as soon as we create it. What that means is it will only be as big as the data that is on the hard drive. So if you only install 25 GB worth of data, this hard drive file will be only 25 GB in size up to 100 GB. If we choose a Fixed-size the hard drive will always be 100 GB in size no matter how much data we have on the Virtual Machine.
Click on the Create button.
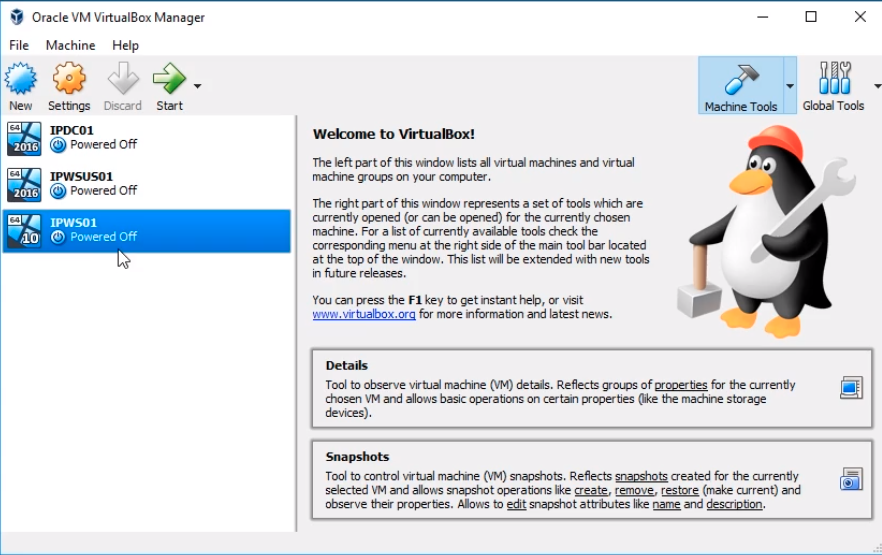
Our Virtual Machine has now been created.
Now, we need to do this same process two more times.
Click on New and this time we will create our Virtual Machine for our WSUS Server.
For the Name, I will call this IPWSUS01. For the Type choose Microsoft Windows. For the Version select Windows Server 2016 (64-bit). I am going to add 4 GB of Ram. Click on the Create button.

Leave the default for File location and I am going to increase it to 100 GB the Hard Drive File size. Leave the defaults for the rest of the options and click on the Create button.
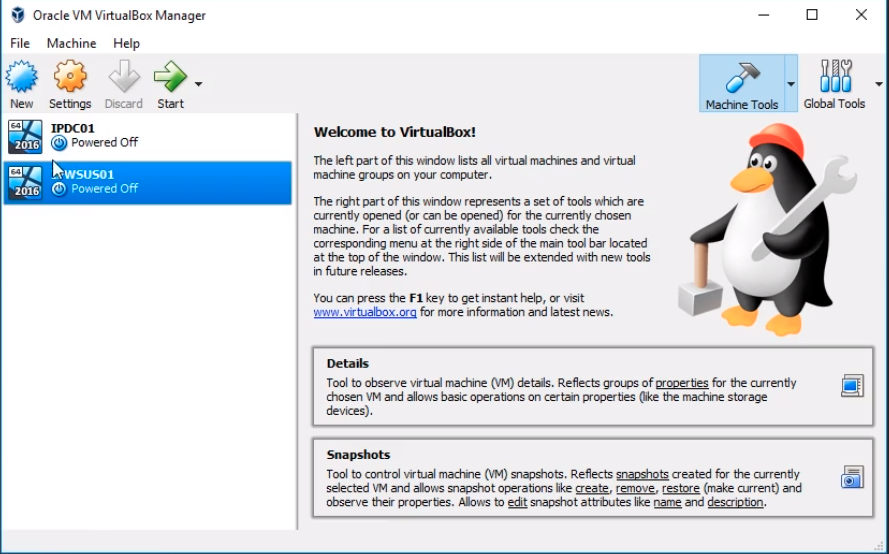
OK, we have our second Virtual Machine.
So, now we need to create our Virtual Machine for our Windows 10 VM.
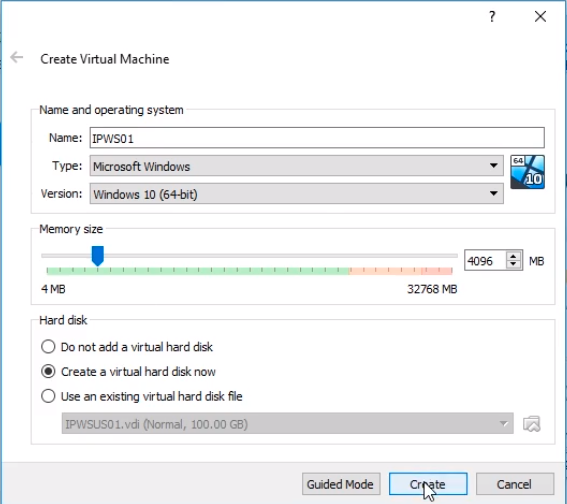
Click on New and for the Name type IPWS01. IP for Instructor Paul, WS for WorkStation, and 01 for the first WorkStation.
Set the Type to Microsoft Windows. From the Version click on the dropdown and select Windows 10 (64-bit). I'm going to move the slider to 4 GB of Ram.
Click on the Create button.
For the Create Virtual Hard Disk window, I am leaving the defaults and just clicking on the Create button.
Now our three VMs have been created.
Now what we need to do is put them on the same Network.
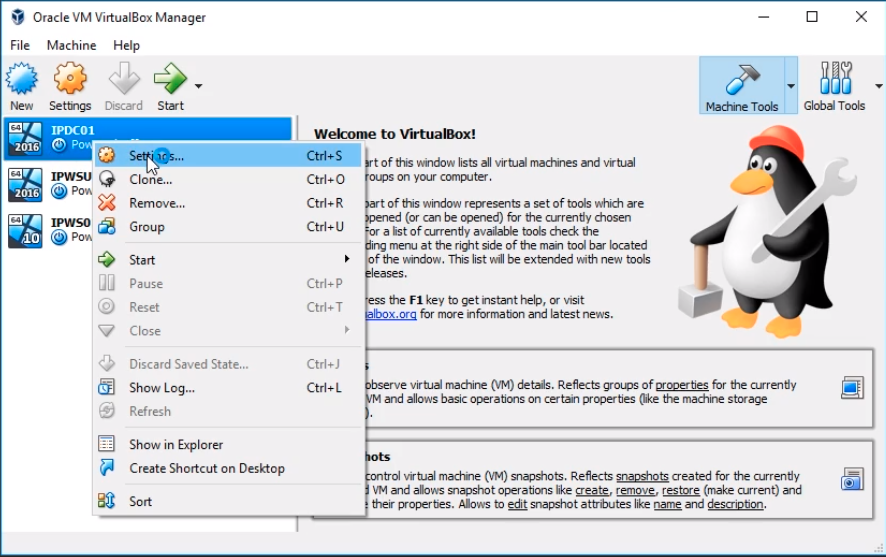
Right-click on IPDC01 and select Settings...
Go down to the Network tab from the left options and under Attached to select Nat Network and by default it will have our NatNetwork. Click OK to close the VM Settings.
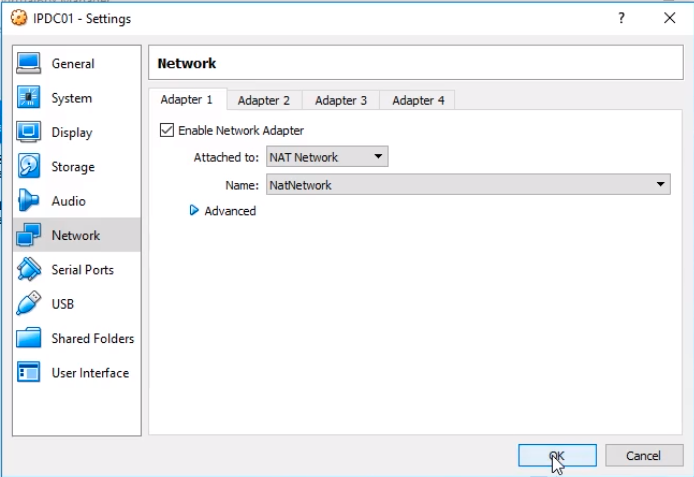
Repeat the same steps for IPWSUS01 and IPWS01.
At this point, we are ready to mount an ISO file and begin the installation, but for now, that’s all we need to do in this lecture.


