
Creating and Mounting File Shares with Group Policy

Full-Access Members Only
Sorry, this lesson is only available to Server Academy Full-Access members. Become a Full-Access member now and get instant access to this and many more premium courses. Click the button below and get instant access now.
Instructions
Q&A (0)
Notes (0)
Resources (0)
Saving Progress...
Resources
There are no resources for this lesson.
Notes can be saved and accessed anywhere in the course. They also double as bookmarks so you can quickly review important lesson material.
In this lecture, I am going to be showing you how to create a network share or a project drive for different user groups and how you can map them for those user groups automatically.
We are also going to be restricting access between the different user groups so that group A cannot access the shared drive of group B and vice versa.
We are starting this lecture creating the user groups and then we are going to add users to the groups.
Open Server Manager > Tools > Active Directory Users and Computers.
Select the Domain Groups OU, right-click and choose New > Group
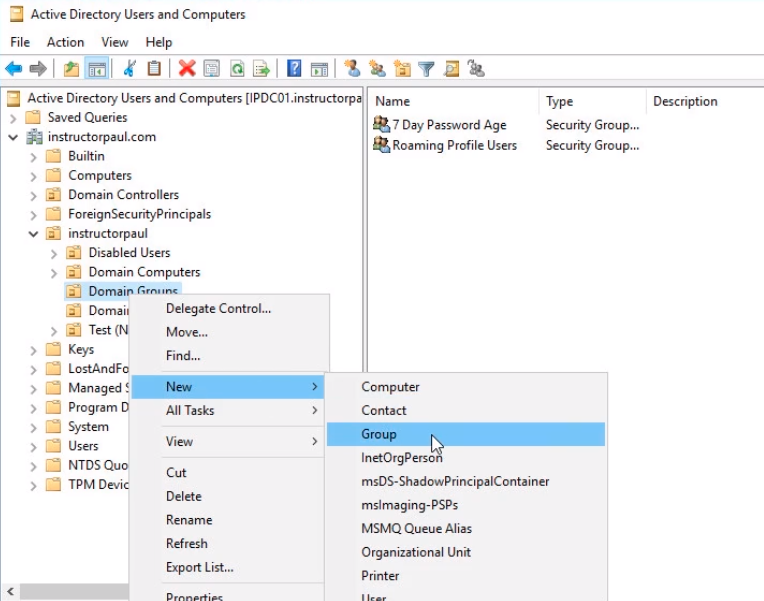
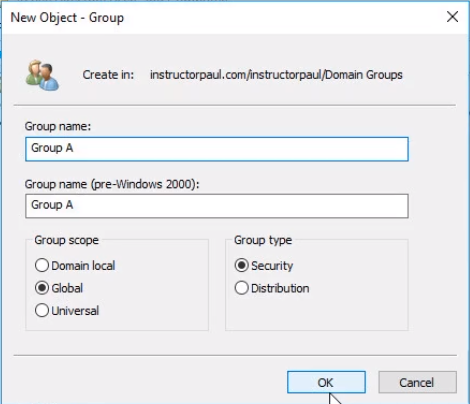
For demonstration purposes, we will call our group Group A, but in your organization might be called Sales, IT, Security, etc. It will be a Security Group and Global Group. Click OK.
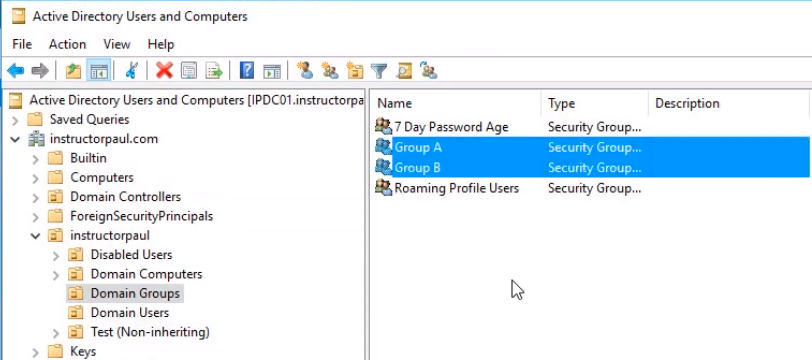
Follow the same steps to create a second group and this time named it Group B.
Now we need to add users to these groups.
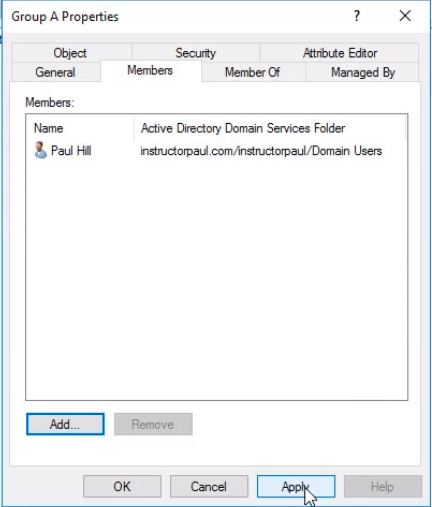
I am going to add paull.hill to Group A. Double click on Group A to open the properties.
Under the Members tab click on Add button and search for paul.hill and click on Check Names button and OK to add the user.

Now click on the Apply and OK button to close the Group properties window.
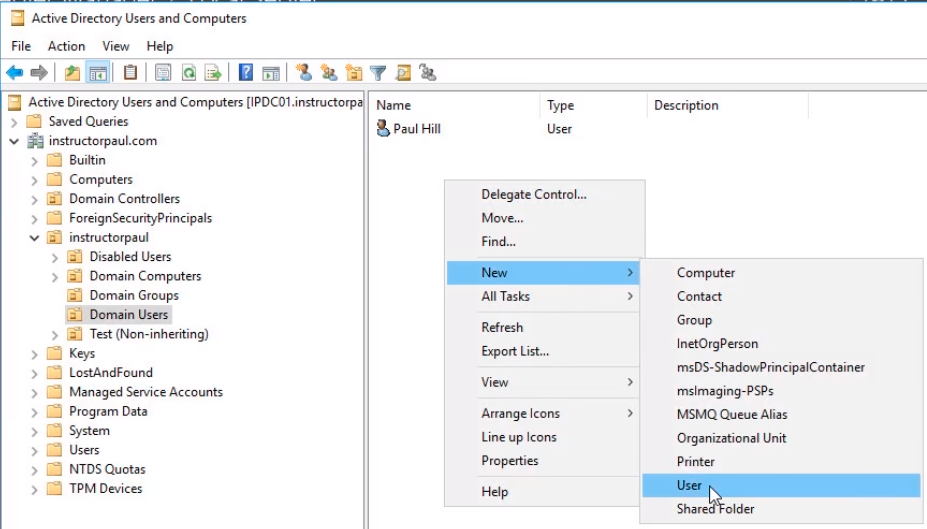
Since we just have one user, we will create another user account. Right-click Domain Users and select New > User.
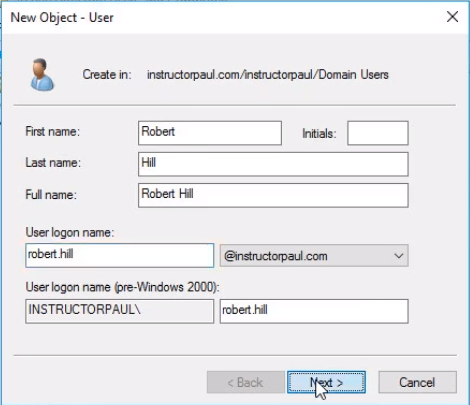
We will name it Robert Hill and click Next.
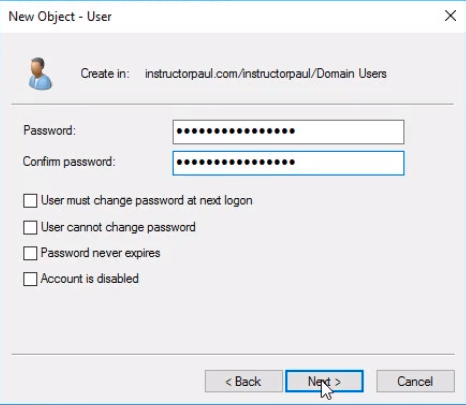
We uncheck User must change the password at the next logon and enter a password. Click Next to continue.
Repeat the steps like with Paul’s user account and add robert.hill to the group Group B.
Now, we need to create a shared folder for each of these user groups.
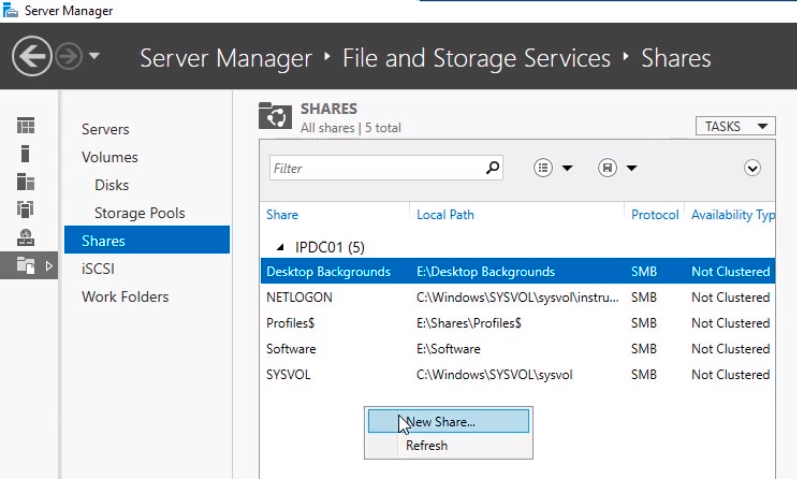
Open Server Manager and click File and Storage Services.

Click Shares, and just like we have done before we right-click and select New Share.
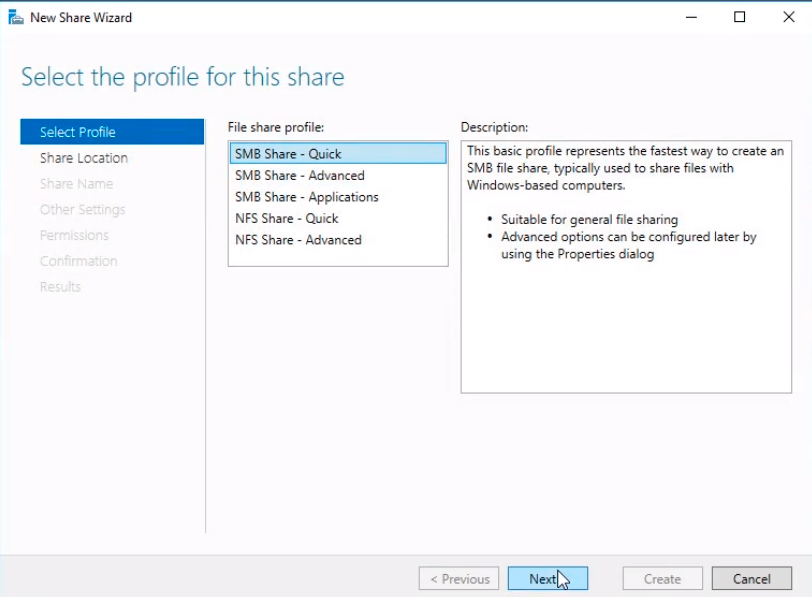
Select SMB Share - Quick from the New Share Wizard window and click Next.
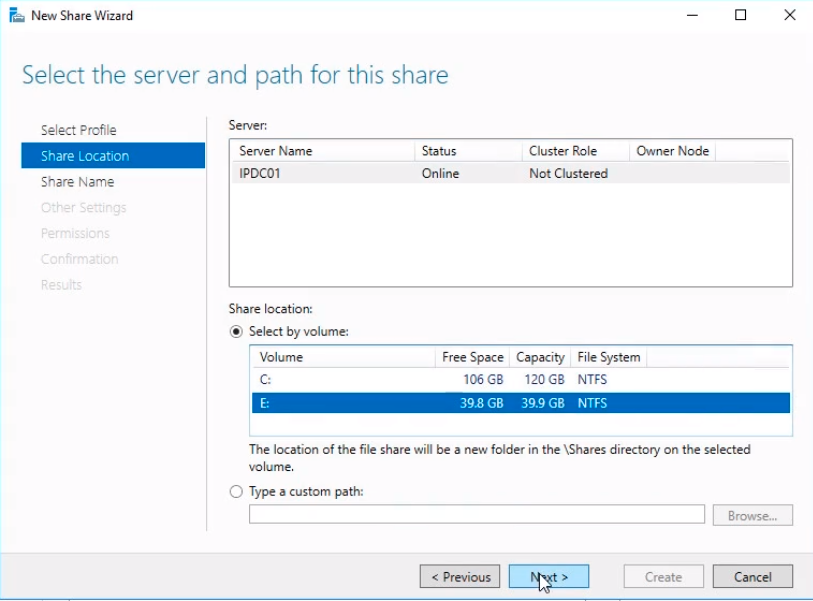
Select E:\ drive and click Next.
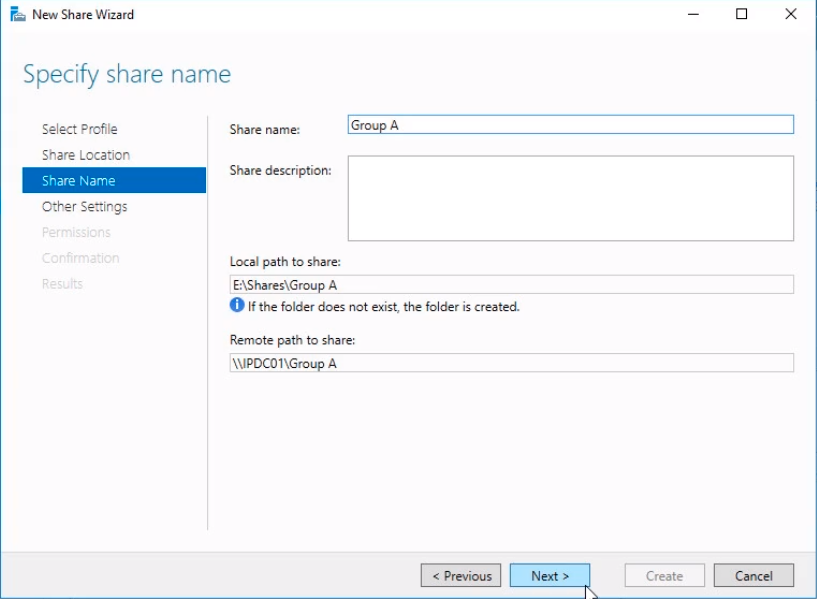
We Specify a Share Name of Group A and click on Next.
We can leave all the defaults for the next screen and click on the Next button.

We click on Customize permissions...

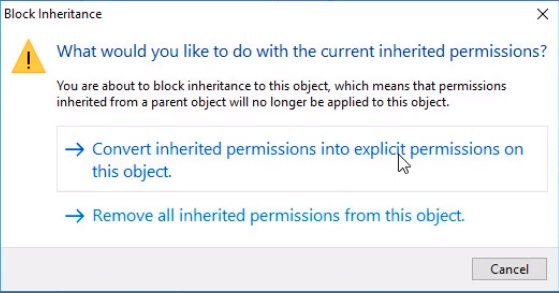
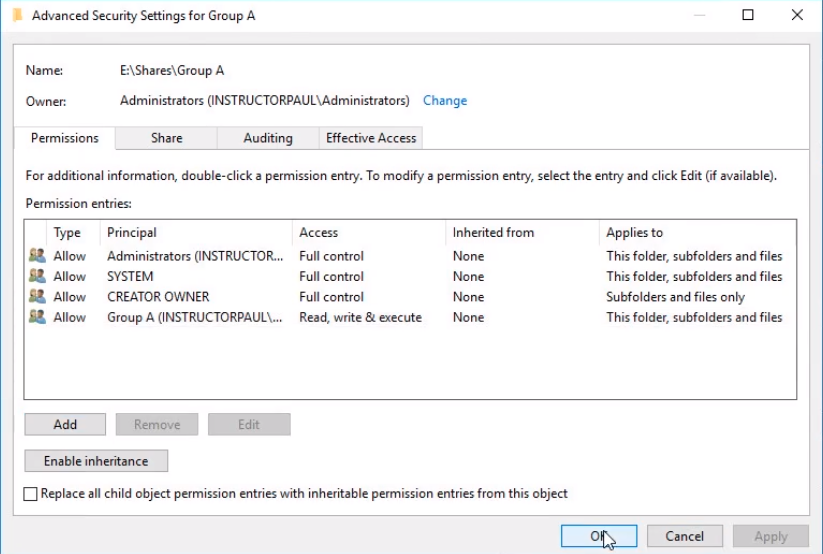
First, we need to click on Disable inheritance.
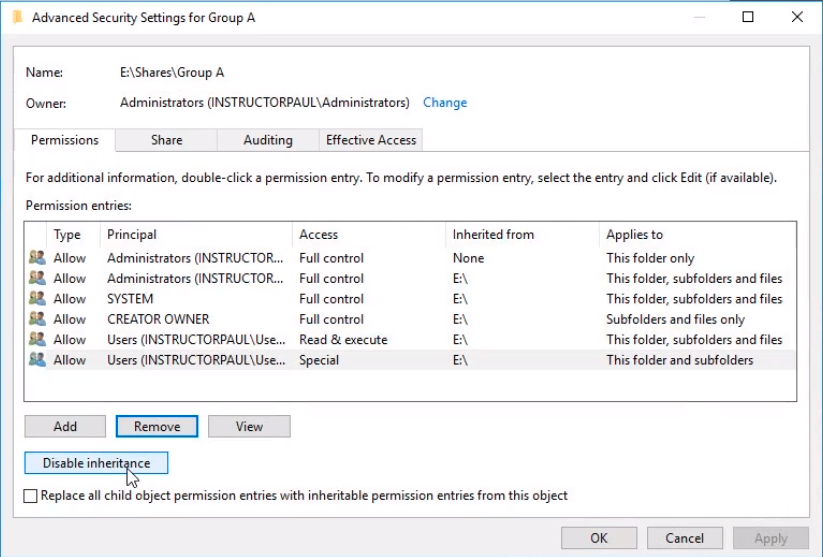
From the pop up window we choose Convert inherited permissions into explicit permissions on this object. Basically, we are setting the same permissions, but we are now able to modify them.
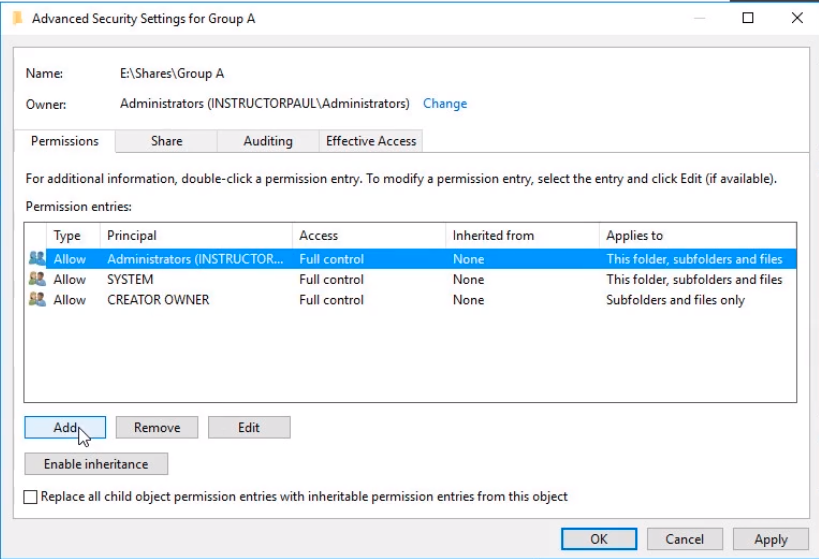
We remove the Users group from the list and we click Add.
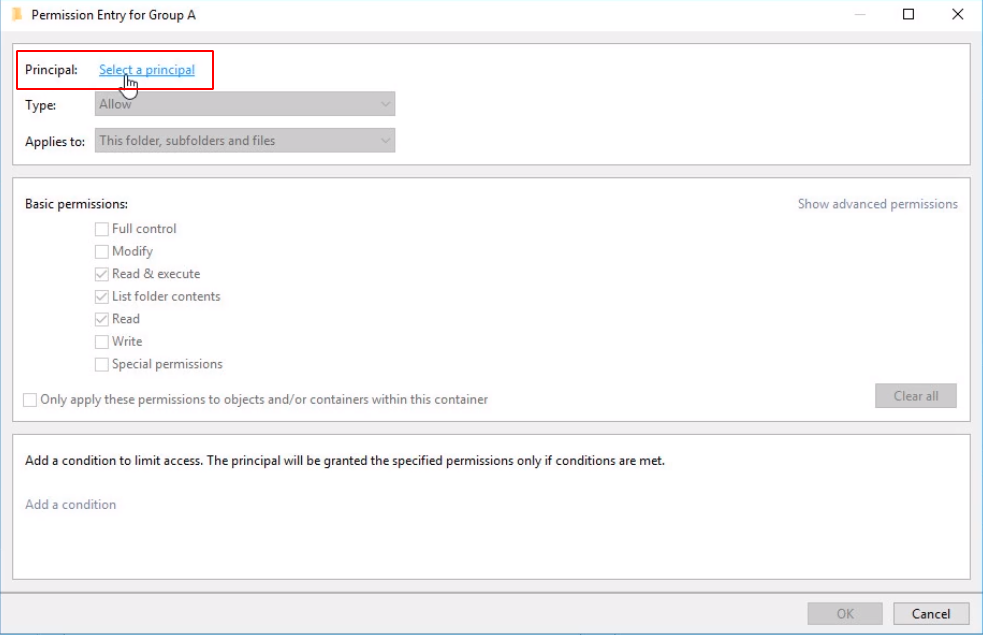
Click on Select a principal link.
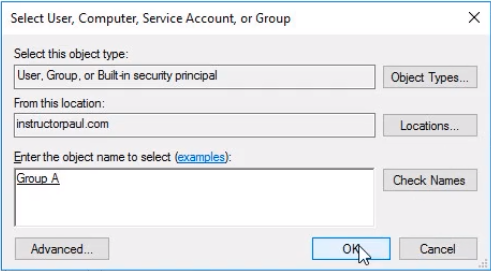
Type Group A and click on the Check Names to resolve the name and click OK.
We are leaving all the options as default but we are adding Write permissions by clicking on the checkbox.
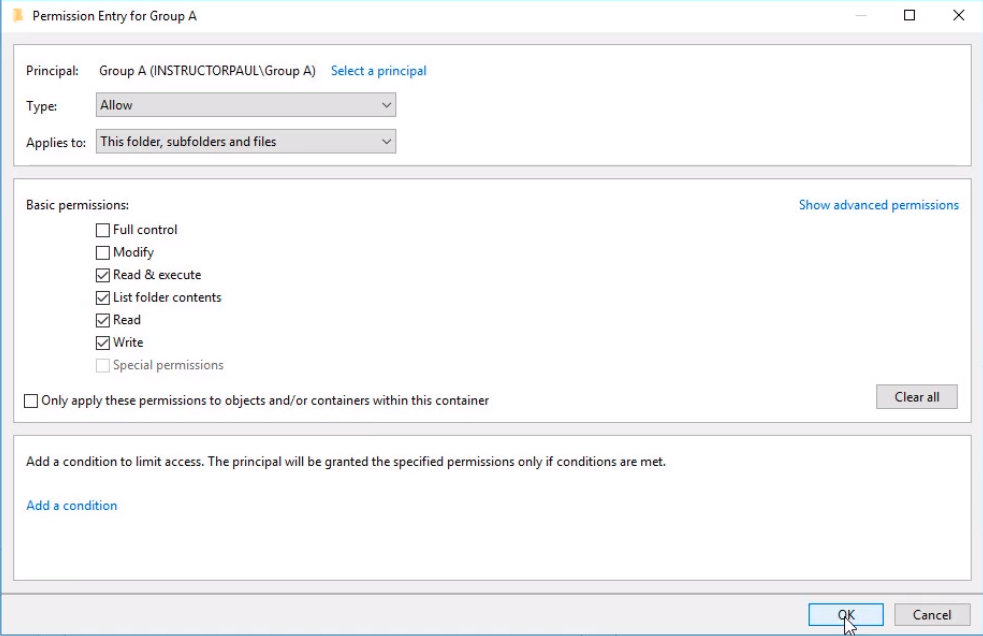
Now we click on Apply and OK.
Click Next to continue the wizard.
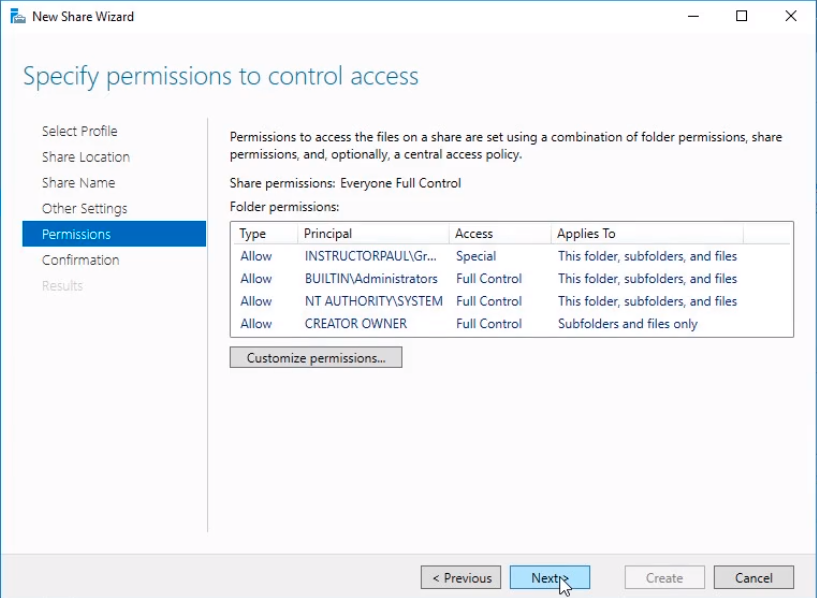
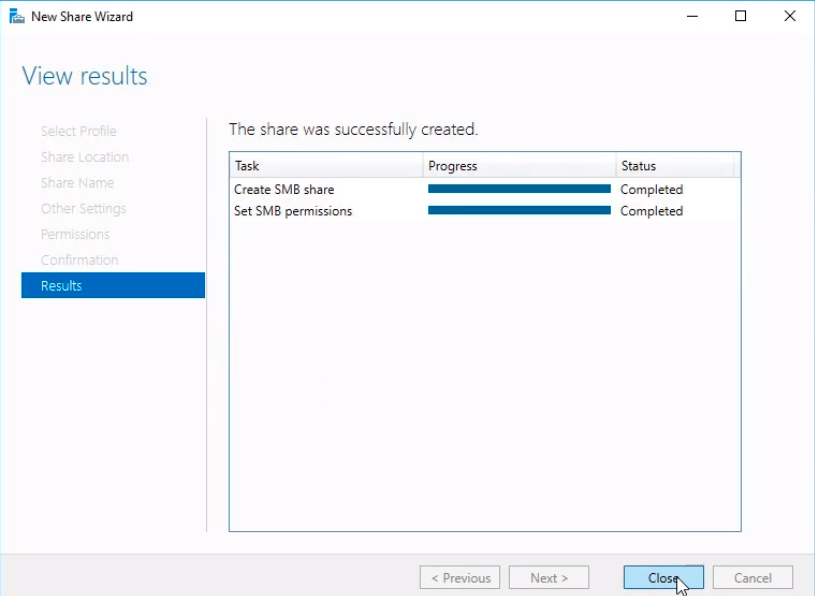
Click on Create and create the folder.
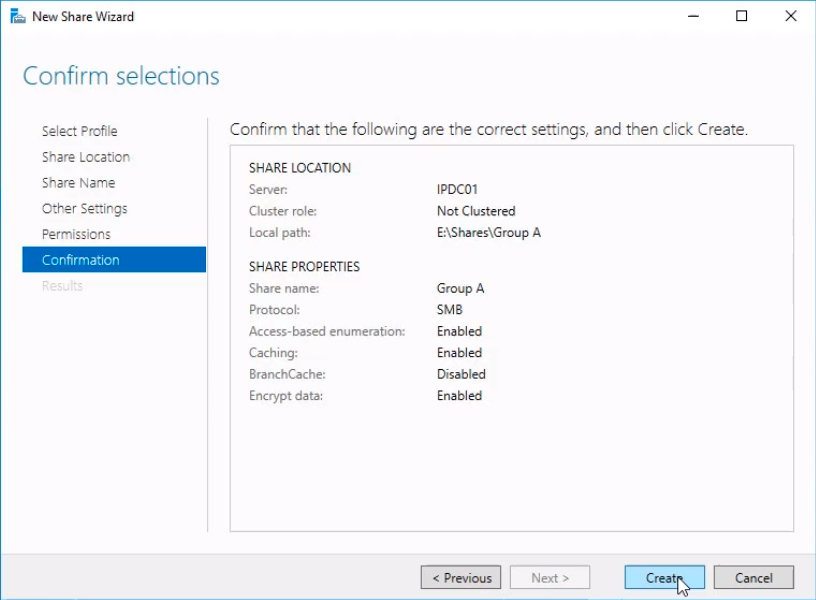
Now we click Close to close the wizard.
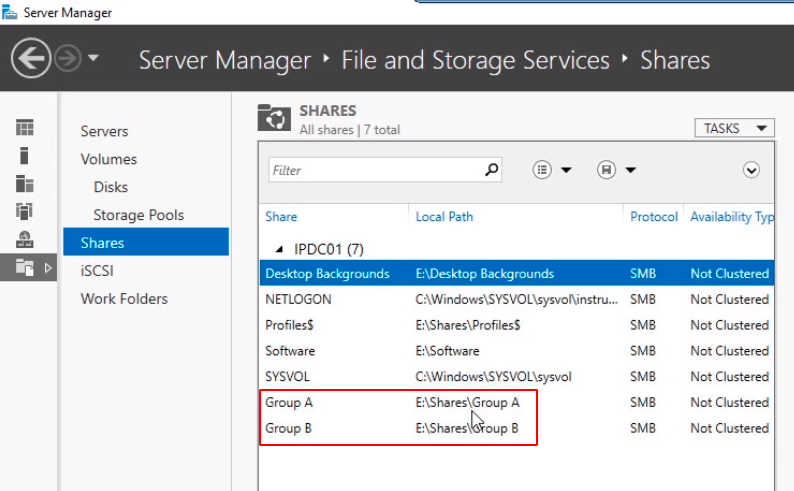
Now, we need to repeat the steps for Group B.
We should have the two shares created.
We need to test that the File Shares are working.
The way we are going to do that is by login to a Domain Joined workstation or a server like in our case as the users.
Once we login as Paul Hill user account, which is a member of Group A, we are going to make sure we can access the Group A folder and create files and folders on that directory.
Now open File Explorer and type \\IPDC01 in the address bar.
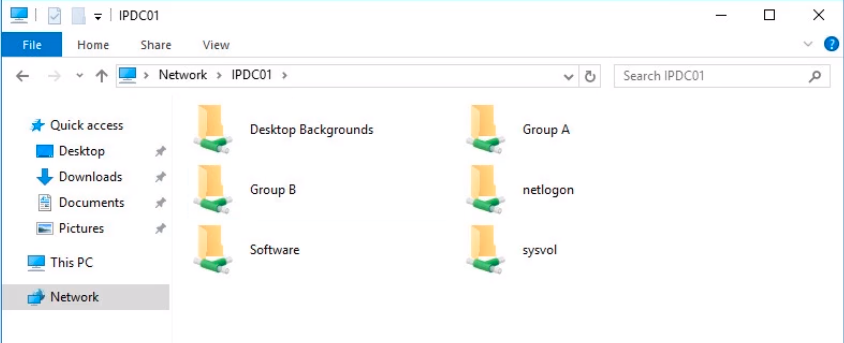
If we double click on Group B network shared folder for example, we see we don’t have permissions to access the folder.
Server Academy Members Only
Sorry, this lesson is only available to Server Academy Full Access members. Become a Full-Access Member now and you’ll get instant access to all of our courses.


Again why and when should I do that? The Course is more like answering questions” How to do that” and you give the steps but why and when to use that there is no idea. This course is more for people who already are system administrators and they need to know how to perform some tasks and you give the steps. You talked about sharing in last lessons but there is no explain what is differnce between all that. Too Bad. I dont want to be rude but it’s the truth.
Hi Zein Saker
You have a valid point. There might be many examples of why one would like to configure a shared folder this way and mount it for a user.
In the example here we have the folder for GroupA for them to save the files in a central location where all of the members can access and contribute to a project for example. Or it might be that the IT Administrators need a share for commonly used software installers or a folder for users to store their sensitive files and folders.
I guess sometimes the requests are sent to IT and we are supposed to figure out a solution for a problem and sometimes we can use a mixture of possible solutions to accomplish them.
Ricardo
I couldn’t get this to work on my secondary DC but it works on a WIN10 workstation? Not sure if this is related to the ‘Default Domain Policy’ but I did uncheck ‘Link Enabled’ and ran gpupdate /force and logged off but I still couldn’t access it. Error: “You do not have permissions to access…”
Hi Eric Gonzales
It shouldn’t conflict with the policies. Default Domain Policy applied to all the domain and the Default Domain Controllers Policy is for Domain Controllers. The message related to permissions might be just that a wrong permission setting. Test if you can access the share before creating the GPO to isolate a share or policy issue.
Ricardo