
Configure User Roaming Profile Path with PowerShell

Full-Access Members Only
Sorry, this lesson is only available to Server Academy Full-Access members. Become a Full-Access member now and get instant access to this and many more premium courses. Click the button below and get instant access now.
Instructions
Q&A (0)
Notes (0)
Resources (0)
Saving Progress...
Resources
There are no resources for this lesson.
Notes can be saved and accessed anywhere in the course. They also double as bookmarks so you can quickly review important lesson material.
In this lecture, I am going to be showing you how you can use Windows PowerShell to configure or to set the Active Directory profile Path.
Open Windows PowerShell ISE and Active Directory Users and Computers.
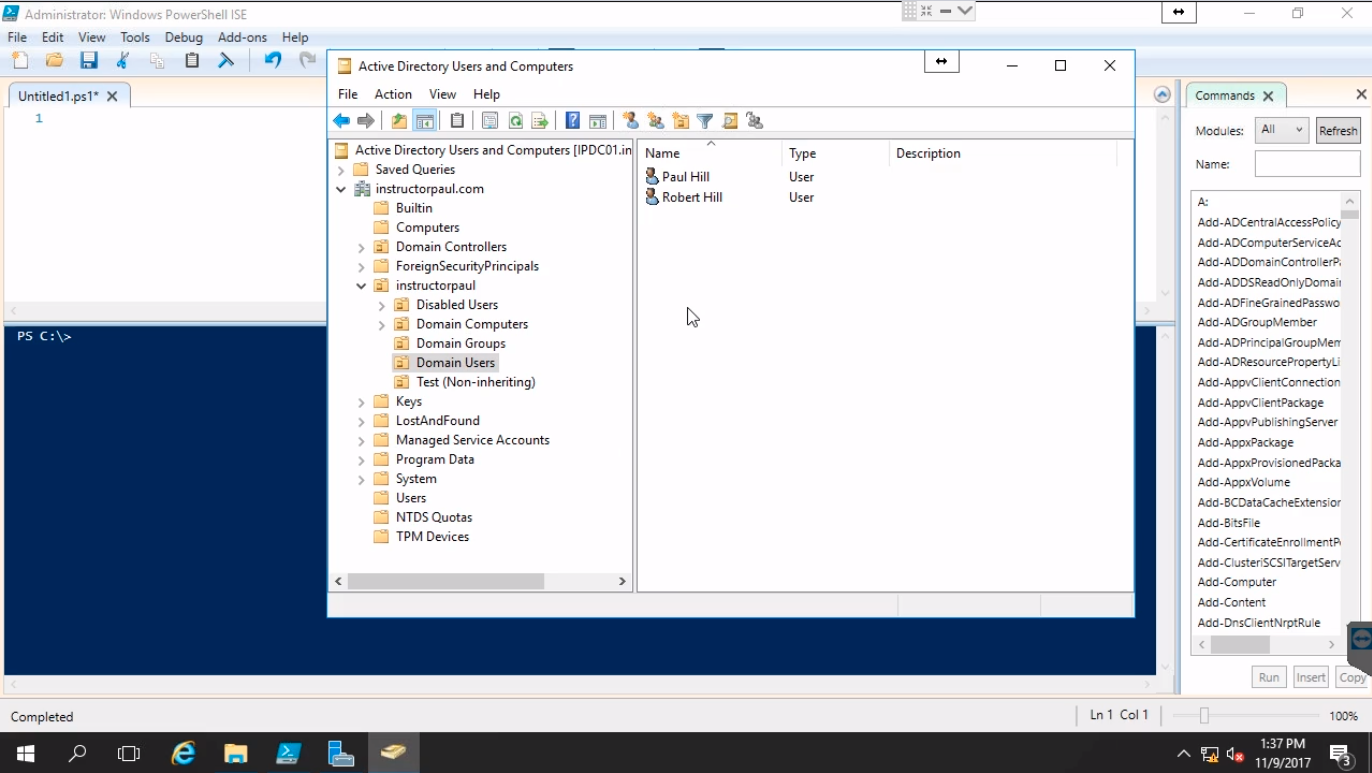
Here we can see under Domain Users we have two user accounts. We have our Paul Hill user account which is using a Roaming Profile and is part of the Roaming Profiles Users group. We will be testing with this account.
Steps:
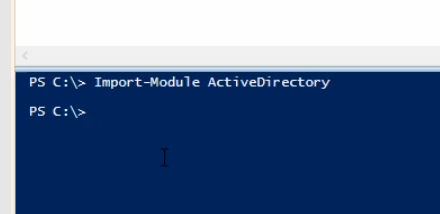
- A couple of ways of doing this, we need to first import the AD module: Import-Module ActiveDirectory
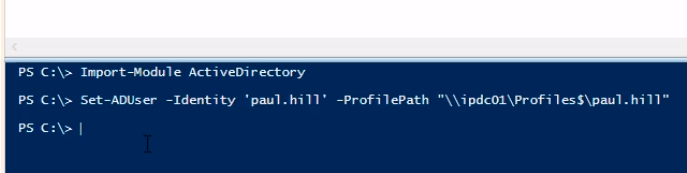
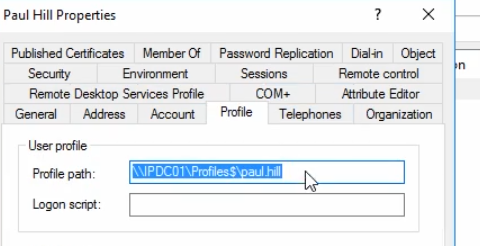
- Type the command: Set-ADUser -Identity ‘paul.hill’ -ProfilePath “\\ipdc01\profiles$\paul.hill”
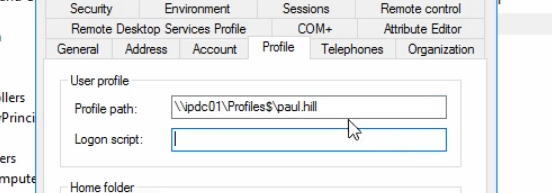
- We can open our user account and see under Profile in AD it has now worked.
- What if we have 5000 user accounts that we just have added to the Roaming Profiles Users group?
Doing this via a Script:
- Let's script this out(Importing the AD module)
NOTE: Do as many comments as possible using the # So that we remember what our script does.
We can do this on group membership, as they are part of the Roaming Profile Users Security Group.
So we will get the list of users, and then push our configuration from there.
Add Robert Hill user account manually to the Roaming Profile Users group and let's run it :
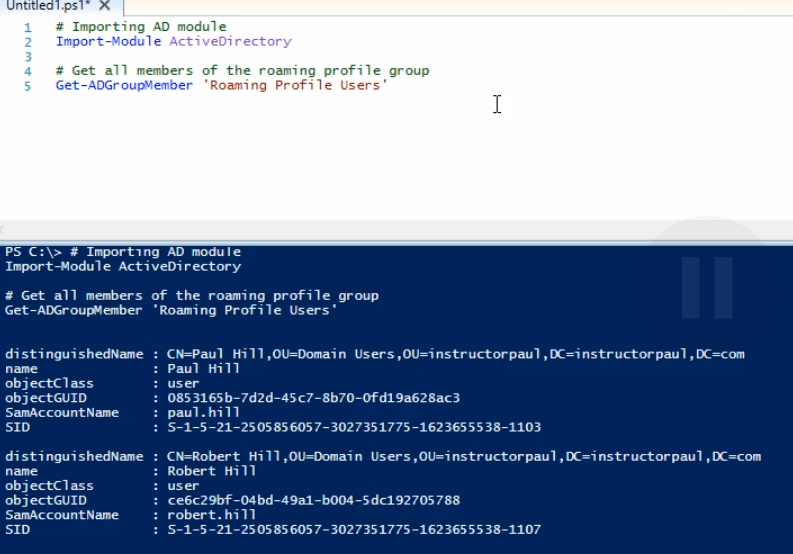
- As we can see both users are now added, perfect! Let’s go ahead and complete an action on our users now.
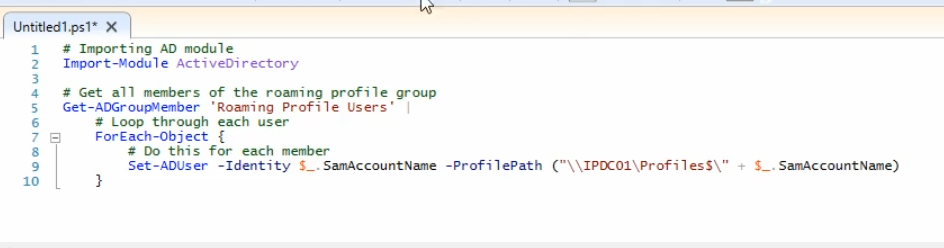
- Let's pipe our results from the group member command, we will loop through each user, and for each object, we will Set-ADUser Profile Path property.
NOTE: PowerShell does not take % , therefore we can use the SAMAccountName as a variable
$_. (References the Current Object)
- Lastly, we need to specify the identity, and that will be our $_.SamAccountName
- As we can see, no errors. Let's check our Users :
How about Robert’s properties:

- Now we save our script as SetProfilePath.ps1.
With the script, we can set it to run as a scheduled task or we can just right click and run it whenever we want.
Server Academy Members Only
Sorry, this lesson is only available to Server Academy Full Access members. Become a Full-Access Member now and you’ll get instant access to all of our courses.


