Creating a Virtual Network with VirtualBox
In this lecture, we are going to set up a NAT network with VirtualBox Manager.
A NAT network allows you to connect multiple Virtual Machines together and it still provides them with Internet access using NAT or Network Address Translation. I am not going to explain what a NAT is, but just keep in mind it allows you to connect your VMs together and you can connect to the Internet.
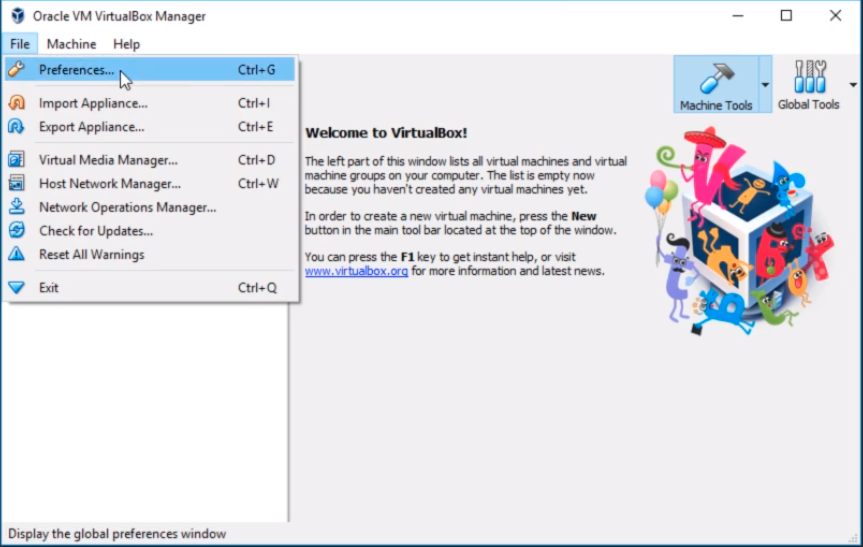
From the Oracle VM VirtualBox Manager click on File and select Preferences...
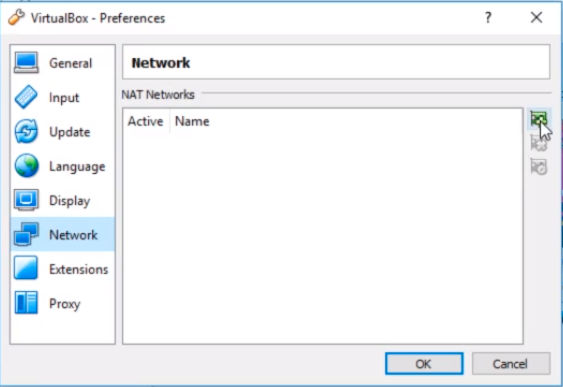
Now, on the VirtualBox Preferences window select Network from the left options and click on the green Plus button to the right side of the window. This allows us to add a new NAT Network.
Now, I can double-click on the NatNetwork entry to customize it.

I can customize it and add a new name, change the CIDR, turn On or Off DHCP, etc.
What I am going to do is change the Network Name field to My IT Lab.
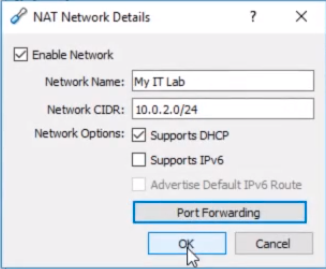
Now, I am not going to change the CIDR because I have seen instances where VirtualBox would give you issues when you do this. You can do it and get it to work, but just keep in mind that if you do change this you can run into issues.
The CIDR is basically the subnet that you are going to use for this NAT Network.
I am going to leave Support DHCP checked for now, but if I want to set up a DHCP Server in my lab I would want to turn this feature Off.
For those of you who don’t know, DHCP is a service that basically assigns IP Addresses to your Virtual Machines automatically versus you having to go and configure them manually. Nine out of ten if you are setting up…
No comments yet. Add the first comment to start the discussion.