
Python is one of the most in demand skills you can add to your resume. It’s used by Wikipedia, Google, Yahoo!, NASA, Spotify, YouTube, Instagram, DropBox and MANY more places you know of and probably visit online. The list really does just go on and on. Python can be used…

3 June, 2021 - 6 min read
Want to improve your IT skillset? Start with a free account and get access to our IT labs!
Table of Contents
Related Courses


Python is one of the most in demand skills you can add to your resume. It’s used by Wikipedia, Google, Yahoo!, NASA, Spotify, YouTube, Instagram, DropBox and MANY more places you know of and probably visit online. The list really does just go on and on.
Python can be used as a scripting language for web applications, games, AI projects and for automating redundant tasks for IT administrators.
In this tutorial you are going to learn how you can download and install Python on Windows 10 (or any Windows OS). Let’s get started!
How to download Python
Download Python from python.org: https://www.python.org/downloads/
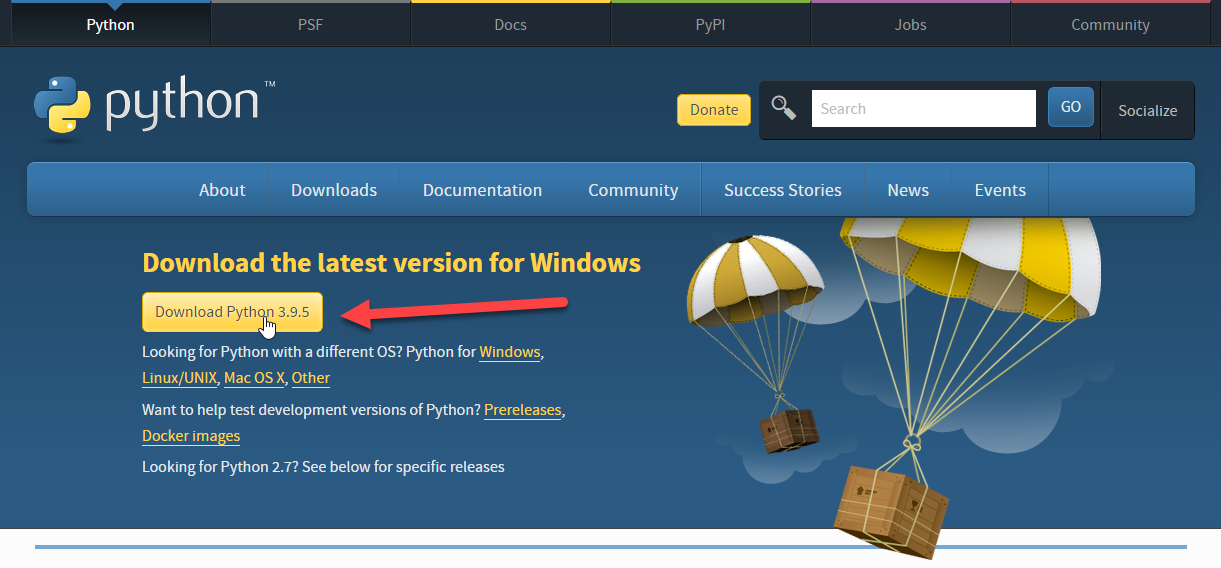
What version should I download?
If you are downloading Python for your own personal development then the latest version will most likely be fine. However – if you are planning to develop code for another server that also runs python you should make sure you install the same version as where the code will be executed.
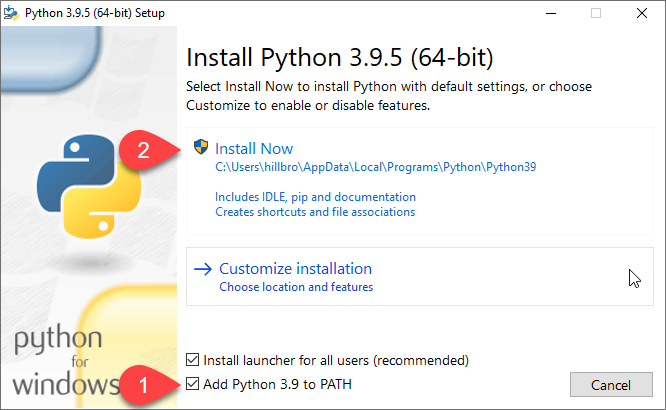
Installing Python on Windows
Launch the installer file. Select Add Python 3.9 to PATH which will add python to your PATH environment variables. This will prevent commands like pip from returning errors like “pip is not recognized”.
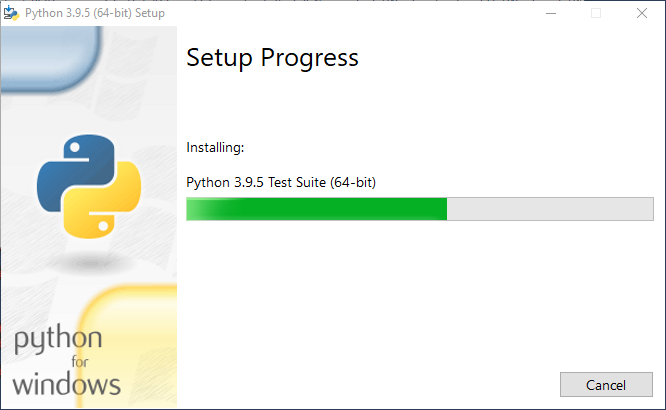
Start the installation
Once you enable the PATH option, click Install Now and wait for the installation to complete.
Disable the Windows path length limit
The default limit for Windows paths is 260 characters. Selecting the Disable path length limit allows this limitation to be expanded to roughly 32,000 characters. This will require administrative privileges. I would recommend going ahead and enabling this if you can but if not then you will probably be fine.
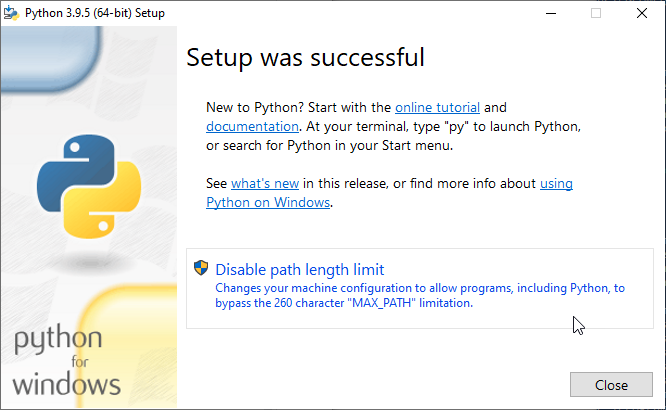
Next click Close to finish the installation.
Downloading and installing Visual Studio Code
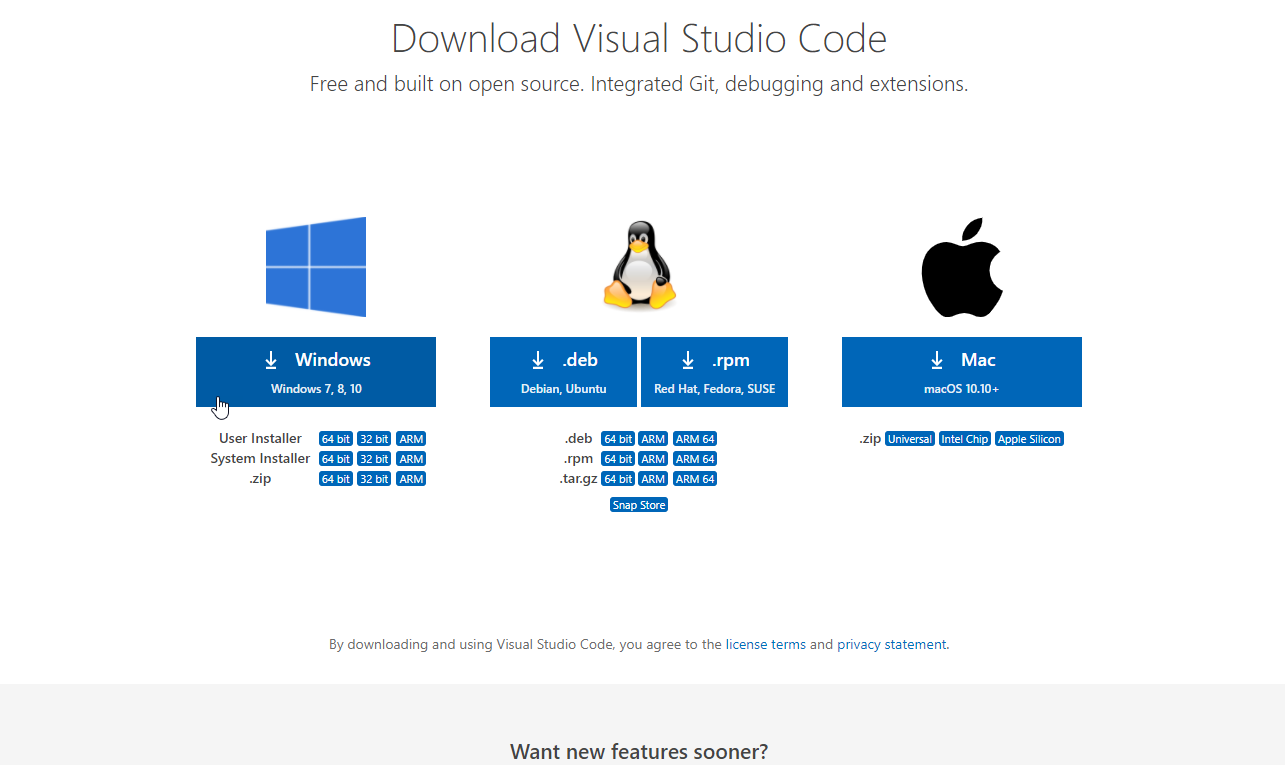
Go to https://code.visualstudio.com/download and click the download button.
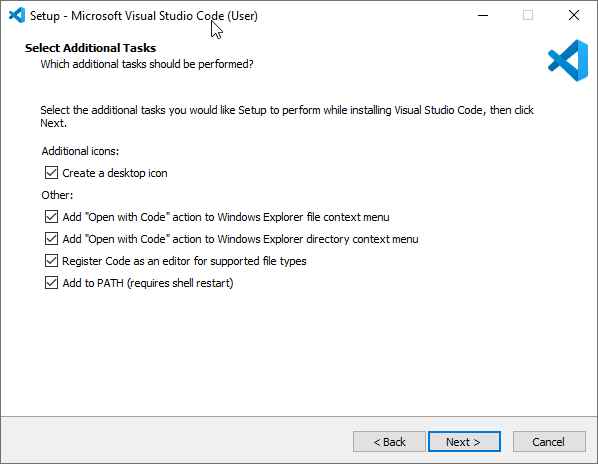
Launch the installer
Accept the license agreement and choose your additional tasks. I prefer to select all of them as they make life easier.
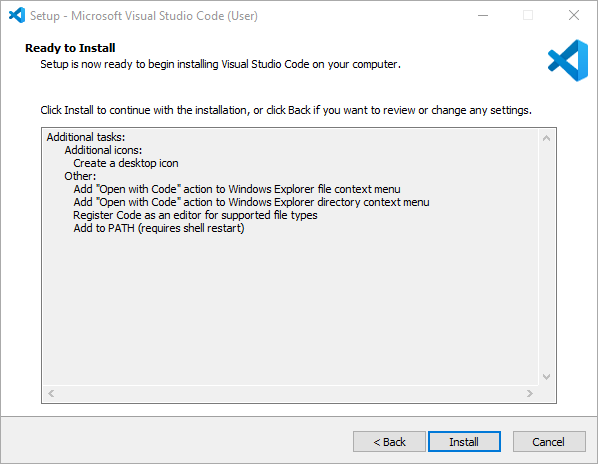
On the next screen select the install button.
Once the installation is complete we can click Finish to launch VSCode:
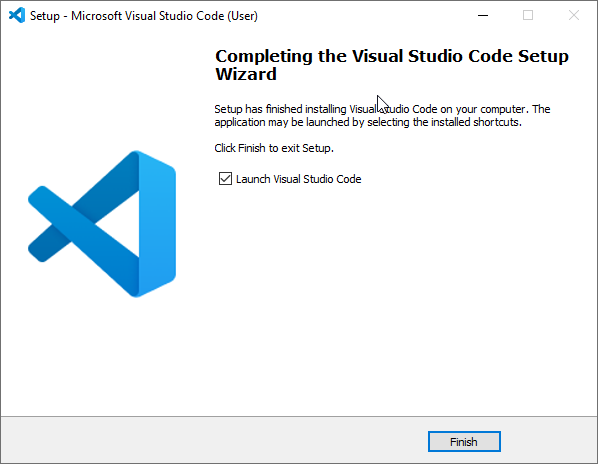
Now the installation is complete.
Install the Python Extension
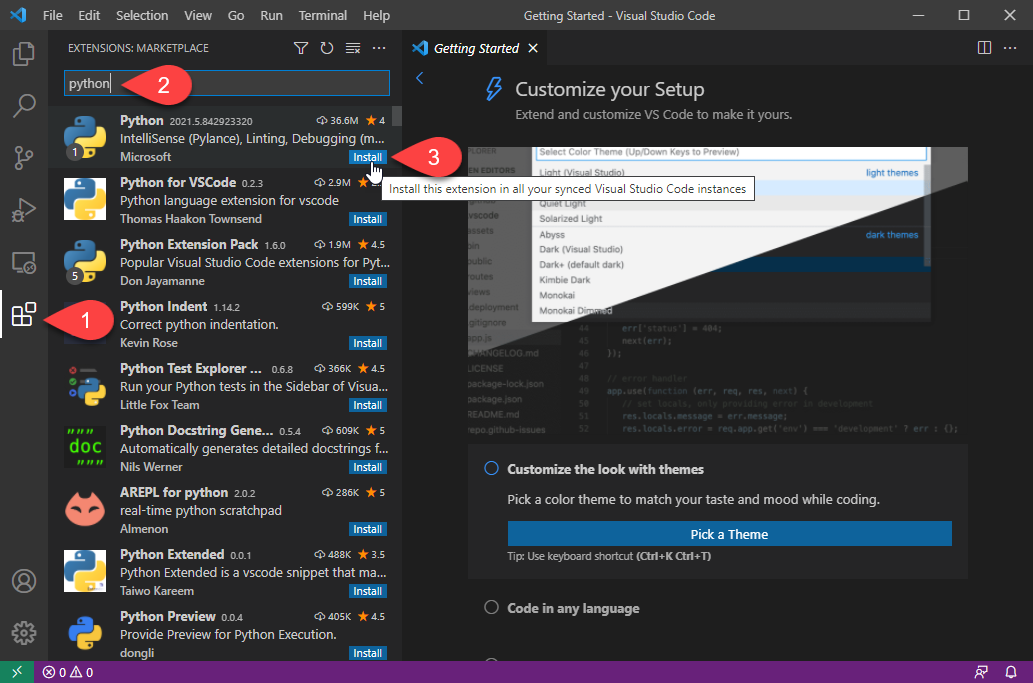
Open Visual Studio Code and click the Extensions tab on the left or press Ctrl+Shift+X. Next search for Python. Click the blue Install button next to the Python extensions:
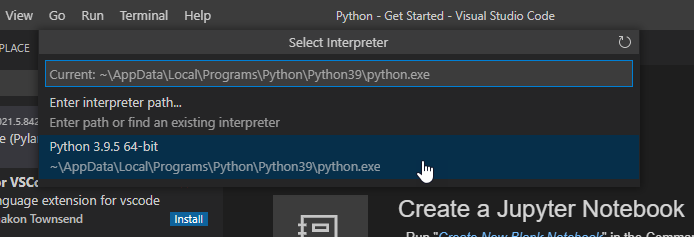
Press F1 and enter “Python: Select Interpreter”, then press enter on the search result:

Visual studio code may already be able to locate your Python installation. If it does – select it now:
If Visual Studio Code does not show your python installation, you may need to specify the interpreter path (the path to python.exe) manually. Mine was located at the following path:
C:\Users\%username%\AppData\Local\Programs\Python\Python39\python.exe
Test Python configuration
Now let’s create a new file in VS Code and test our Python installation. Press Ctrl+N:
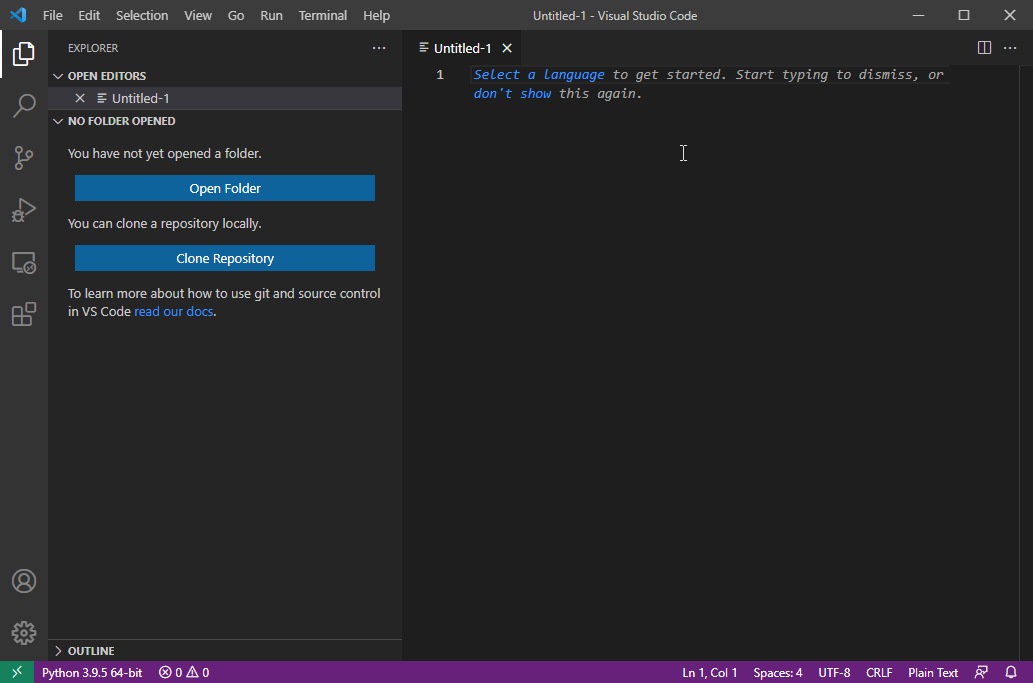
From here we can select the Python language:

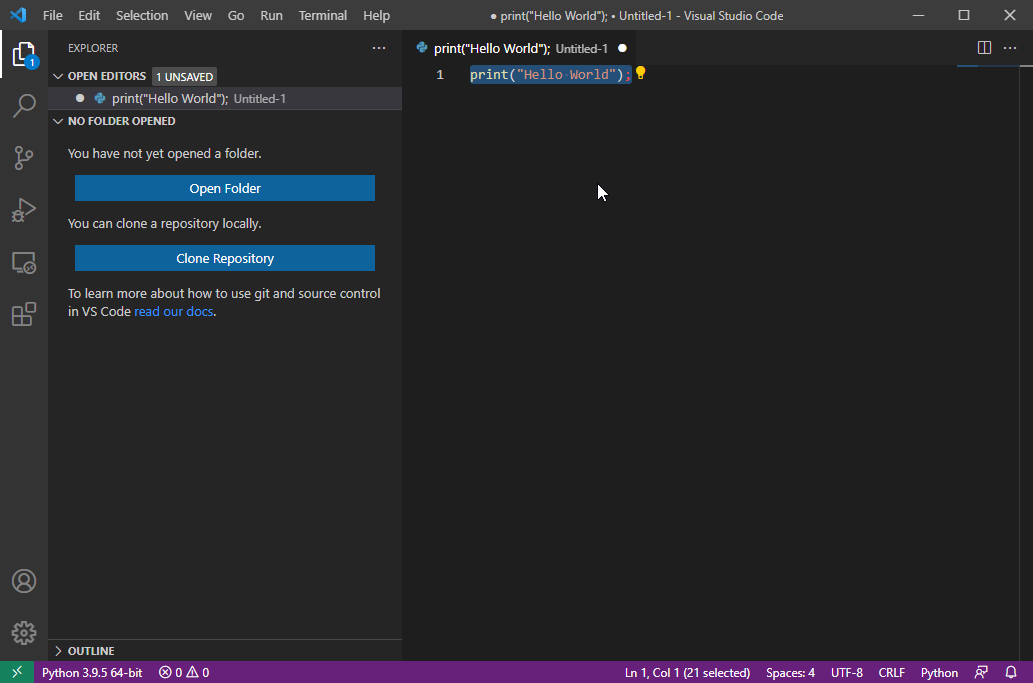
Enter the following line:
print(“Hello Server Academy”)
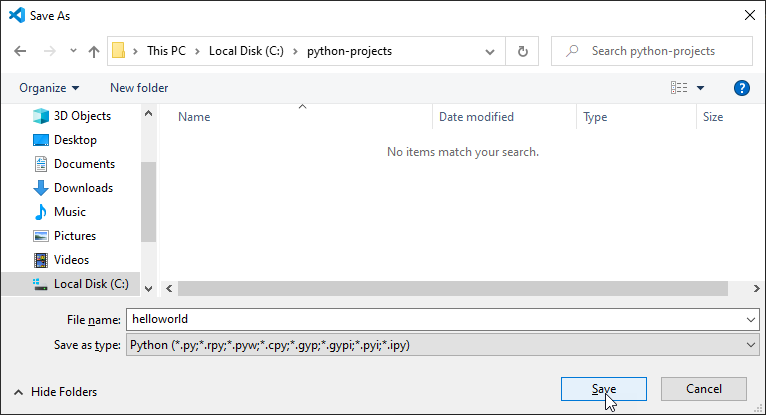
Now let’s save the current file by pressing Ctrl+S and saving it somewhere on your computer. I am going to save it on the C drive under a folder named “python-projects”:
Now press F5 and select Python File to execute the currently opened file:
Now at the bottom of VS Code you should see a console with the output of our command:
Output:
Hello Server Academy
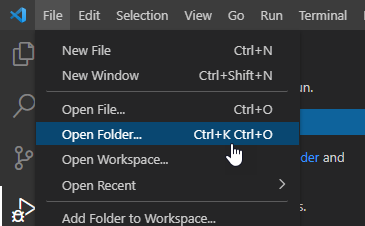
Now let’s open the folder we just created so we can store a debug config. Click File > Open Folder:
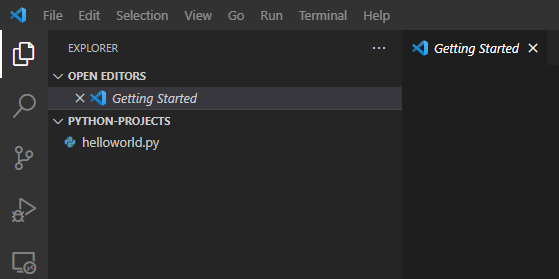
Now browse to the c:\python-projects folder and click open. Now you should see the helloworld.py file located in the explorer on the left:
Open the helloworld.py file – this is important for the next step when we create a launch.json file. This will allow us to configure some convenient options for running and debugging our Python code.
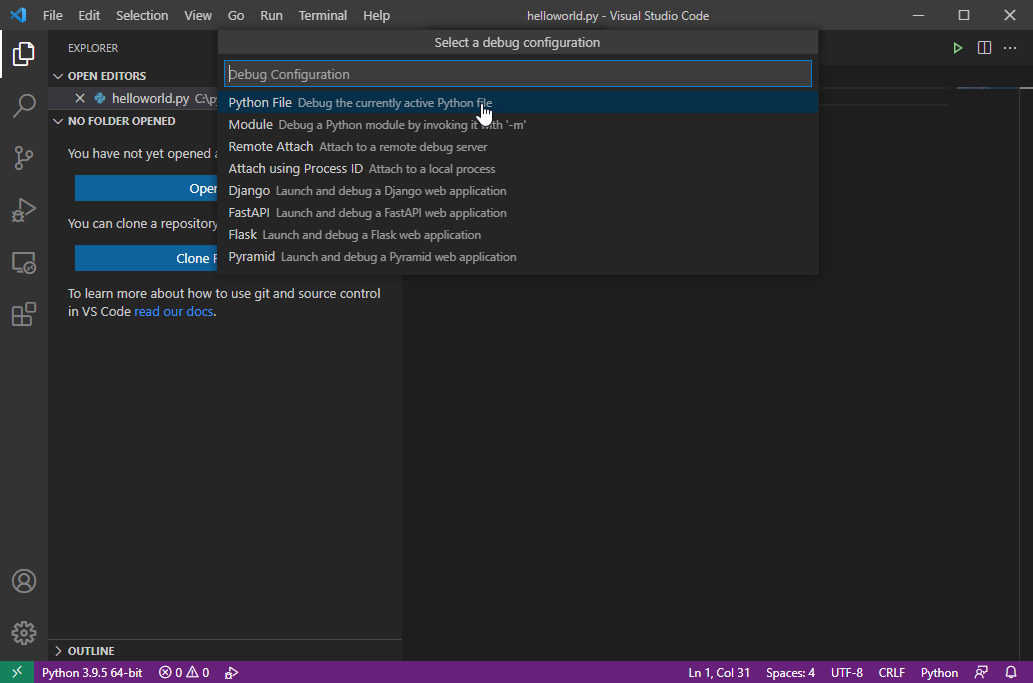
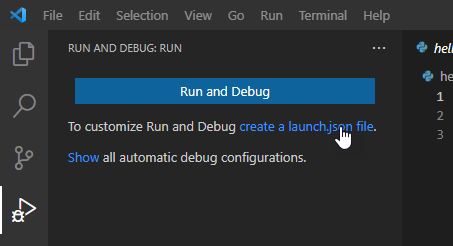
After you opened helloworld.py, press Ctrl+Shift+D to open the debug menu, then select create a launch.json file.
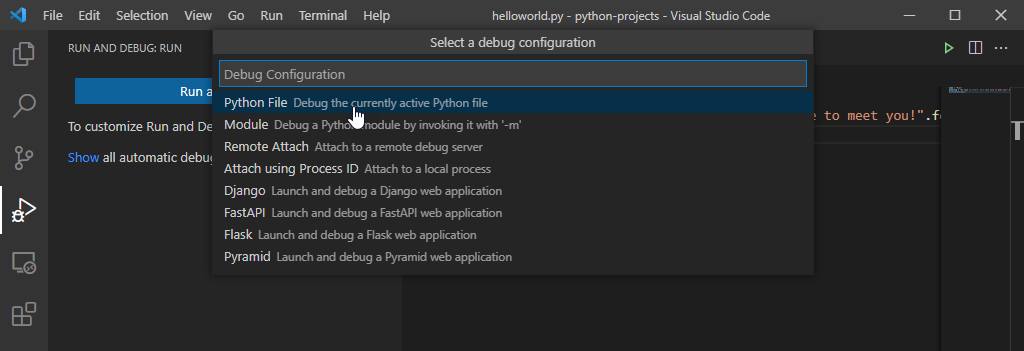
Next click Python File:
This will generate a JSON file that shows the default settings we just selected:
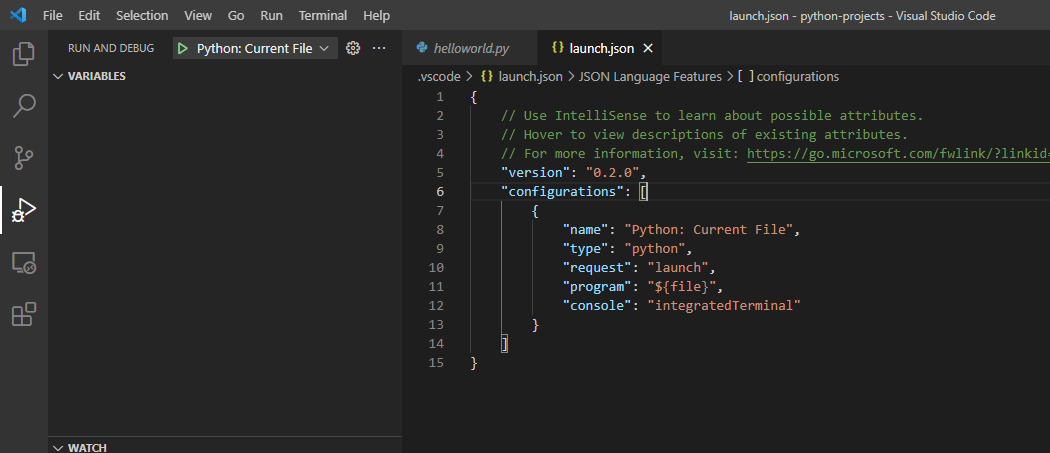
Now if we go back to our helloworld.py and press F5 it will debug our code immediately. Keep in mind that every time we open VS Code we should also open this folder so the json settings file will also be loaded. Finally, if desired we can also open an interactive Python terminal by simply typing python or pi in the terminal at the bottom of VS Code:
PS C:\python-projects> python
Python 3.9.5 (tags/v3.9.5:0a7dcbd, May 3 2021, 17:27:52) [MSC v.1928 64 bit (AMD64)] on win32
Type “help”, “copyright”, “credits” or “license” for more information.
>>>
And that’s it! Now our python developer environment is set up and ready to go!