
Registering an AWS Account

Server Academy Members Only
Sorry, this lesson is only available to Server Academy members. Create a free account now to get instant access to this and more free courses. Click the Sign Up Free button below to get access to our free courses now, or sign in if you have an account.
Instructions
Q&A (0)
Notes (0)
Resources (0)
Saving Progress...
Resources
There are no resources for this lesson.
Notes can be saved and accessed anywhere in the course. They also double as bookmarks so you can quickly review important lesson material.
In this lecture, we are going to create an EC2 instance on Amazon Web Services.
So, what I am going to do is to open my preferred web browser and I am going to use the Edge web browser.
Here I am at https://www.google.com. What I am going to do is I am going to Google for AWS EC2 and press Enter.
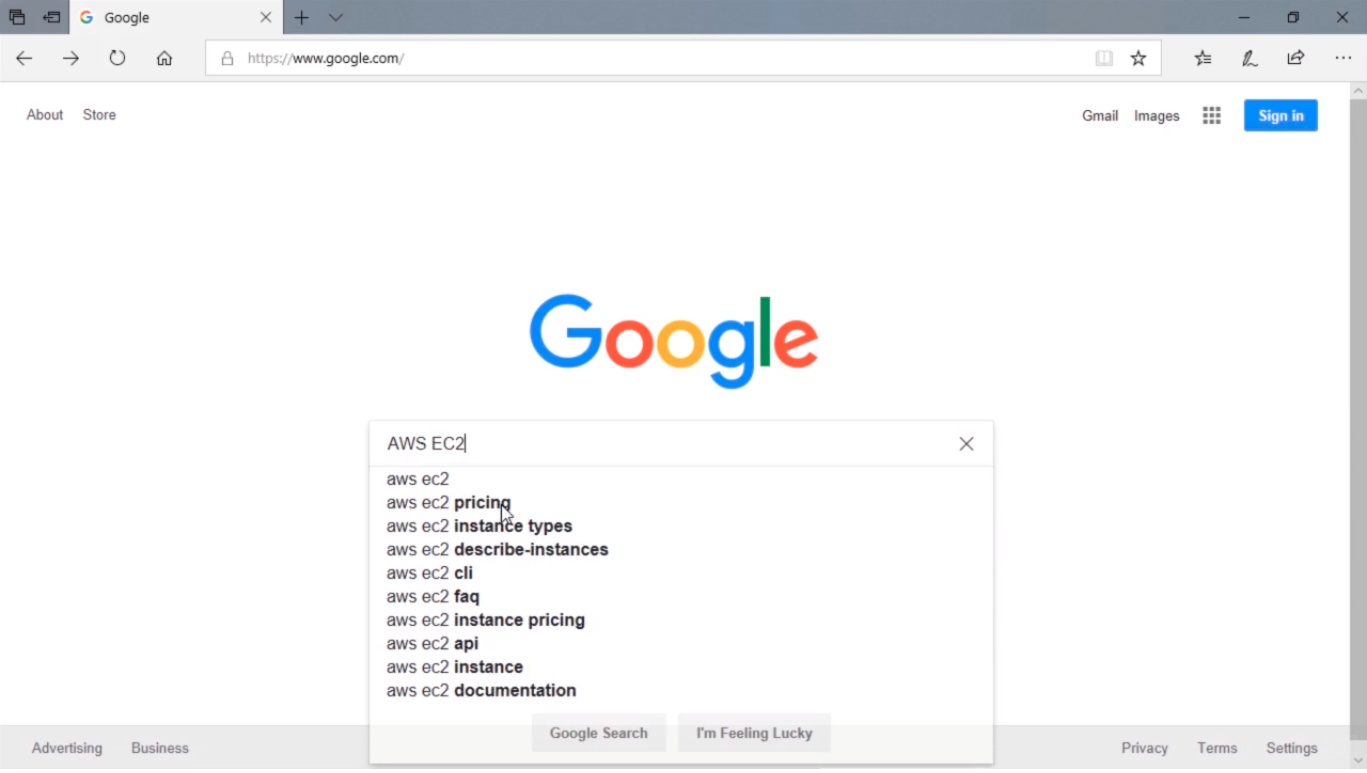
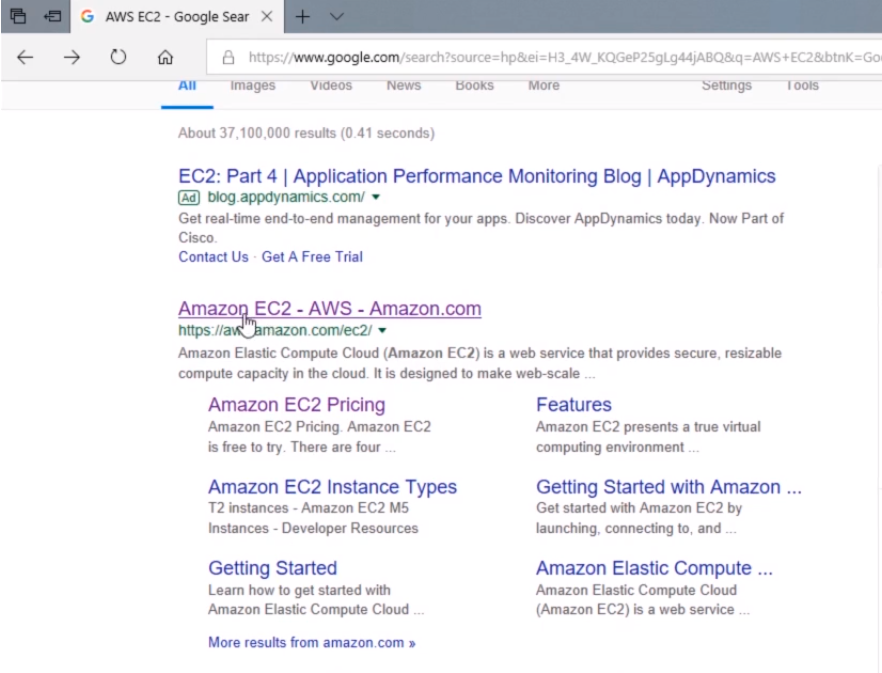
Now, this will bring us to the search results and we can look for a couple of these different pages like Pricing, Features, Getting Started, etc.
I am going to click on the first link that takes me to https://aws.amazon.com/ec2/.
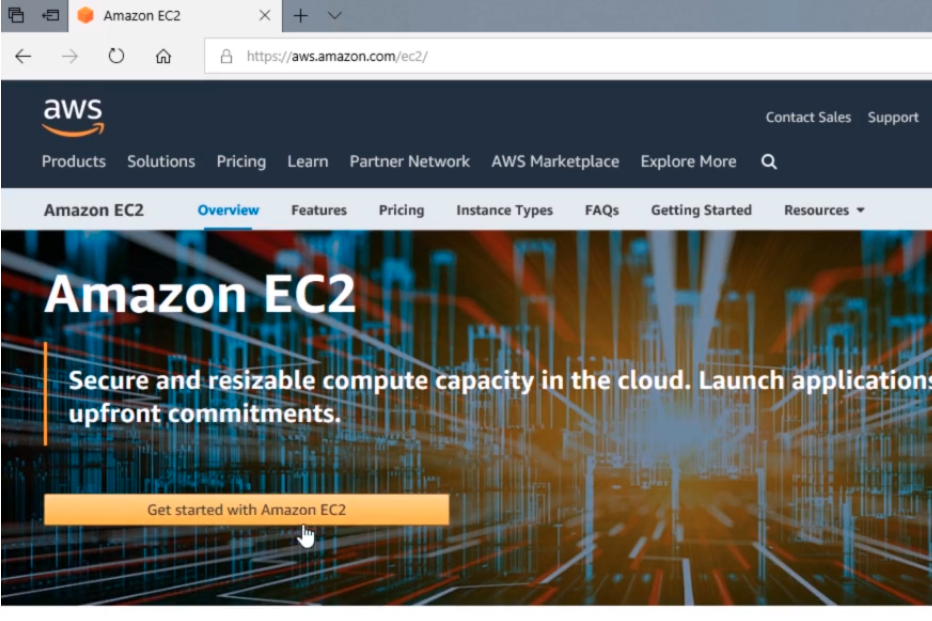
Next, we are going to see this button here on the header banner that says Get Started with Amazon EC2.
Now, keep in mind that this page may change from time to time but the process generally is going to be the same just google Amazon EC2 and it will take you to the page where you have to click the button to get started or register.
So what I am going to do is click this button.
And, from the next page, I am going to create a New AWS Account because I do not have one already.
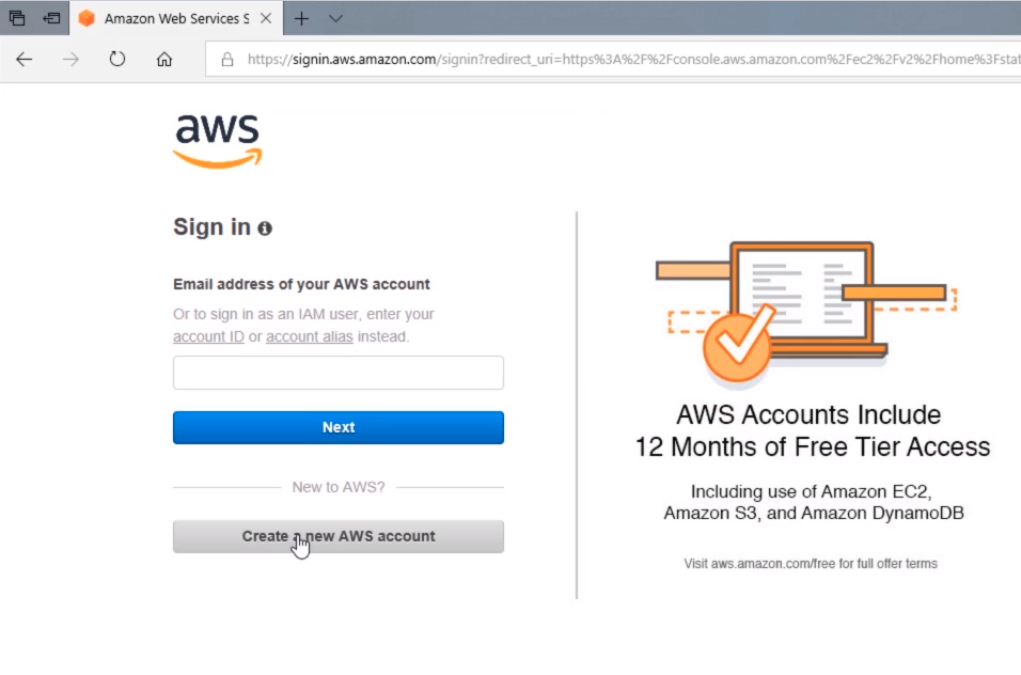
So now I am going to type my email which is going to be paul@instructorpaul.com. For the password, I am going to create a password really quick and I am going to confirm the password. And, I am going to create an AWS account name which, if we highlight the informational icon, is just an alias for our account. We can change it later in our account settings. I will call it InstructorPaul and I am going to click Continue.

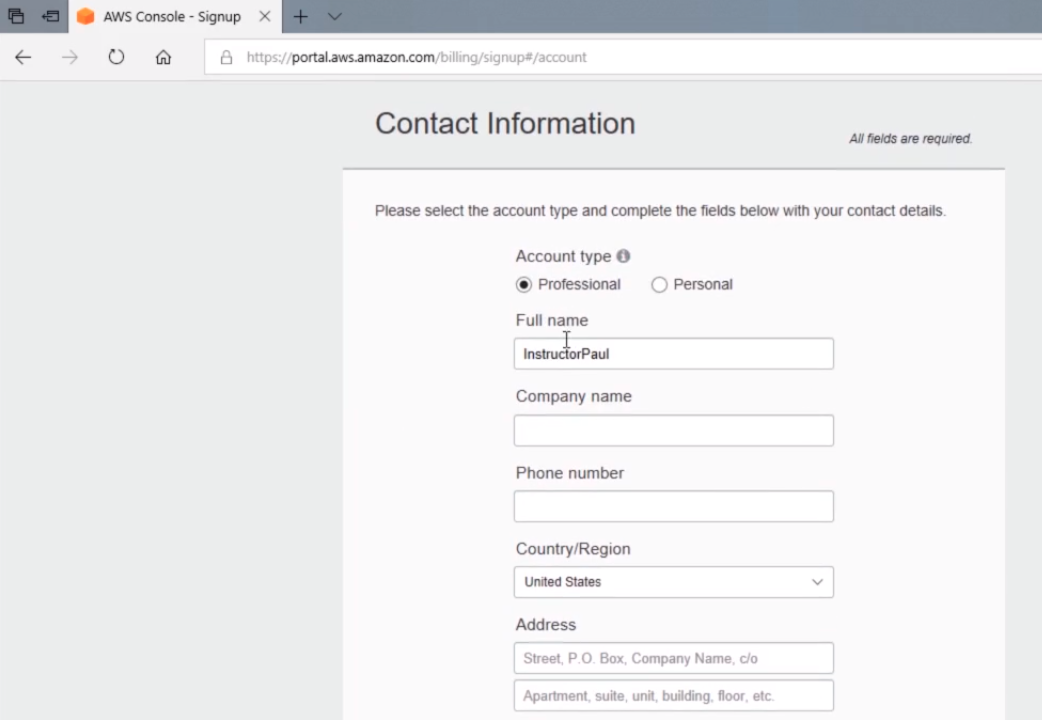
Now it is asking us for more information so what you want to do is go ahead and input this information.
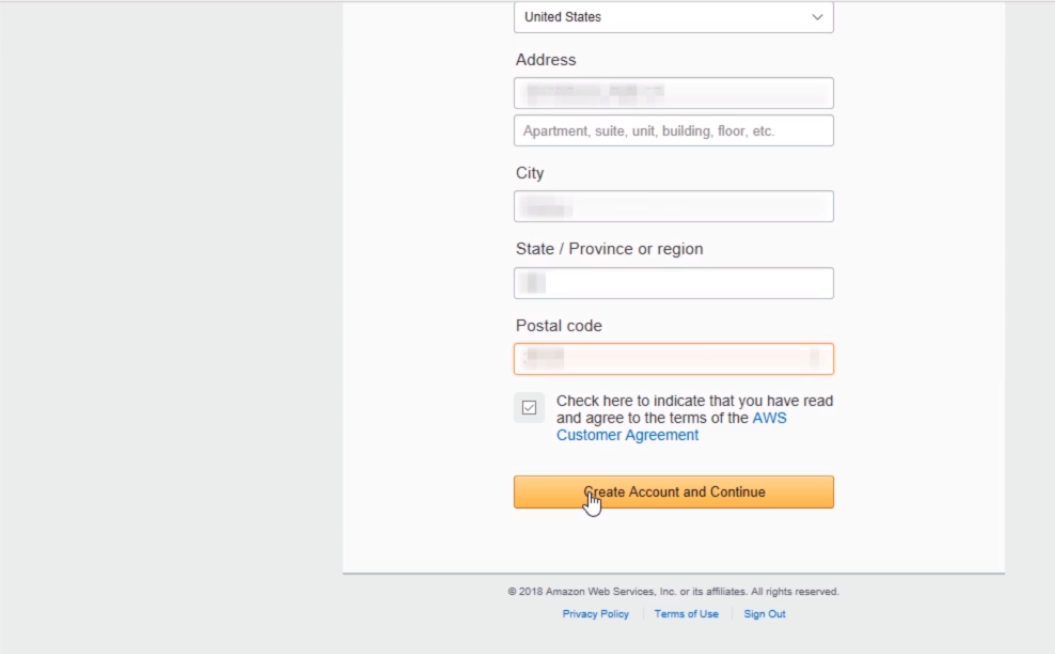
You can choose either a Professional or Personal, I am going to choose Personal and that’s probably what you will be doing also. So, I am going to be inputting this information and I am going to blur it from the screen so you don’t see that, and then at the bottom, I am going to click the button to continue.
Now, click at the bottom of the Create Account and Continue button.
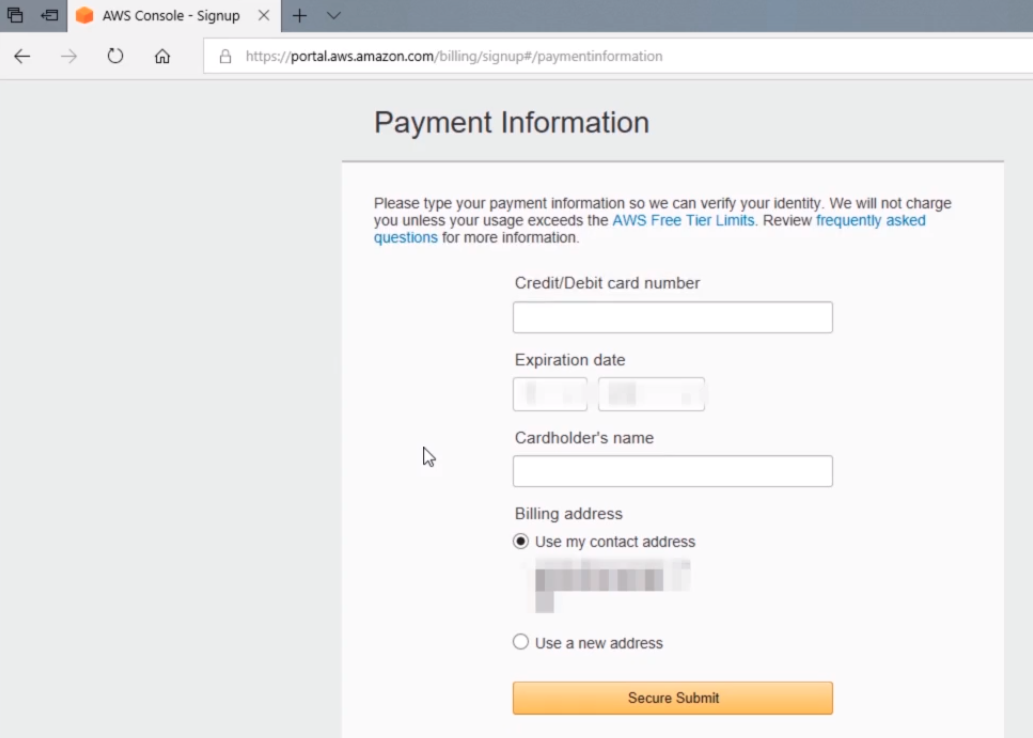
So, at this point, it is going to ask for my credit card information. What I am going to do is put this information in.
One thing you want to keep in mind is that you need to review the AWS Free Tier Limits blue link because they may change after I create this course and I don’t want you guys to be getting charged.
You can review the Free Tier informational page and understand what you want to do. Keep in mind that at this point in time while I am recording this video the EC2 is only free for 12 months.
So, what you want to do is create your lab, if you don’t want to be charged any money at all, like if you just want to get experience setting up your lab in the cloud which I think is a really good thing to do you want to make sure you stay within the 12-month free tier which gives you 750 hours of use per month that will be free.
So what that means is you can have one Virtual Machine for the entire month. If you are running two VMs then you can only have each VM up for half of the month. So 750 hours for all month across all virtual machines.
Server Academy Members Only
Want to access this lesson? Just sign up for a free Server Academy account and you'll be on your way. Already have an account? Click the Sign Up Free button to get started..


