Configuring Network Access
Exercise - Configure Network Access
In this lesson, you will configure network access to the virtual machine (VM) you created earlier. Specifically, you will allow inbound HTTP access on port 80 to your web server.
Task 1: Log in and Access the CLI
To get started, you need to log in to the Azure Portal and access the Cloud Shell.
Log in to Azure Portal
- Open your web browser and go to the Azure Portal.
- Sign in with your Azure account credentials.
Access the Cloud Shell
- Once logged in, click on the Cloud Shell icon in the top-right menu bar (it looks like a command prompt).
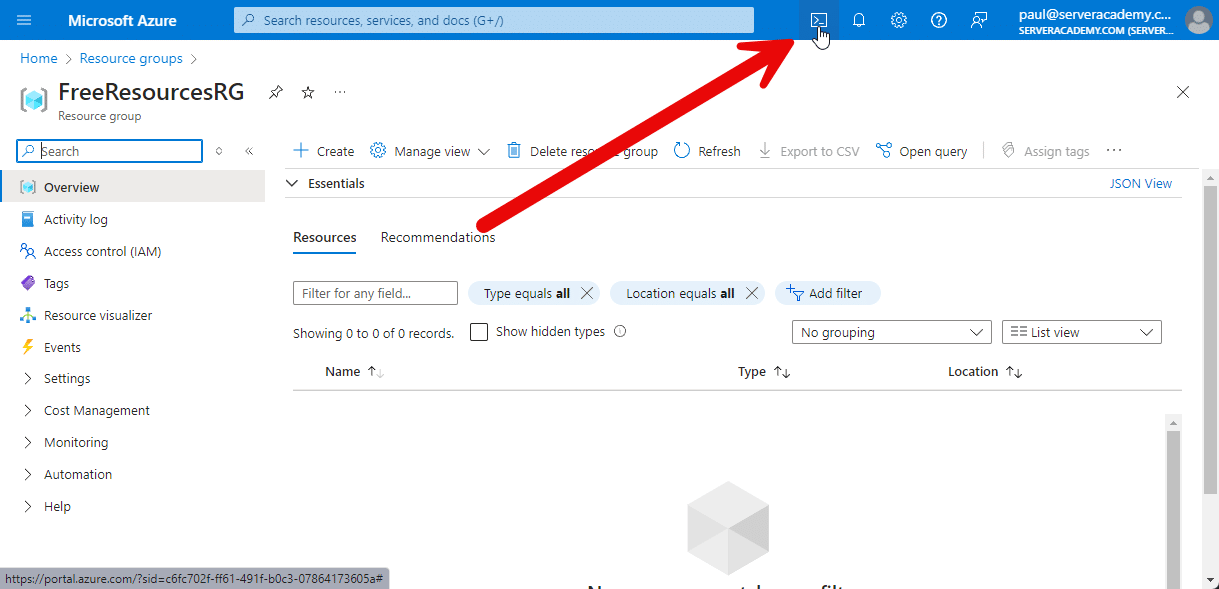
- Select Bash as your preferred shell environment.
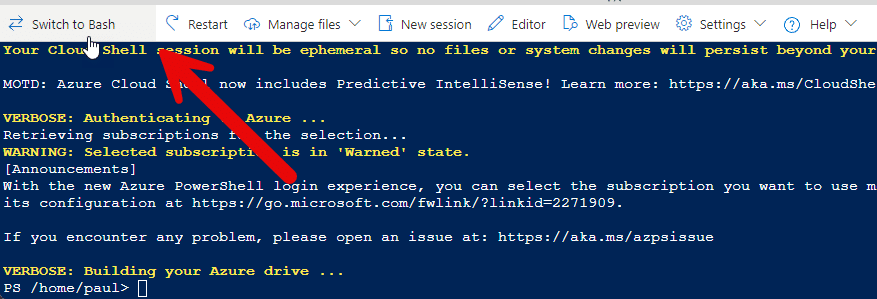
Now, you have access to the Azure CLI through the Cloud Shell.
Task 2: Verify or Create the Virtual Machine
You created a VM in the lesson titled "Create an Azure Virtual Machine via CLI." If that VM still exists, use it. If not, you will need to create a new VM.
Check if the VM Exists
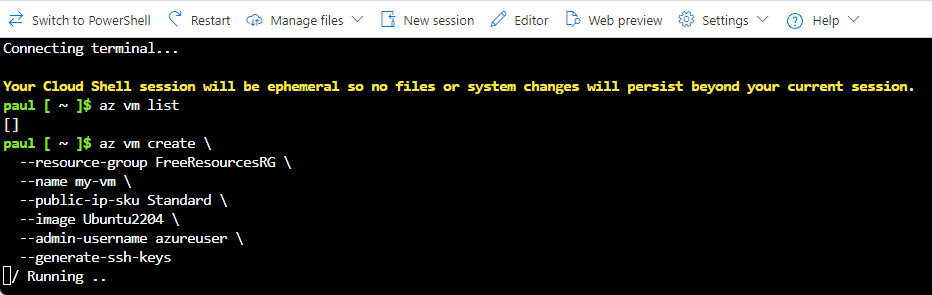
First, run the following command to see if any VMs are running:
az vm list
If you see your VM listed, you can skip to the next task. If the VM is not listed, recreate it using the commands below.
Create the VM (if needed)
If the VM is not running, create it with the following command:
 Azure Bash Shell Creat…
No comments yet. Add the first comment to start the discussion.