
Instructions
Q&A (0)
Notes (0)
Resources (0)
Saving Progress...
Resources
There are no resources for this lesson.
Notes can be saved and accessed anywhere in the course. They also double as bookmarks so you can quickly review important lesson material.
What skills will I learn in this course?
- Describe the DHCP service and it's usefulness
- Describe IP Addresses
- Install the DHCP Server Role
- Configure DHCP scopes, reservations and exclusions
Before you can understand and administer DHCP I have to make sure you understand at a basic level what an IP Address is.
So, in this lecture, you are going to be getting a high-level overview of what an IP Address is and how it is used to transmit data across a network.
An IP Address is very similar to a business address, you think of it in that form where you have a couple of different groups of elements, you combine them together, and you have a complete business address. For our case, we are combining a group of octets and we have an IP Address.
So, right here we have a street address, city, state, zip code. Those are all combined to make a business address.
Over here in the middle, we have our different octets which are combined together, and these form an IP Address. So, an IP Address is made up of four octets, octet 1, octet 2, octet 3, and octet 4, and these octets are joined with a period or a dot.
So, here at the right is an example of what IP Addresses might look like 192.168.1.1, or 10.0.0.0.
Each one of these octets is a number from 0 to 255, so as long as you specify any number from 0 to 255 you are going to have an IP Address that is valid.

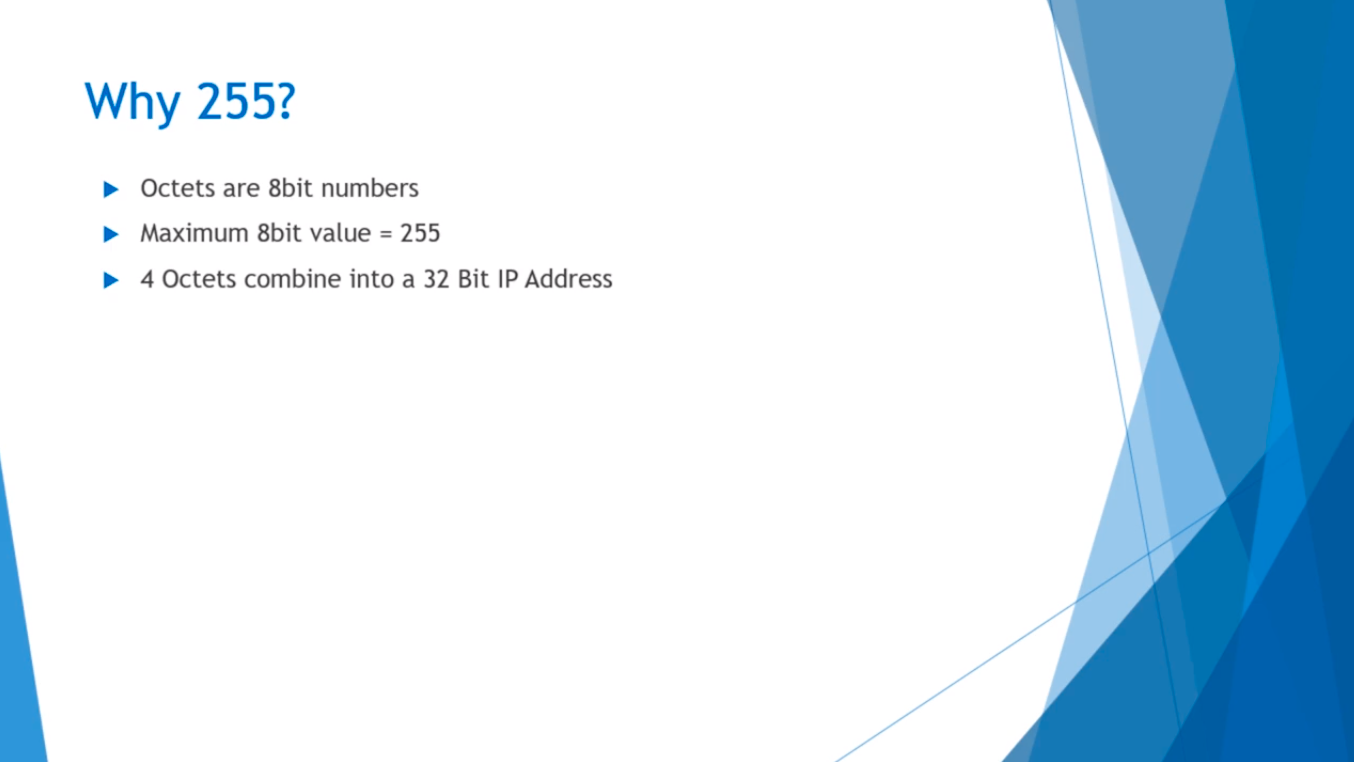
So, you might be wondering, why 255? Why is that the limit?
Well, the reason is that octets are 8-bit numbers, and if you remember your binary, the maximum 8-bit value is 255.
So, these 4 octets that contain 8-bits combine together into a 32-bit IP Address, 4 x 8 = 32, so that’s how you come up with a 32-bit IP Address.
Now, if your brain is exploding and that’s crazy to you, don't worry about it. This is not necessary at all, but if you are interested in networking, like if you want to get your CCNA or any kind of networking cert. even Network+ you are going to have to understand different concepts like these, this is just a taste of how networking is, and how it works.
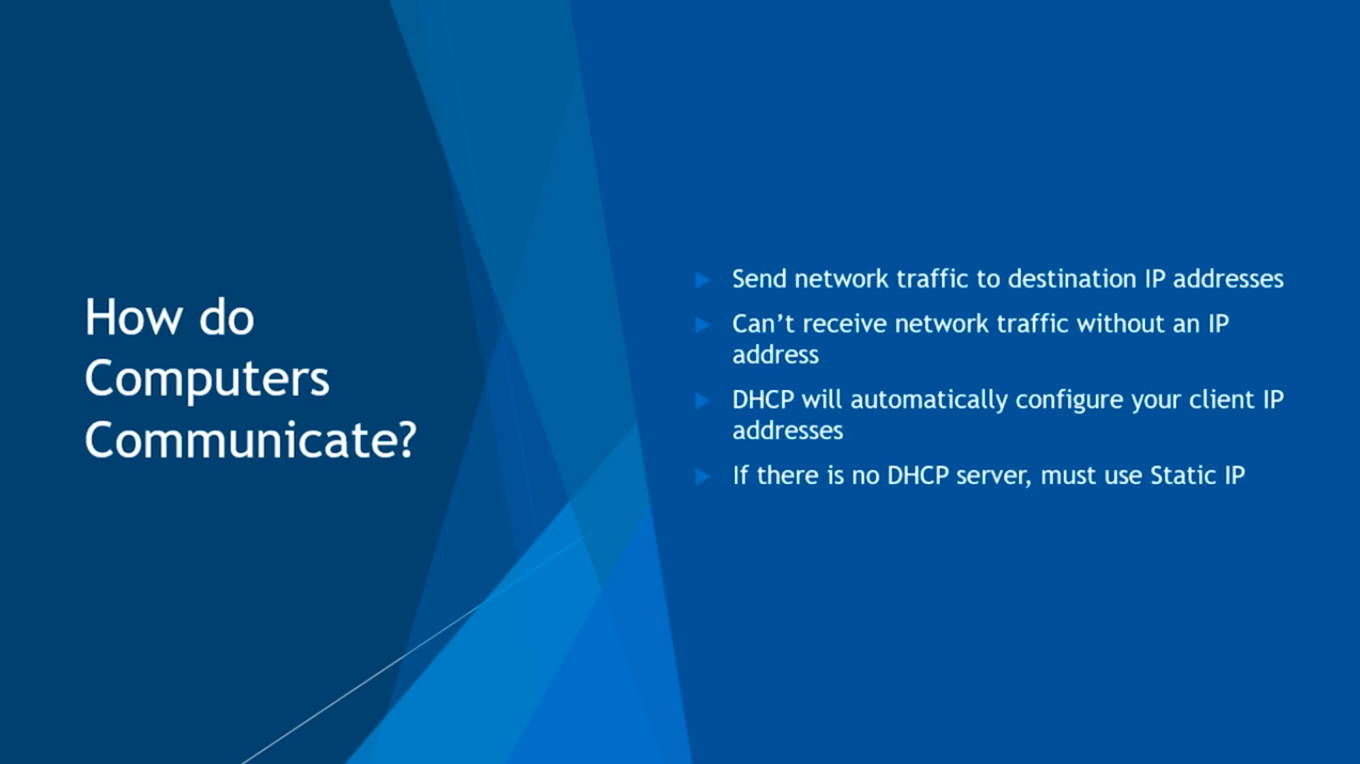
So, how do computers actually communicate?
Well, when my computer wants to communicate with another computer on the network it will create a packet, and it will specify the destination IP Address, and it also specify other things like the data that is going to actually transfer the source IP Address and is going to send that off to the destination computer.
You can’t receive network traffic without any kind of IP Address. If none of the computers have an IP Address we wouldn’t be able to send traffic back and forth. Just like an IP Address is similar to a business address like when you send mail to a business address, computers send packets to IP Addresses.
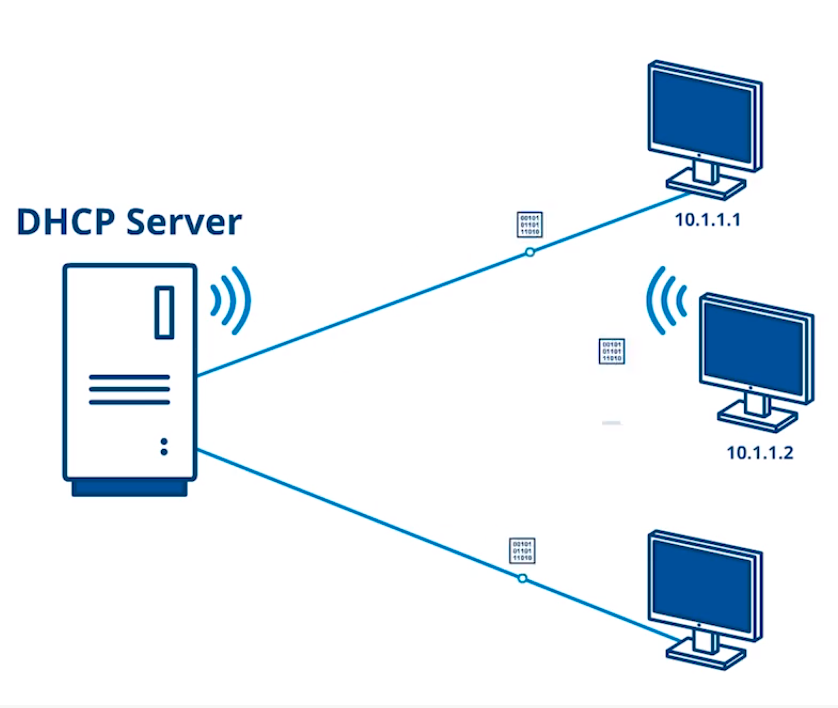
So, DHCP will automatically configure your client IP Addresses.

That’s why most of the time you never have to configure a static IP Address, or your IP Address, in general, you never have to mess with it in your home networks because your home router acts as your DHCP server.
Now, if there’s no DHCP server you must use a static IP Address, and in the IT world, I promise you will run into these scenarios where you’ll just have a switch and a couple of computers and you’ll have to configure the IP Addresses of your hosts, you might not have a DHCP server.
So, in this lecture, I want to show you guys how to configure a Static IP Address.
Now, I am here at my Windows 10 Virtual Machine.
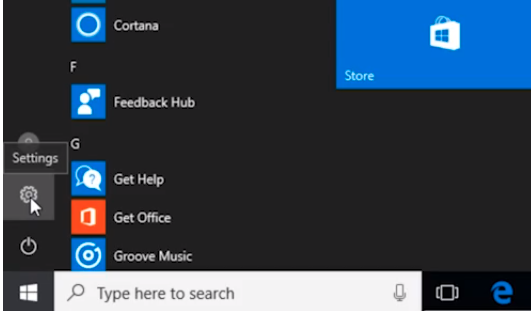
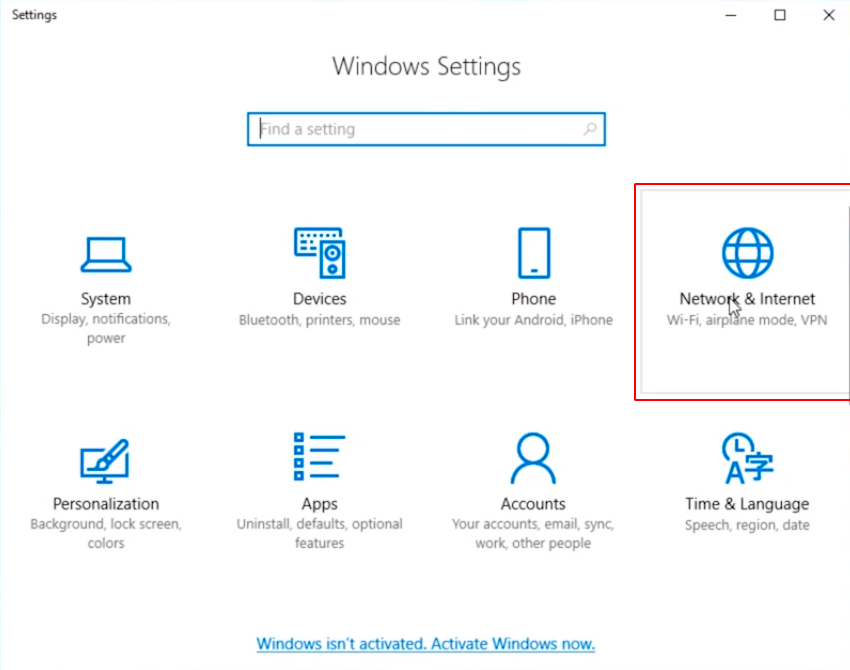
What I am going to do is click the Start button here at the bottom-left corner, and I am going to click on Settings.
Next, I am going to go to Network & Internet.
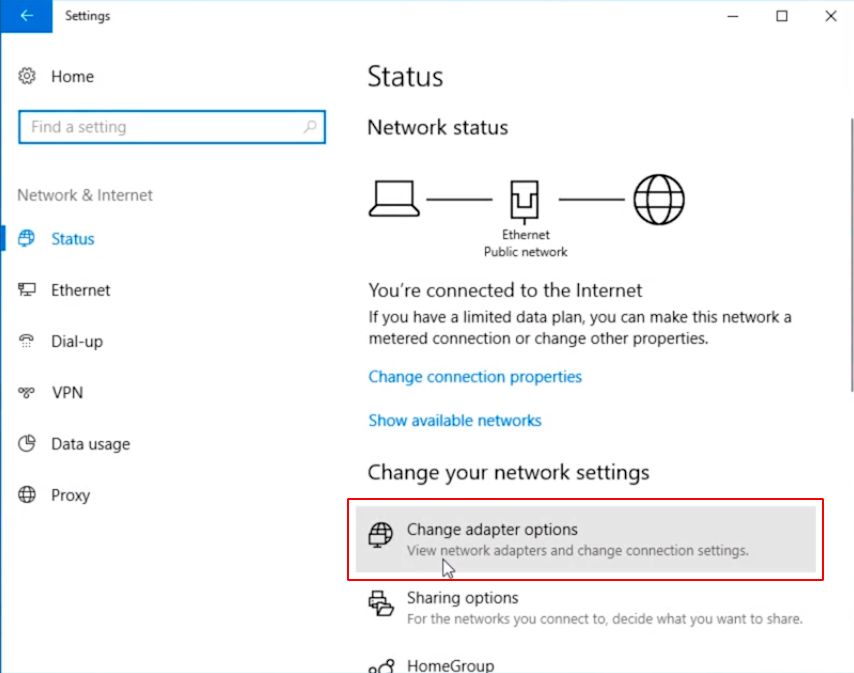
And, I am going to choose Change Adapter Options.
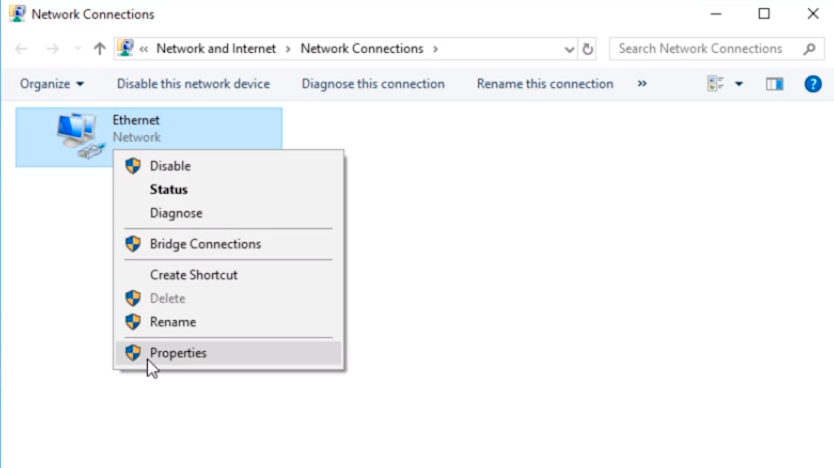
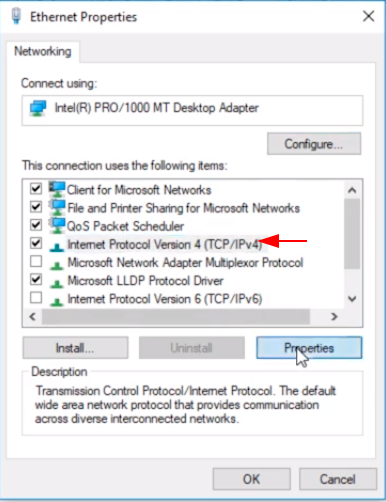
So, this will bring up all of our network adapters, and I am going to click on Ethernet and choose Properties.
Next, I generally turn off IPv6 because the vast majority of the IT world uses IPv4, that’s what I expect you to be working with the most. So, instead of the IP Addresses being a 32-bit number IPv6 uses a 128-bit number, so it's a whole lot more combinations that can be used, but we are not going to get into all of that right now.
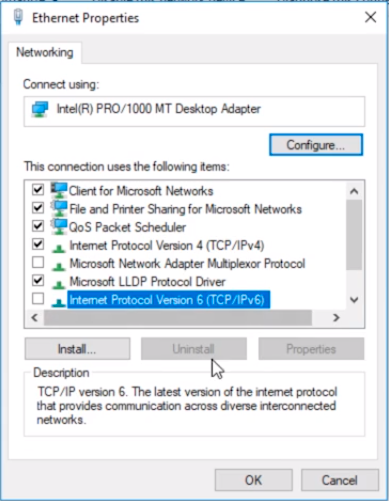
So, I am going to choose IPv4, and click Properties.
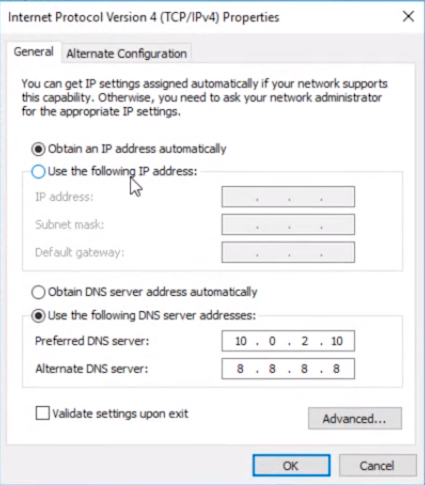
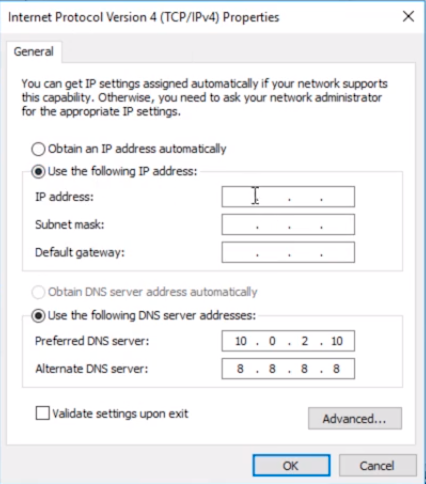
And, here I can say Obtain an IP address automatically, and this means hey, I want to use DHCP but if there’s no DHCP server available I will click Use the following IP address settings, and I will specify that address.
Now, you need to know the basic information of your network before you can do this. You need to know your IP Address, your Subnet Mask, and your Default Gateway.
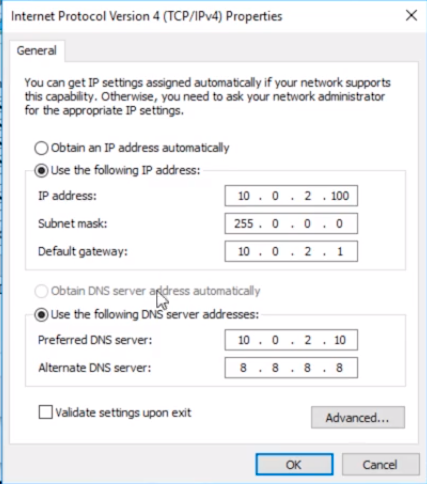
So, the IP Address will be whatever network you decide to put in it. If it’s the 10 subnet like in this case 10.0.2, that is my network subnet, and then I can specify for the last octet whatever address I want as long as it’s not already in use. We are not going to use .0, we are not going to use .1, we are not going to use .255 because this is a Broadcast Address, .0 is the Network ID, and generally, .1 could be your network Router, but generally it’s a good case just not to use this IP Address at all, so I am going to use .100 because it falls within the 0 - 255 range but is not on those forbidden IP Addresses.
And, the Default Gateways is going to be our Router which in this case is 10.0.2.1.
So, you might be wondering, how did I get the Subnet Mask? Well, when I type in this IP Address and press the Tab key it will automatically calculate the default Subnet Mask. So, unless you specifically do some custom subnetting then this default option would work just fine.
Now, if I delete this Subnet Mask here, and I type in for the IP Address 192.168.1 network and I press Tab now it will auto-complete or auto-populate the Subnet Mask with the appropriate Subnet Mask which would be 255.255.255.0.
Subnet Masks are basically identifying what bits in the IP Address are the network bits, and which bits are the host bits. So, 0. In the Subnet Mask means the network is not using these bits, these are free for the host to use.
This is a more network-restricted size than the 10.0.2.100 with a Subnet Mask of 255.0.0.0. So this could have more hosts in the network.
Now, these DNS settings are already configured but if you come in for the first time these are going to be blank as well, and I can also get the information from Command Prompt. If I type ipconfig /all I can see what DHCP has specified as my DNS servers.
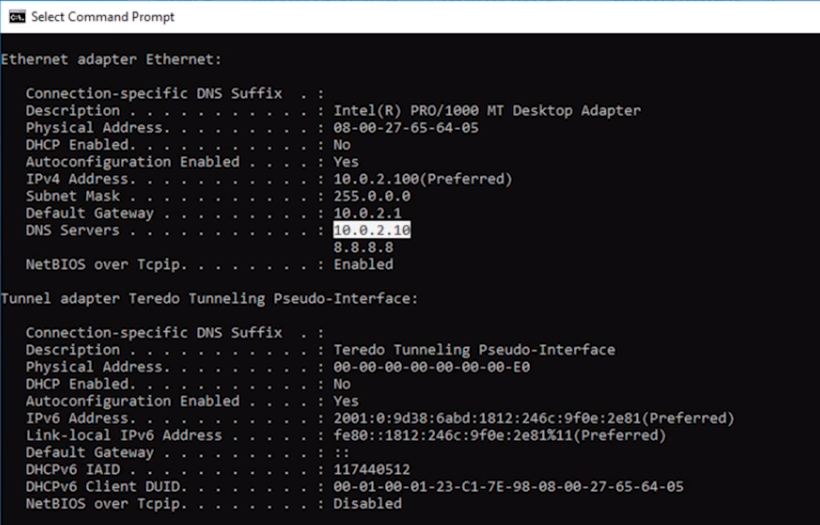
Now, I chose to change that by adding 10.0.2.10, but the reason why I have it configured this way is that this is the IP Address of my Domain Controller.
Now, If you don’t have a Domain Controller you can just set this to the IP Address of your Router which is generally the Default Gateway by the way, so, generally, your preferred DNS server in home networks will be the same as your Default Gateway.
If you are in a production network you don’t have a Router, you don’t have a Domain Controller, and you don’t have a DNS server you are just going to leave it blank. But, when it comes down to it if you are not sure generally you can add it, you can check your Default Gateway to see if that is providing you DNS services.
In my case, it is not and I have a Domain Controller that is running at 10.0.2.10 that is why I have decided to make my preferred DNS server to be that server.
Click OK.
And, OK again.

Again, I am not going to go deep into the networking because that is something this is not about, I just want to show you how to configure a Static IP Address and how you can know these numbers.
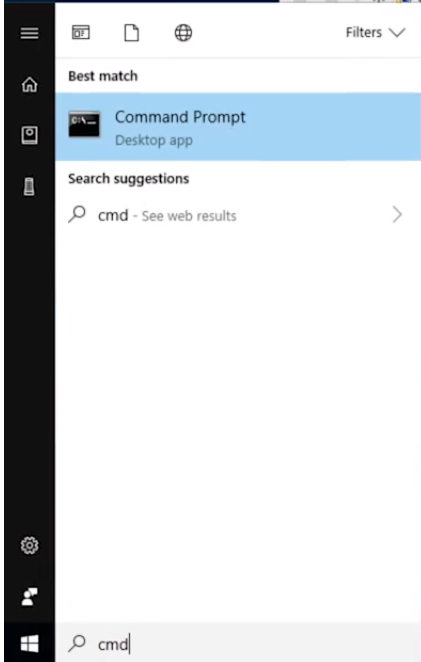
Now, if you do have DHCP on your network you can open Command Prompt by clicking Start and typing cmd, and selecting Command Prompt.
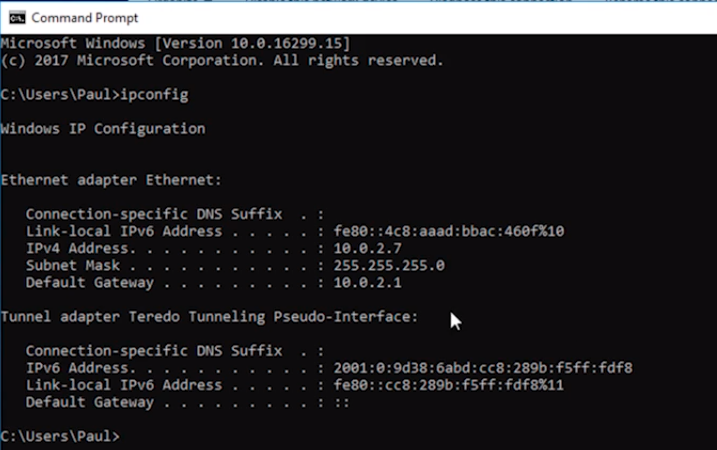
And, you can type ipconfig, and I can see what IP Address and see what IP Address this computer already has.
So, I can see that it is using 10.0.2.7, and this is the automatic IP that was assigned through DHCP.
So, the process of changing an IP Address on Windows Server is almost exactly the same except you will be opening Server Manager, and you’ll be selecting Local Server from the Server Manager tab, and then you will be able to select the network adapter directly from that screen, and it will be exactly the same, you’ll choose IPv4 and click Properties, and etc.
Alright, so, that wraps up this lecture.


