
Configure DHCP Scopes, Exclusions and Lease Durations

Full-Access Members Only
Sorry, this lesson is only available to Server Academy Full-Access members. Become a Full-Access member now and get instant access to this and many more premium courses. Click the button below and get instant access now.
Instructions
Q&A (0)
Notes (0)
Resources (0)
Saving Progress...
Resources
There are no resources for this lesson.
Notes can be saved and accessed anywhere in the course. They also double as bookmarks so you can quickly review important lesson material.
In this lecture, you’re going to learn how to create a DHCP scope. We’ll be completing this lecture from the ITFDC01 server or any server that has a DHCP Server Role installed.
A DHCP Scope is a pool of IP Addresses on a specific subnet that can be leased by the DHCP Server. Each subnet can only contain one scope with a continuous range of IP Addresses. This means you cannot create a scope ranging from 192.168.0.1 through 192.168.0.25 and another scope from 192.168.0.30 through 192.168.0.50. The scope would instead need to be 192.168.0.1 through 192.168.0.50 and you will need to create an exclusion for the IPs ending in 192.168.0.25 through 192.168.0.30.
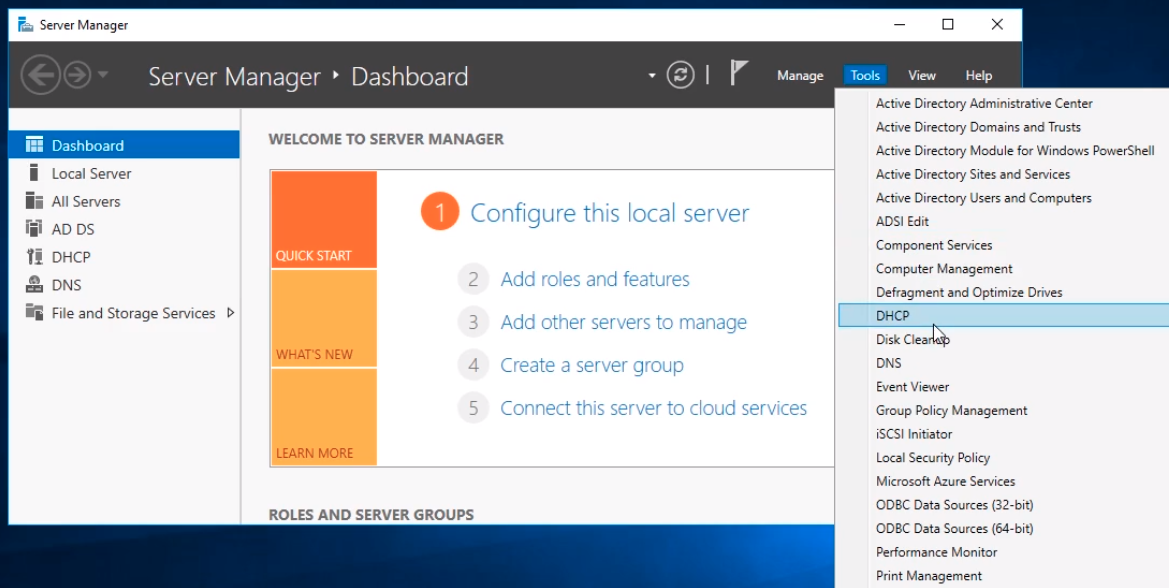
To create a DHCP scope open the DHCP management console by opening Server Manager and selecting Tools > DHCP.
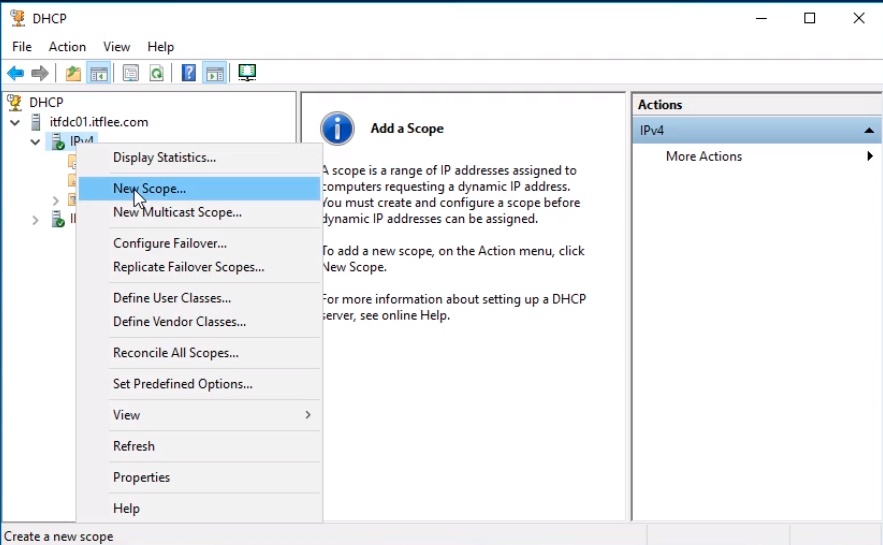
Click on the DHCP server we want to configure, in this case, itfdc01.itflee.com. Next, right-click on IPv4 and select New Scope…
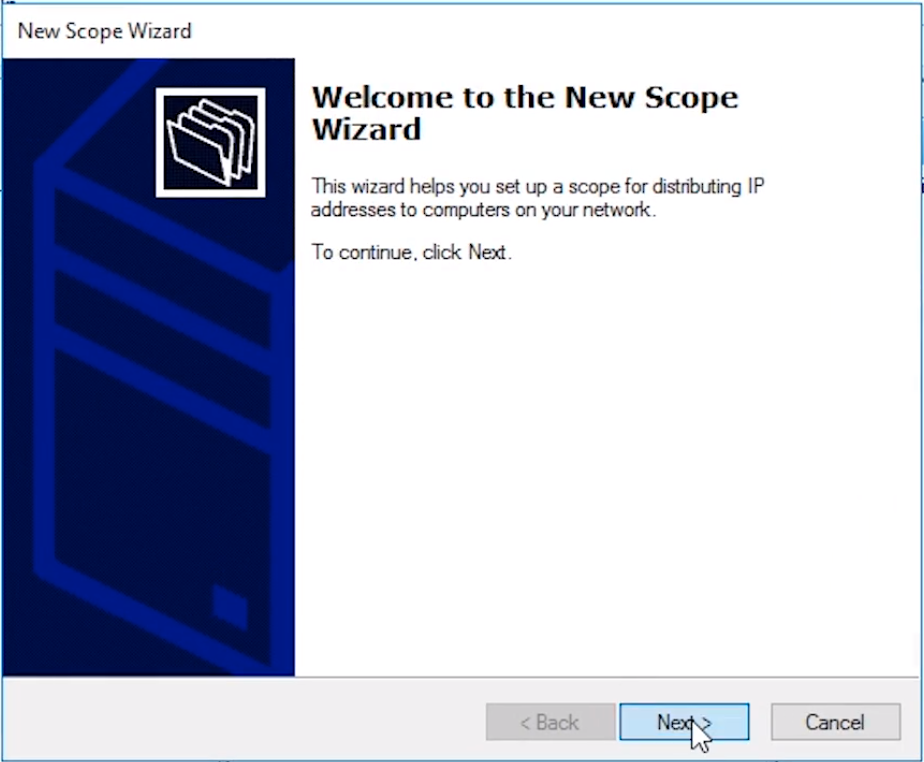
The New Scope Wizard will appear. Click Next to continue.
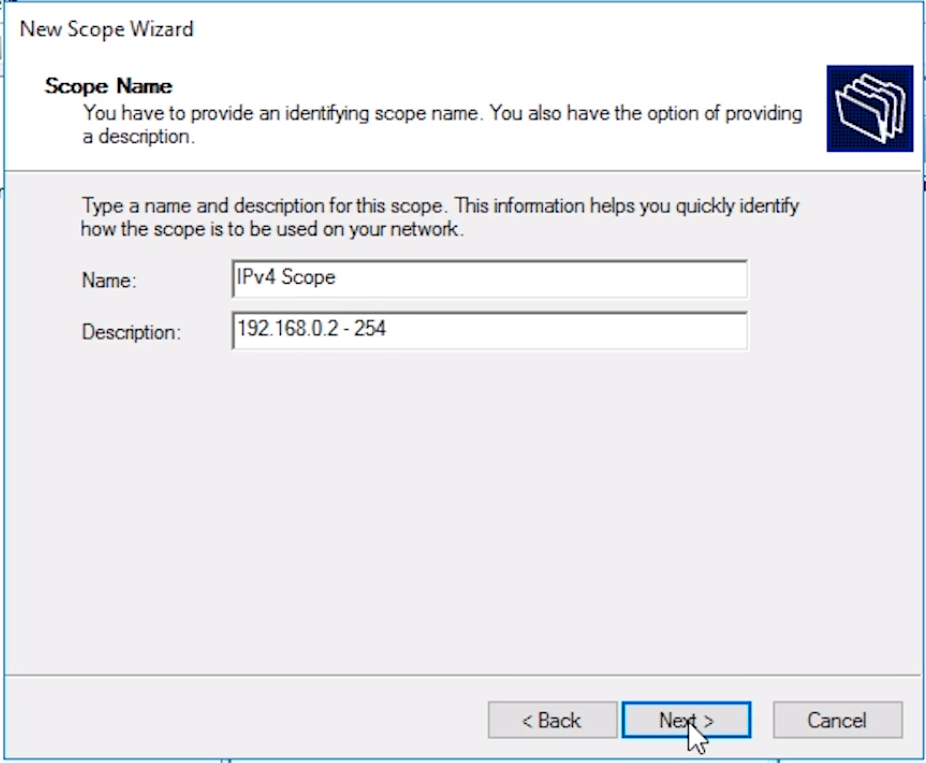
In the New Scope Wizard window specify a scope Name and Description.
For the Name, we will enter IPv4 Scope and for the Description, we will enter the scope we intend to use 192.168.0.2-254.
Click Next and move on to the next screen.
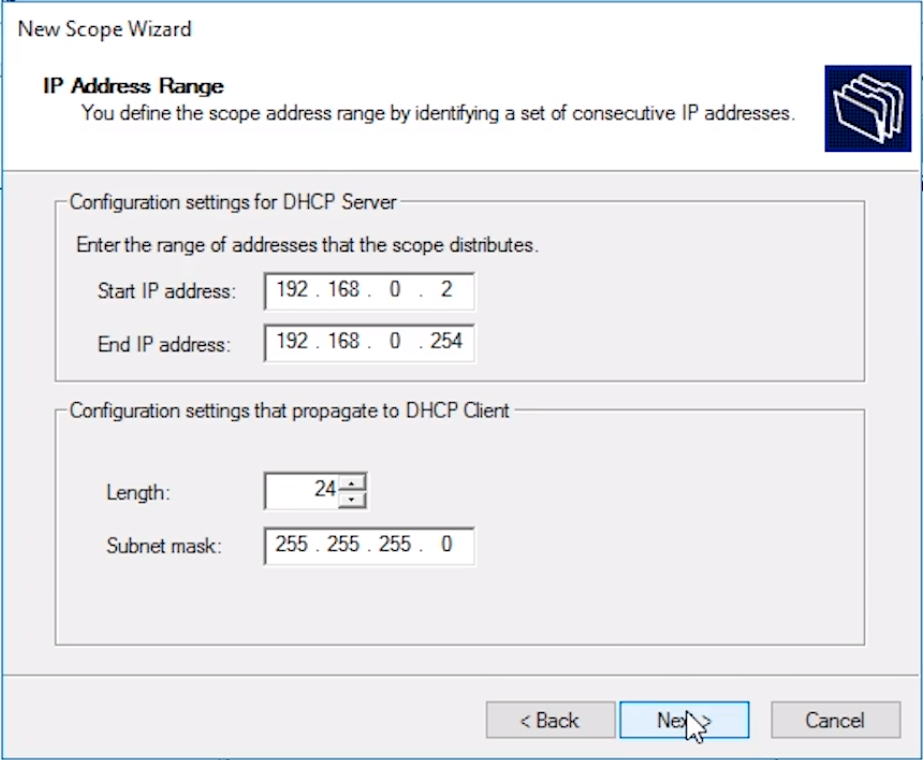
Enter your Start IP address and End IP address in the IP Address Range window.
Again, we will use 192.168.0.2 as my start IP address and 192.168.0.254 as my end IP address. We are starting with 192.168.0.2 because 192.168.0.1 is our Default Gateway and we use 192.168.0.254 because 192.168.0.255 is the network Broadcast Address.
The Length and Subnet mask is automatically calculated based on the IP range we specified for the Scope. We can leave these settings as default.
Click Next to continue.
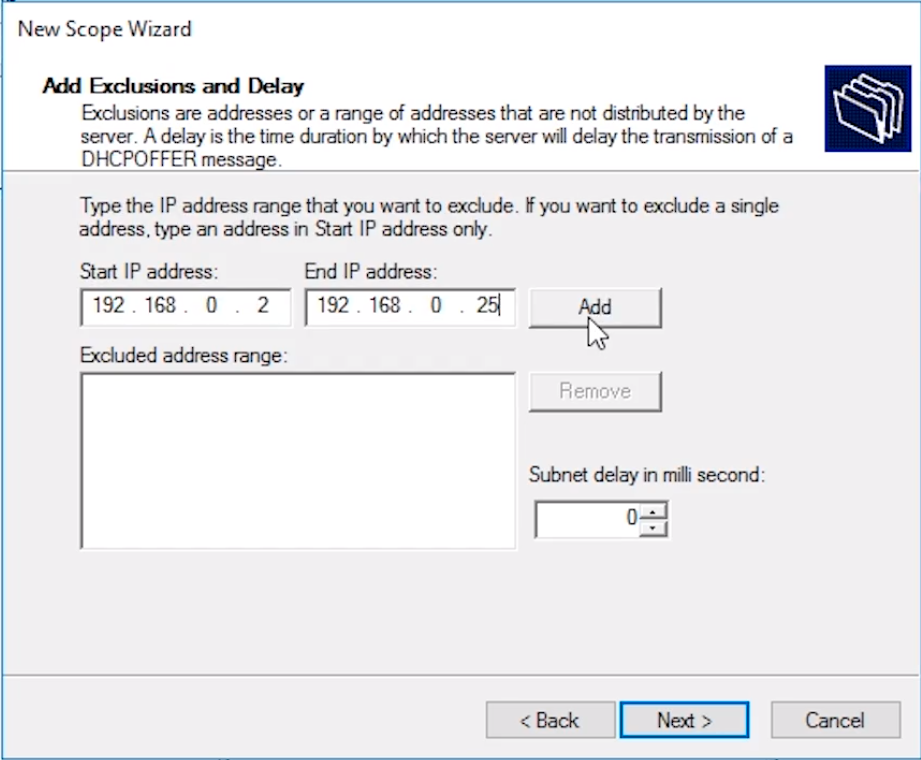
In the Add Exclusions and Delay window we can specify any exclusions we might want to create for the scope we entered. We are excluding the IP range 192.168.0.2 through 192.168.9.25 so we can use it for our servers. This range must fall within the scope that we created.
Click the Add button and click Next to continue.
On the Lease Duration window, we can specify how long we want the DHCP lease to last. The lease is how long the client can keep the TCP/IP settings before it needs to come back to the DHCP Server for a new lease or configuration.
We are keeping the default settings of 8 Days. Click Next to continue.

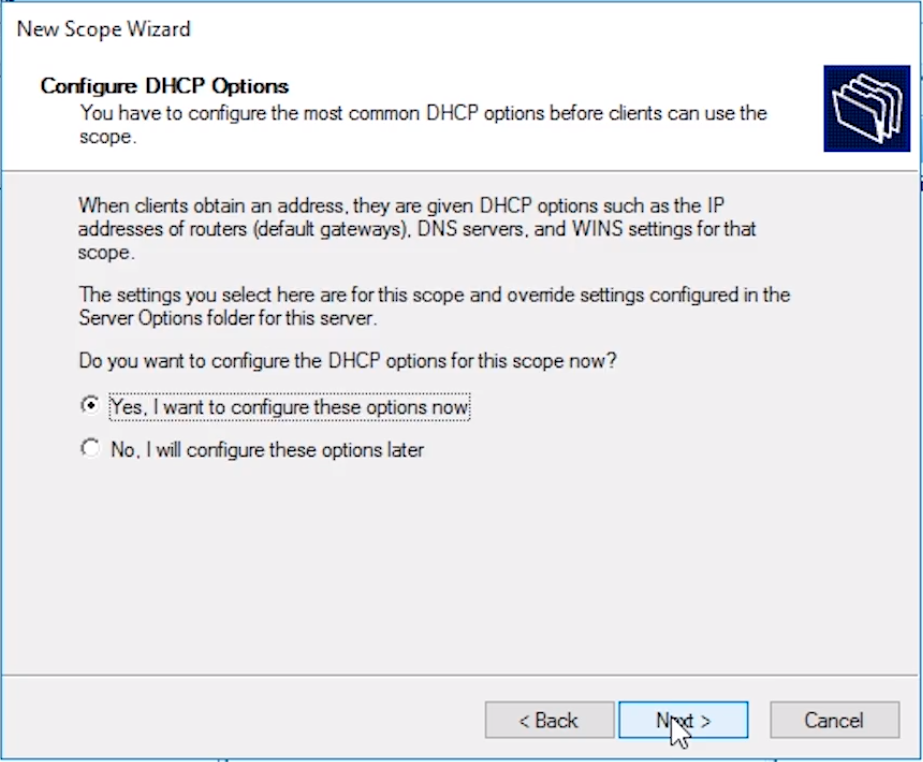
On the Configure DHCP Options window, we have the ability to configure the Default Gateway, DNS Server, and WINS Server settings for the DHCP Scope.
Leave the default option selected Yes, I want to configure these options now radio button and click Next to continue.
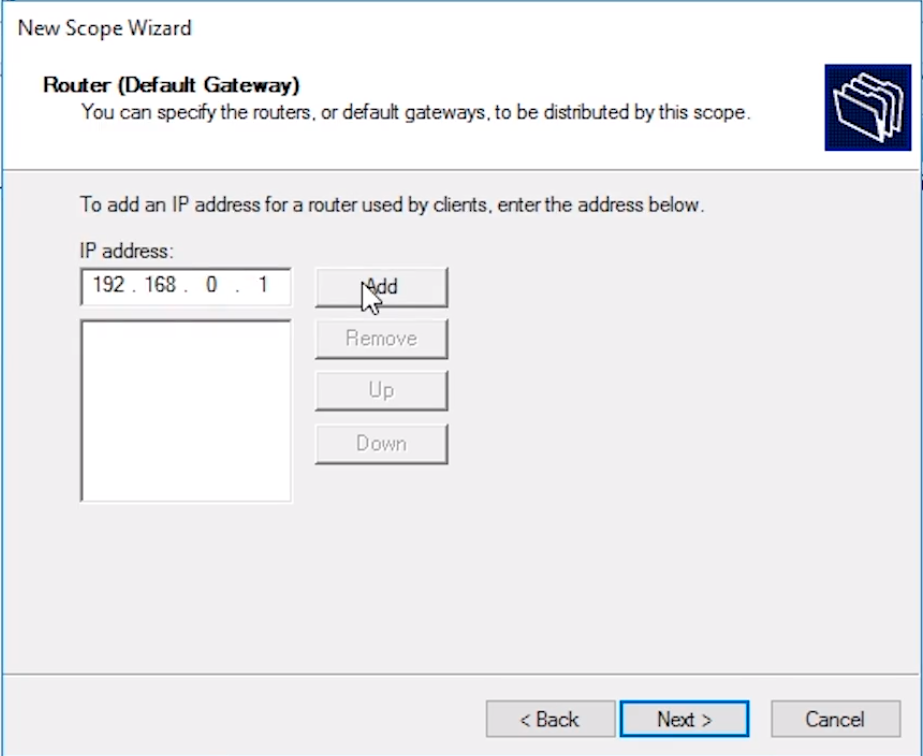
Enter the Default Gateway on the Router (Default Gateway) window. We are going to use the IP Address of our VirtualBox host-only network which is 192.168.0.1 and click Add and then Next to continue.
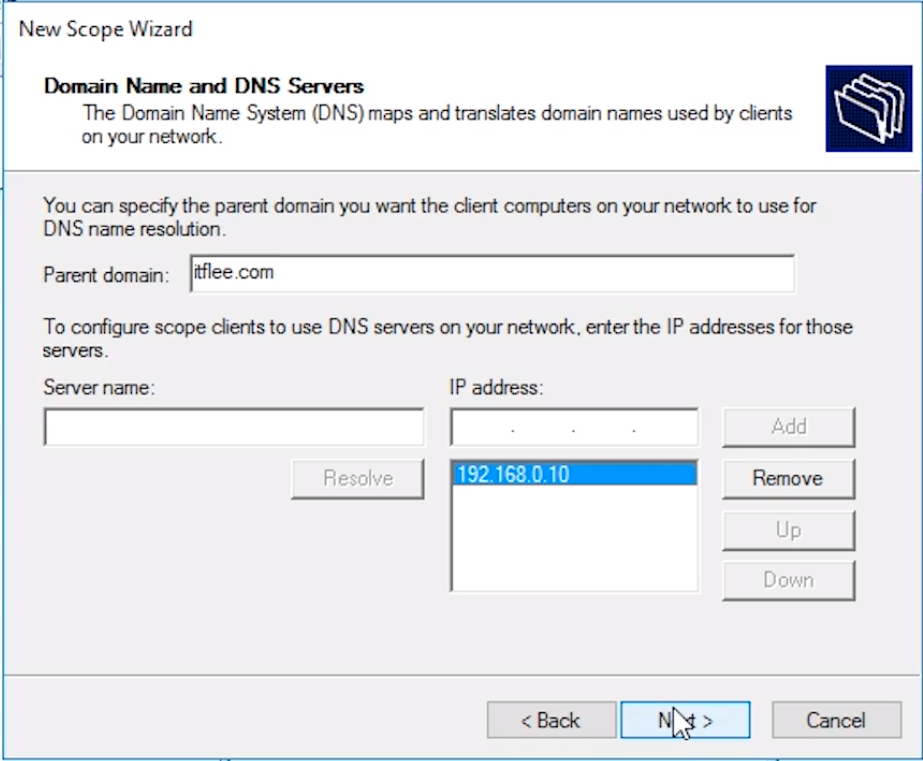
The Domain Name and DNS Servers window ask us to specify the domain name and IP address of our DNS Server. This information is automatically populated with the IP address of our DC and DNS Server which is 192,168.0.10.
Click Next to continue.
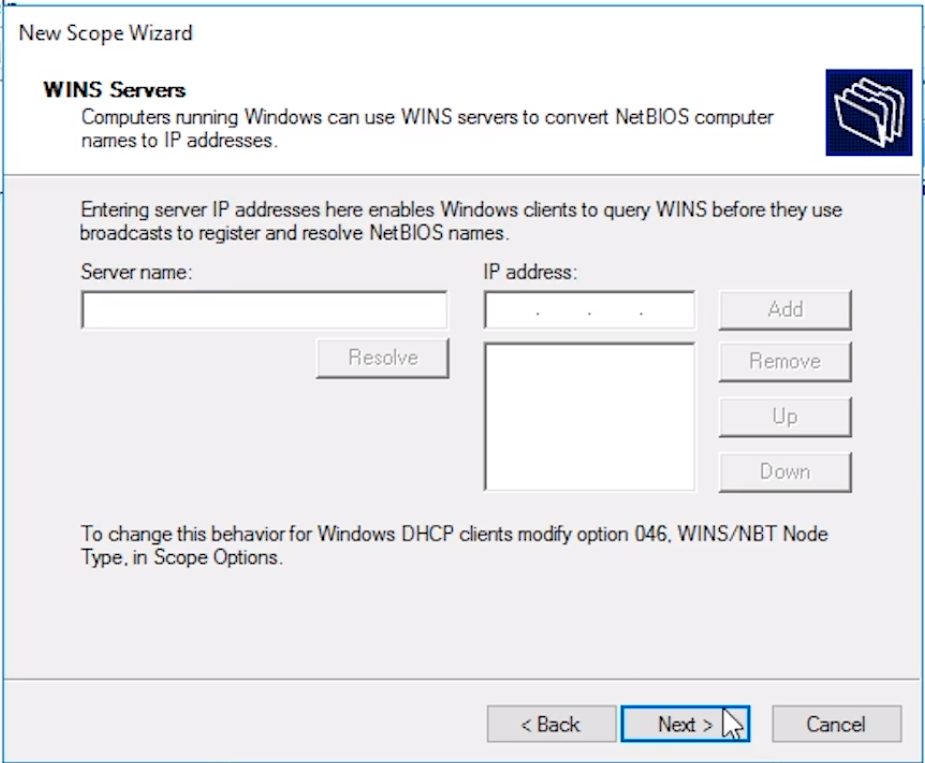
The WINS Servers window allows us to specify a WINS server. A WINS server works much like a DNS server in that it relates hostnames to IP addresses but it uses a different protocol than DNS. We do not have a WINS server because DNS replaces out-of-date WINS server features.
Click Next to continue.
On the Activate Scope window, we can either activate the scope now or do it later. You can do either one you want. We will choose No, I will activate this scope later just so we can see how to activate it from the DHCP console.
Server Academy Members Only
Sorry, this lesson is only available to Server Academy Full Access members. Become a Full-Access Member now and you’ll get instant access to all of our courses.


